Today I want to offer you a nail art inspired by the recurrence of Halloween , a holiday that is celebrated mainly in the United States of America on the night of October 31st and refers to ancient traditions of Celtic culture.
The charm of a night full of extravagant disguises and monstrosities fun for young and old.
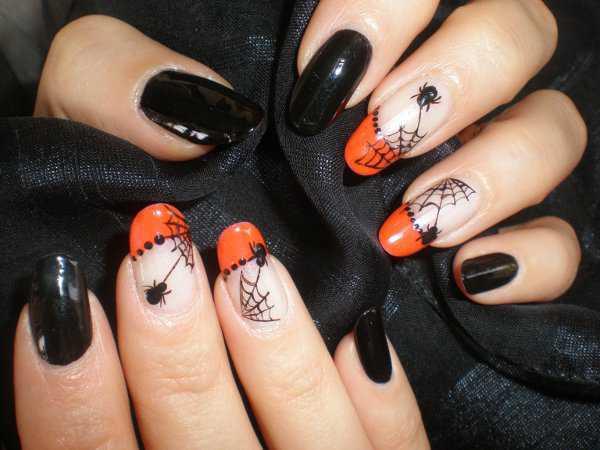
Our nails also deserve attention and a themed manicure can complete the look for this party. Spiders and cobwebs are the protagonists of this nail art for Halloween.
REQUIRED
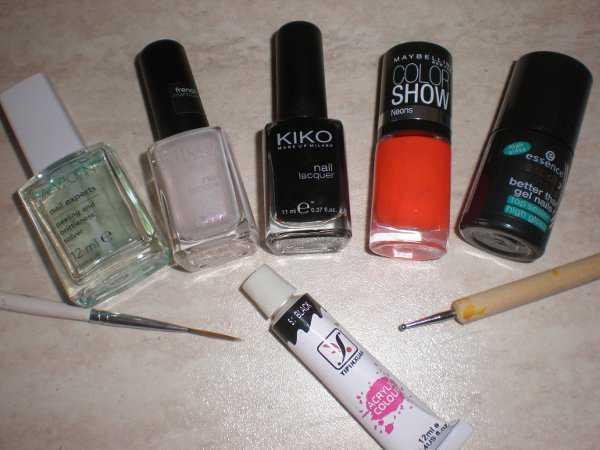
Let's see in detail what we need and the various steps to create the Halloween Nail Art with spiders:
- Avon enamel base ;
- Kiko French Manicure 212 polish ;
- Kiko 275 enamel ;
- Color Show Maybelline 191 Orange Fix nail polish ;
- black acrylic color;
- detail brush;
- dotter;
-top coat Essence.
PROCEDURE
Here are the steps to follow in order to complete this Halloween Nail Art:
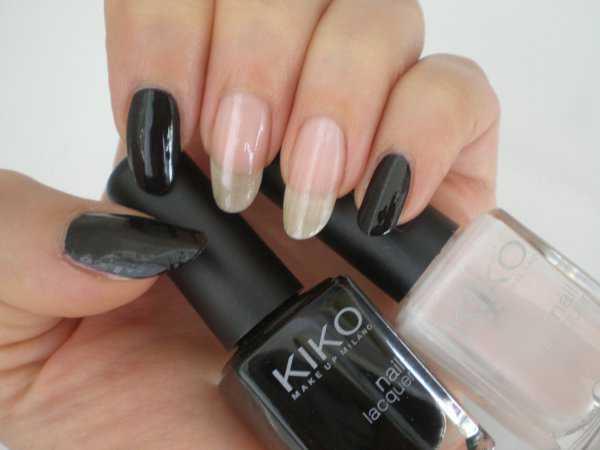
FIRST STEP: spread the nail polish base to protect the nails.
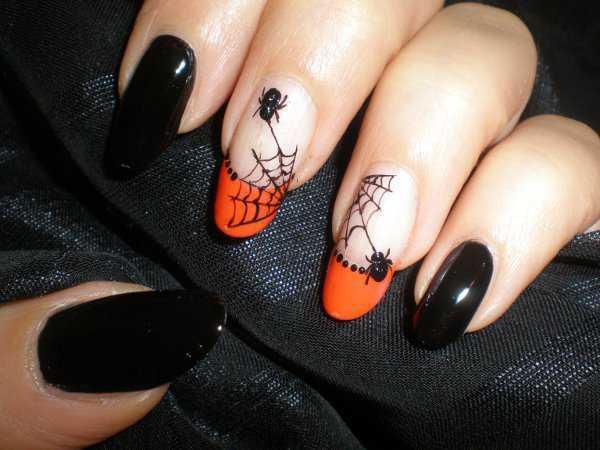
SECOND STEP: go to the drafting of Kiko French Manicure 212 on the middle and ring fingers, on the remaining fingers spread Kiko 275.
THIRD STEP: let it dry and make a French on the middle and ring fingers with Color Show Maybelline 191 Orange Fix.

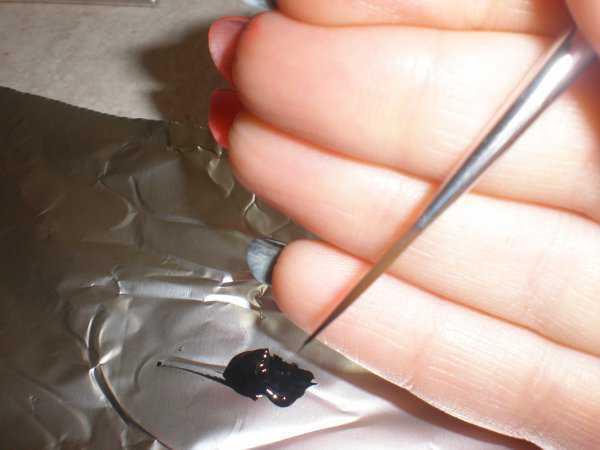
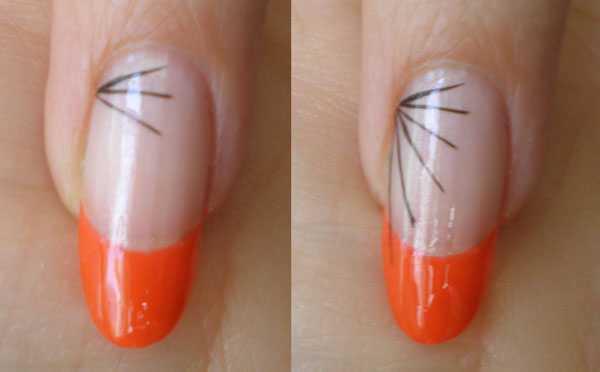
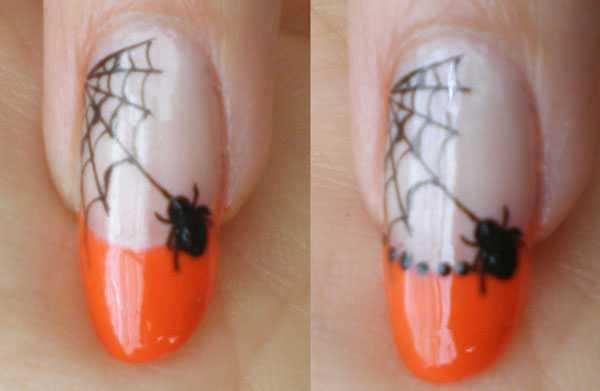
FOURTH STEP: take the detail brush and the black acrylic color and begin to draw lines, starting them all from the same point to form the spider web.
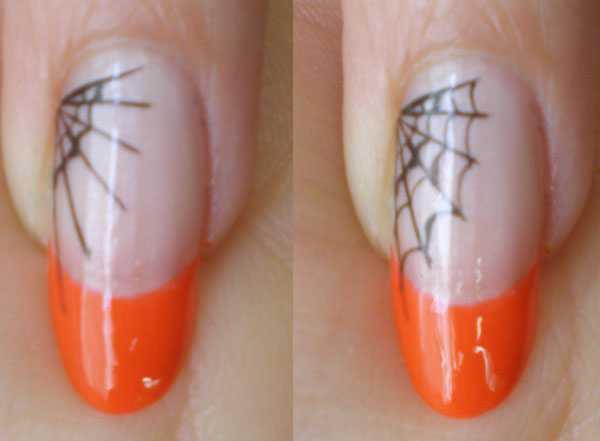
FIFTH STEP: within the lines made of small slightly concave strokes.
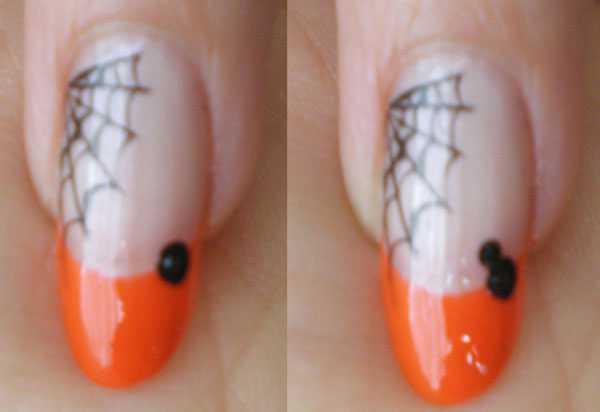
SIXTH STEP: once the spider's web with the dotter is finished, make some dots, one larger and one smaller.
SEVENTH STEP: with the small brush detail make the legs of the spider, two above and four below.
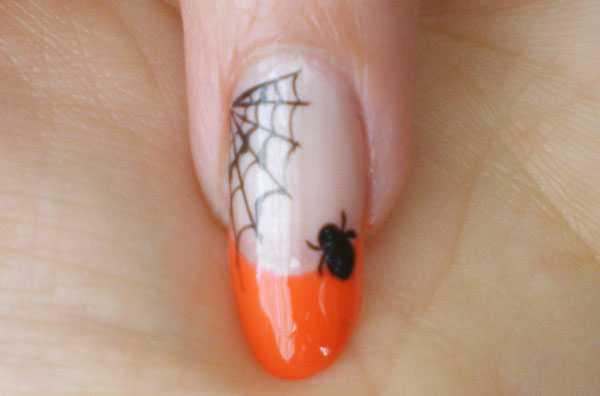
EIGHT STEP: with a light line connect the spider to its web and complete everything with dots around the french.
NINTH STEP: repeat the procedure of the eighth step for the middle finger.
TENTH STEP: seal the Nail Art with the top coat.
What do you think of this Nail Art for Halloween 2013? I await your opinions and comments!


