Connect Seafile and Collabora with the Correct WOPI URL

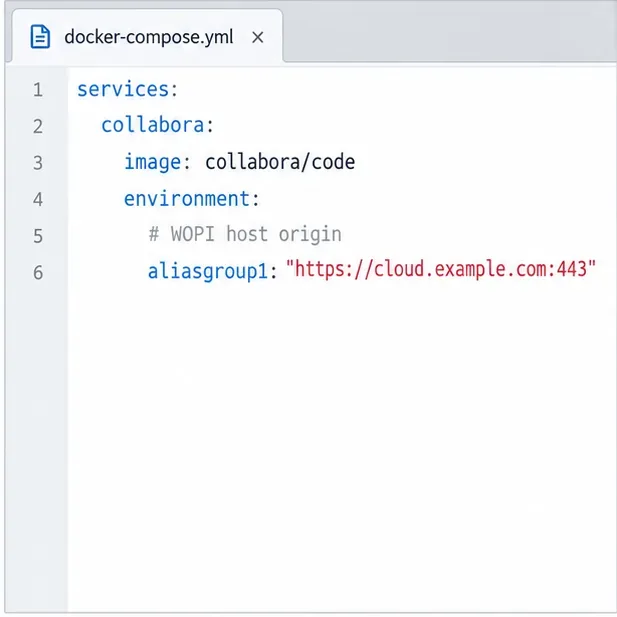
Enable secure document editing in Seafile by configuring Collabora’s discovery URL, HTTPS, and WOPI access for your deployment.
Microsoft PowerPoint has integrated a text-to-speech feature called Speak. Here's how to read text aloud in PowerPoint .

When presenting on PowerPoint, you have to say almost everything. However, what should I do if I want to pause the speech for a bit without interrupting the presentation?
Microsoft PowerPoint has a hidden feature called Speak, which allows it to read text in presentation slides aloud, similar to the Read Aloud feature in Word and Outlook .
In this article, let's learn how to set up and use the Speak feature in Microsoft PowerPoint to read the content in the slide and increase the appeal of the presentation .
How to read text aloud in PowerPoint
The Speak feature has been available in PowerPoint since version 2010, however, not many people know about Speak's existence because it is not on the Ribbon or Quick Access toolbar.
However, with a little tweaking, you can enable Speak on that menu and toolbar, and have PowerPoint automatically read the text like Google Assistant. Proceed as follows:
1. Open the PowerPoint application on your computer.
2. Click File , scroll down and click Options .
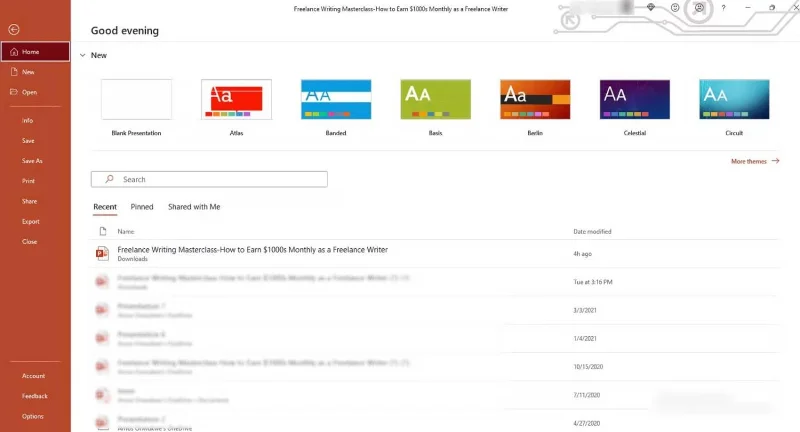
3. Click Quick Access Toolbar in PowerPoint Options.
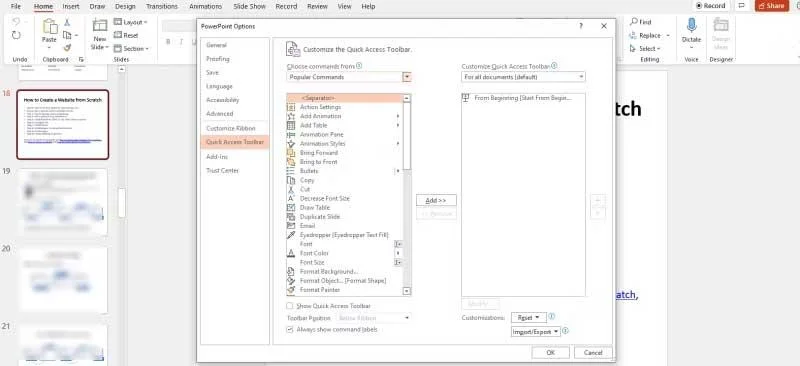
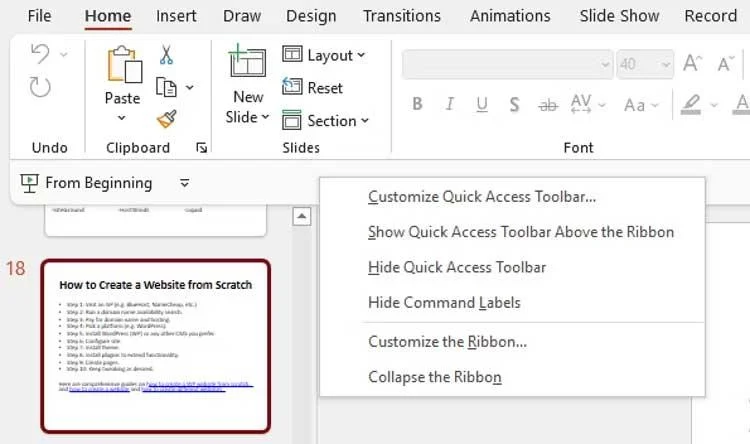
Alternatively, you can also open PowerPoint, right-click on Quick Access Toolbar under the Ribbon and click Customize Quick Access Toolbar...
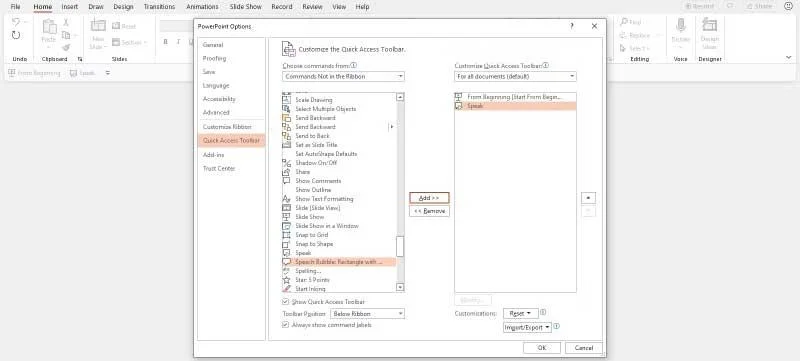
4. Click Choose commands from and change the selection from Popular Commands to Commands Not in the Ribbon or All Commands .
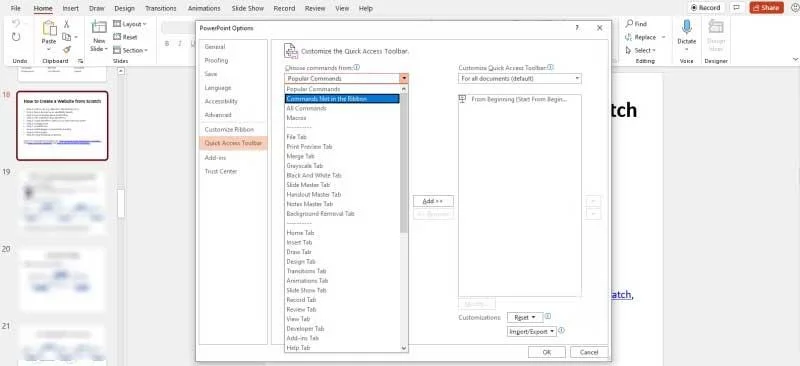
5. Drag the scroll bar, scroll down and click Speak . Commands are arranged alphabetically, so you can jump to S .
6. Click Add and Speak will be added to the Customize Quick Access Toolbar panel , then scroll down and click OK .

7. Speak will be enabled for all documents in PowerPoint by default.
8. Return to the Quick Access Toolbar and you will see the Speak button , but it may not be active yet.
Once Speak is added to the Quick Access Toolbar or Ribbon, you can start listening to the PowerPoint presentation. Here's how:
1. Open the PowerPoint app on your computer and open the current document.
2. Select the text you want to read aloud. This action will activate the Speak button in the Quick Access Toolbar .
3. Click Speak and it will start speaking or reading the selected text aloud.
4. To stop Speak, just click Stop Speaking .

You'll see it's not the same as the Read Aloud feature, Speak basically acts like a play/pause button on the Quick Access toolbar. It can also stay open in the background while you do other tasks.
If you want to manage how Speak works, you'll have to go through the Windows menu as follows:
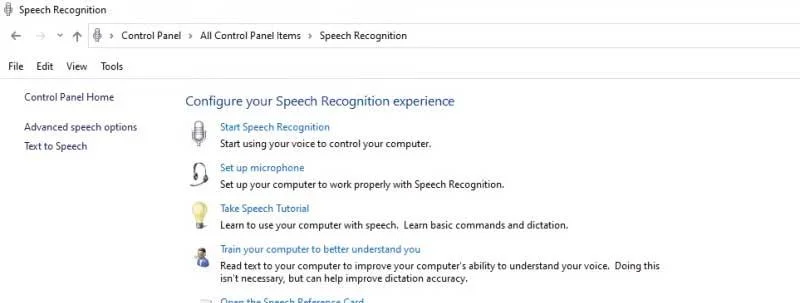
1. Press the Windows key on your PC and click Control Panel .
2. Click Speech Recognition , then click Text on Speech in the left-hand panel. Here you can control speech properties, reading speed, and other text-to-speech settings.
3. Click the Voice selection drop-down menu to select a different voice quality. Your choice will depend on your version of Windows.
4. Click the Preview Voice button to hear your voice selection.
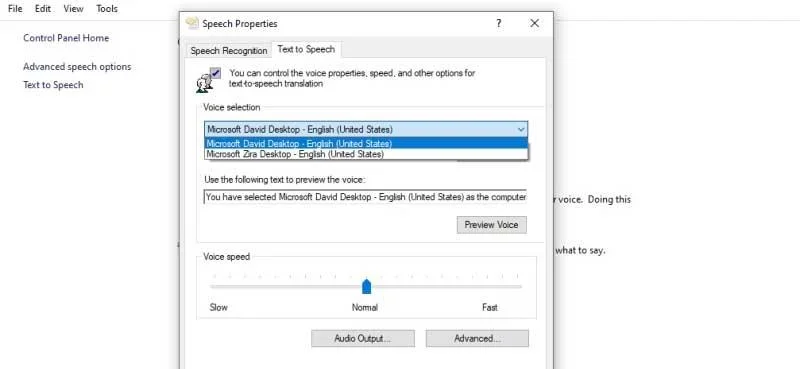
5. Default Voice Speed is set to Normal . You can adjust this by dragging the slider left or right between Slow and Fast .
6. Click OK when finished.
Above is how to use the Speak feature - read text aloud or convert text into speech in PowerPoint . Hope the article is useful to you.
Enable secure document editing in Seafile by configuring Collabora’s discovery URL, HTTPS, and WOPI access for your deployment.
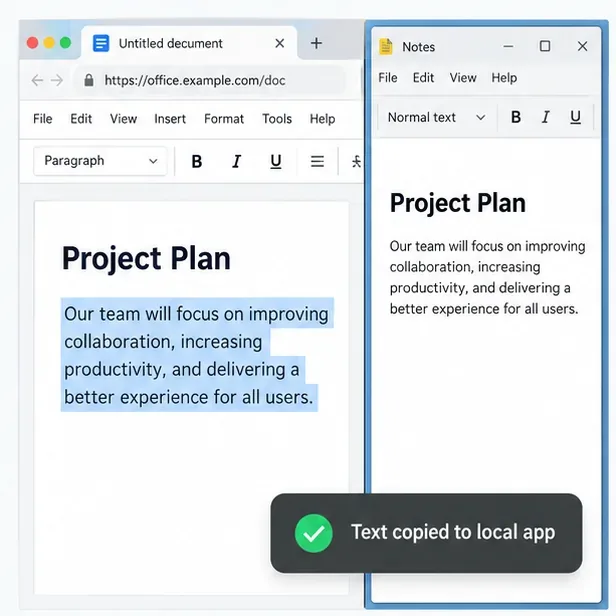
Test the system clipboard, adjust browser permissions, and identify when an embedded Collabora integration needs an iframe policy change.
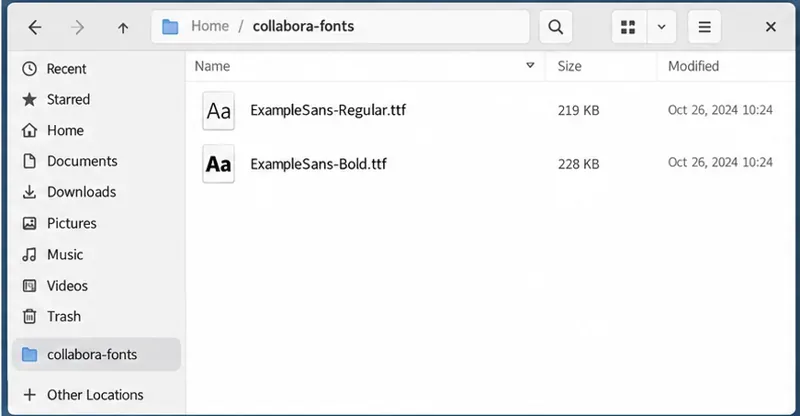
Mount font files into Docker and Collabora’s systemplate so custom typefaces appear in the editor and render correctly in documents.
Back up coolwsd.xml and its deployment sources, restore them safely, and verify CODE before users return to editing.
Allow the exact Nextcloud or other WOPI origin in CODE, then verify the active host allow-list and distinguish it from Nextcloud’s source-IP restriction.
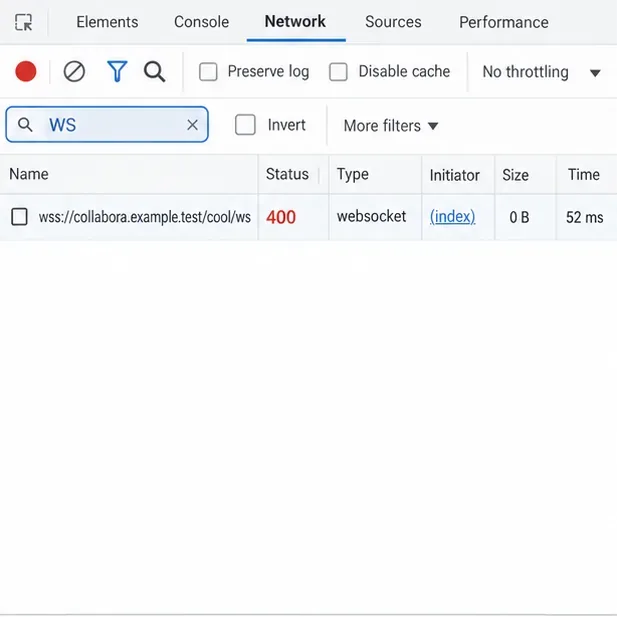
Trace Collabora’s browser, WOPI, and WebSocket connections to find why a document will not open, then apply the fix that matches your Nextcloud setup.
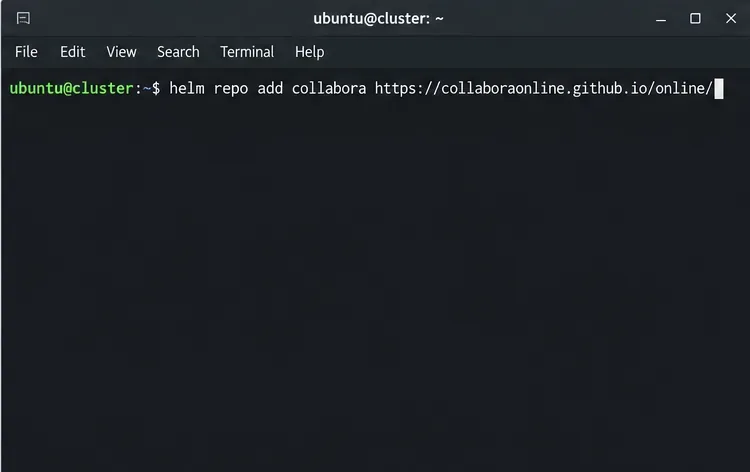
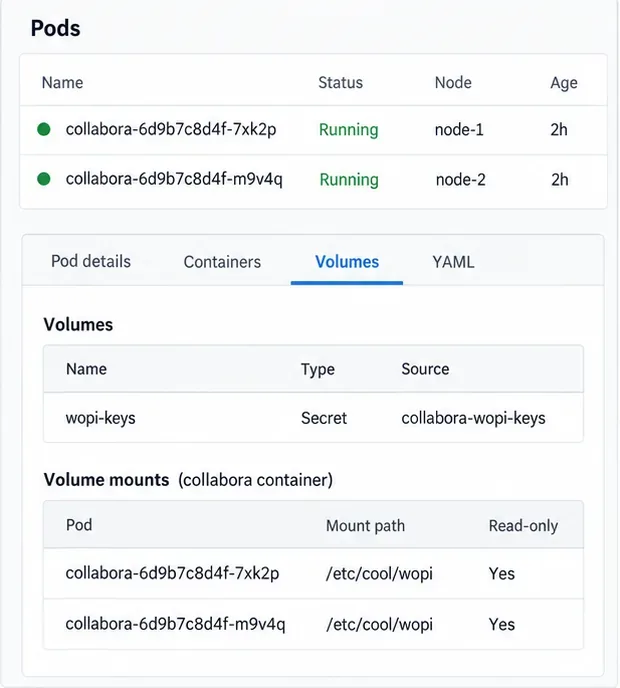
Deploy Collabora CODE replicas with Helm, keep each document on one pod through WOPI affinity, and verify ingress, node placement, and Nextcloud editing.
Trace a failed socket handshake from browser to coolwsd, then match the reverse-proxy route to your Collabora version, including the CODE 26.04 Apache change.
Trace Collabora WOPI proof failures to mismatched keys, stale discovery data, clock drift, or proxy URL changes—without weakening validation.
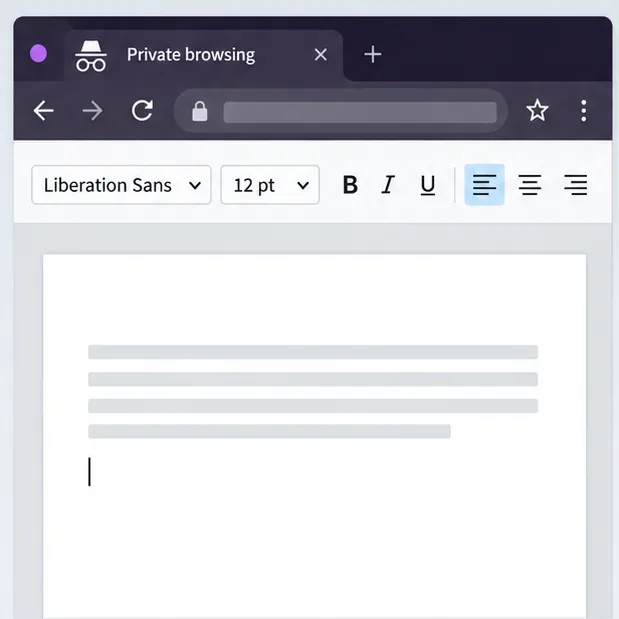
Reset browser zoom, test a clean session, and identify when a malformed size menu needs a Collabora server update.