When SLES Btrfs Goes Read-Only: Diagnose Before Remounting
Identify whether Btrfs is intentionally read-only, short on space, or protecting data after errors, then choose a recovery path that fits the cause.
The Animation tool in Canva will create motion effects for the details in your design, creating a beautiful design as well as impressing the viewer. This Animation tool has different motion direction options for users to choose to apply to which details in the design, according to their creative ideas. The article below will guide you to create motion effects for designs on Canva.
How to Create Animation Effects in Canva
Step 1:
First, users open an existing design on Canva or start a new design from scratch. Next, in the design interface, click on the detail you want to use the motion effect.
Then on the toolbar you will see the Motion option to use.
Step 2:
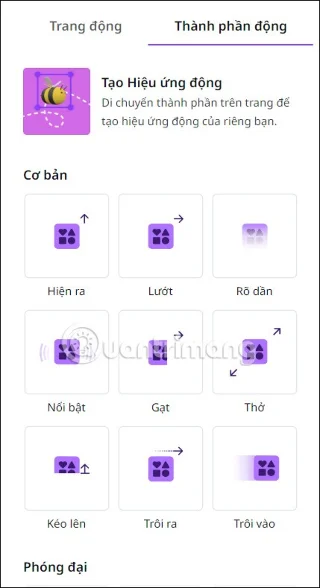
Then on the left side of the interface displays a group of motion effects with different motion directions. Here you will choose the motion style for the details in the design according to your ideas.
Step 3:
When you click on the motion effect type, there will be additional options below for you to adjust accordingly. Each time you click on the motion type, the object in the design will be applied immediately for you to preview whether it is suitable or not.
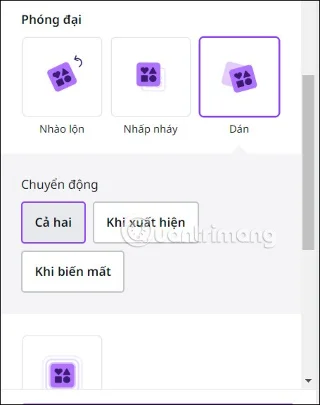
Note that there will be some motion effect customizations that require the Pro version to be applied, so you need to pay attention.
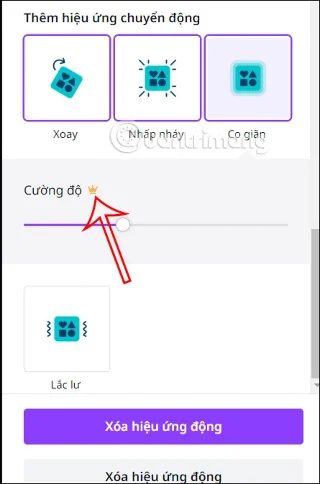
Step 4:
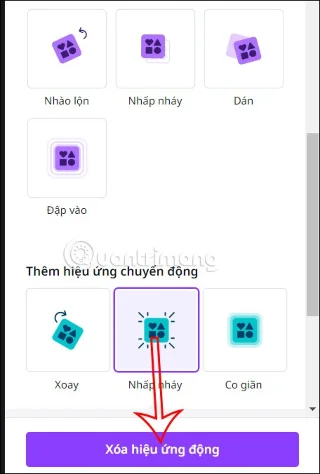
Users can apply multiple motion effects to objects. If you want to delete an effect , click on it and select Delete Motion Effect below.
Step 5:
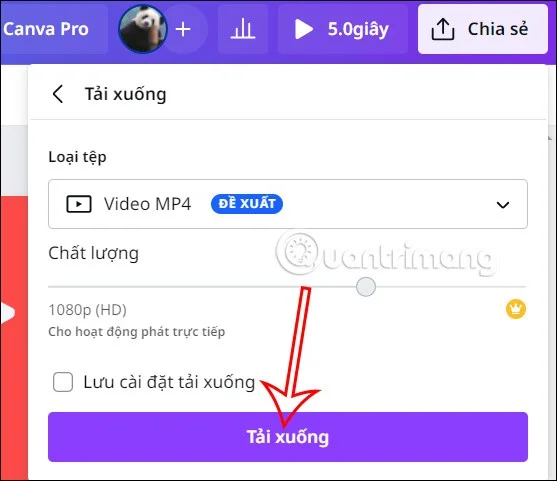
Finally, you adjust the design and preview the design after applying the animation effect, then download as usual. The design is downloaded as an MP4 video.
Video tutorial on creating animation effects in Canva
Identify whether Btrfs is intentionally read-only, short on space, or protecting data after errors, then choose a recovery path that fits the cause.
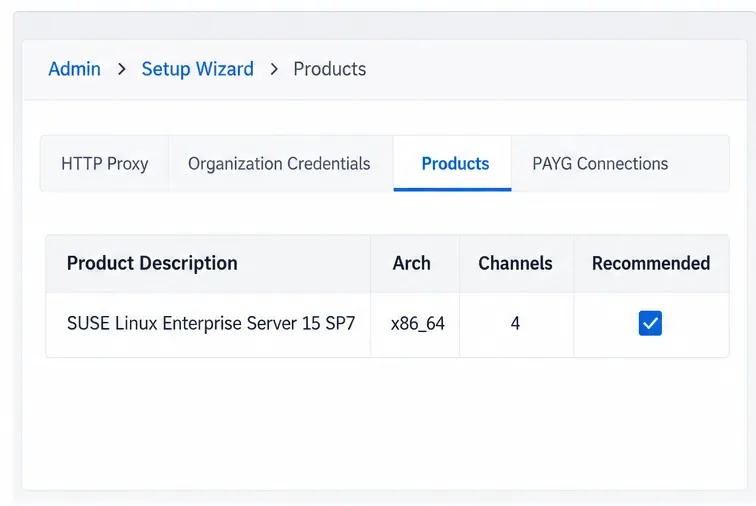
Prepare mirrored channels, create an activation key, and bootstrap an SLES 15 client without direct internet access while preserving the connection needed for Manager check-ins.
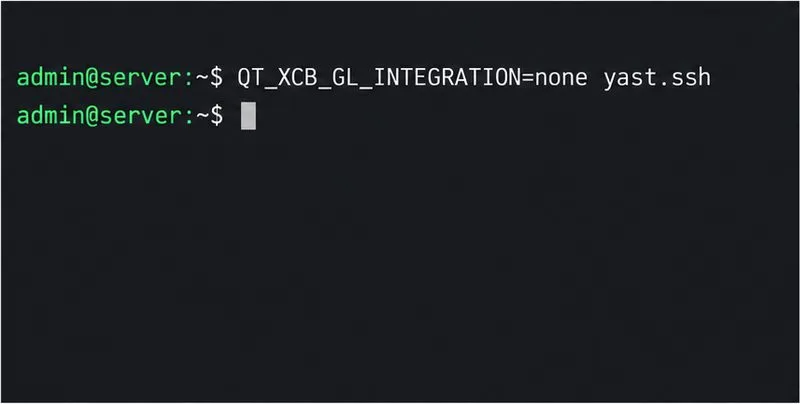
Fix YaST’s XIO launch error over SSH, verify X11 forwarding and xauth, and switch to the ncurses interface when a remote window is unnecessary.
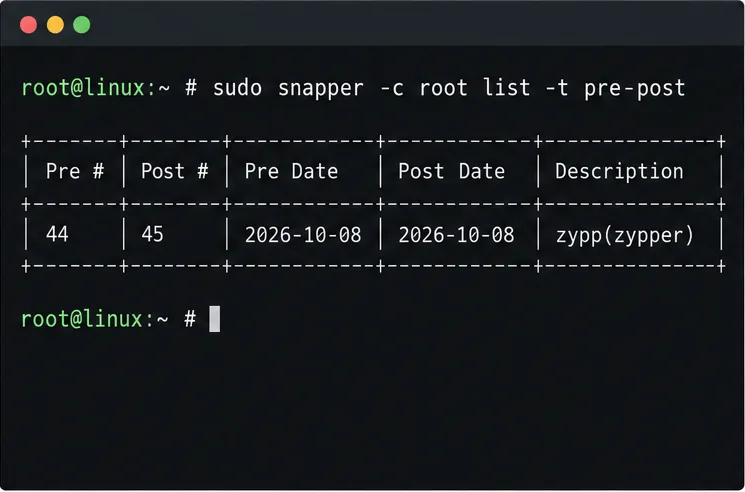
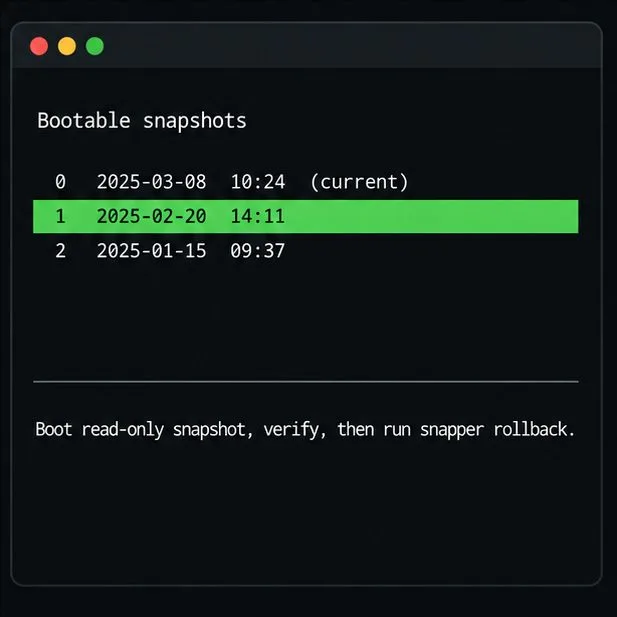
Find the pre-update Btrfs snapshot, test it read-only, and make recovery permanent with Snapper while understanding which data stays outside the root rollback.
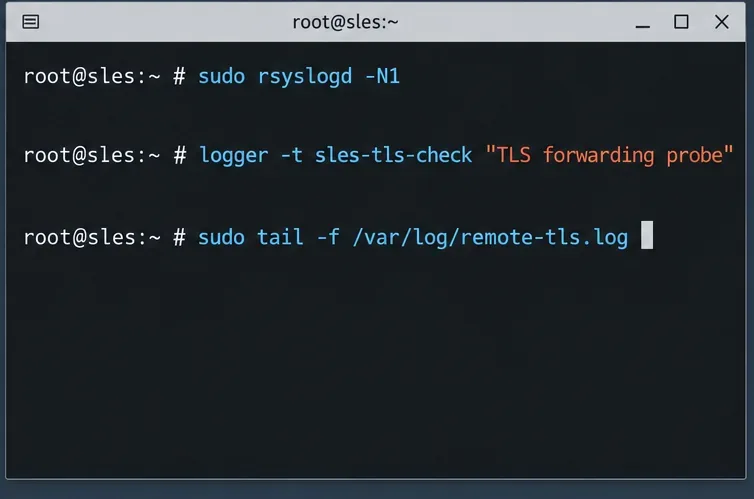
Send SLES system logs to a remote rsyslog collector over authenticated TLS, with certificate checks, outage buffering, and delivery tests.
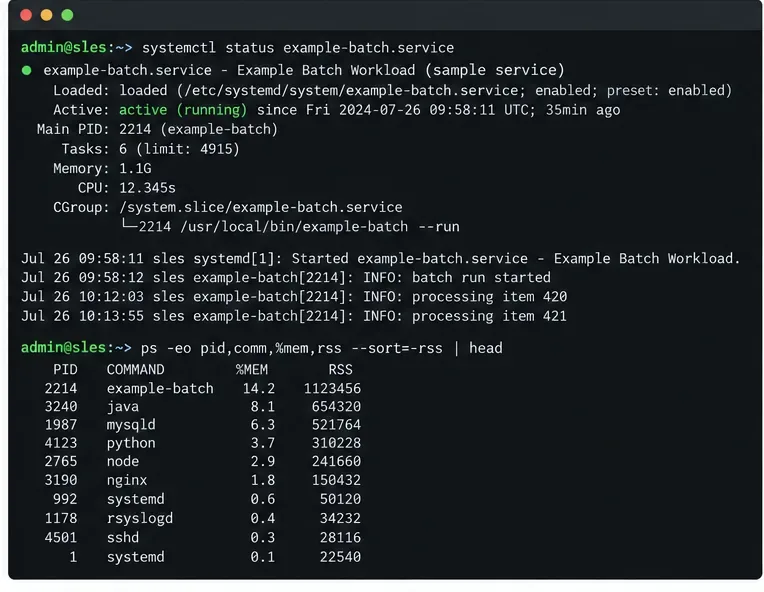
Use RAM, swap, kernel, and Zypper logs to identify real memory pressure, protect package state, and choose a safer SLES upgrade retry.
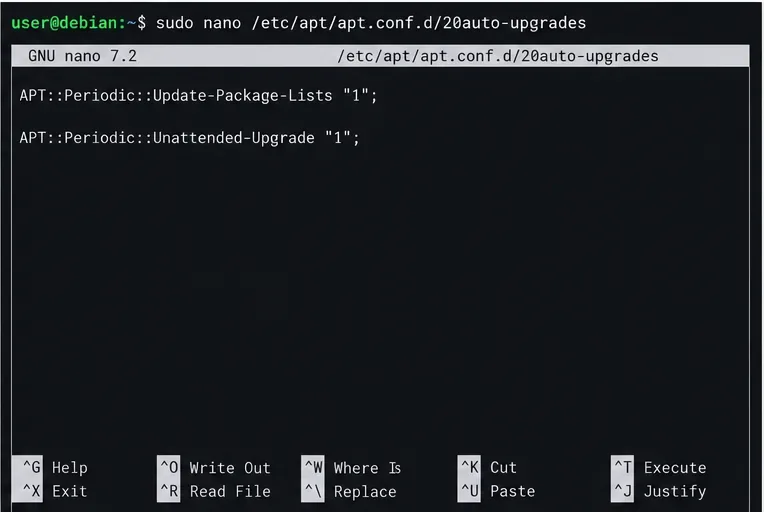
Enable Debian’s unattended security updates over SSH, keep the default package sources, and verify scheduled runs through systemd and APT logs.
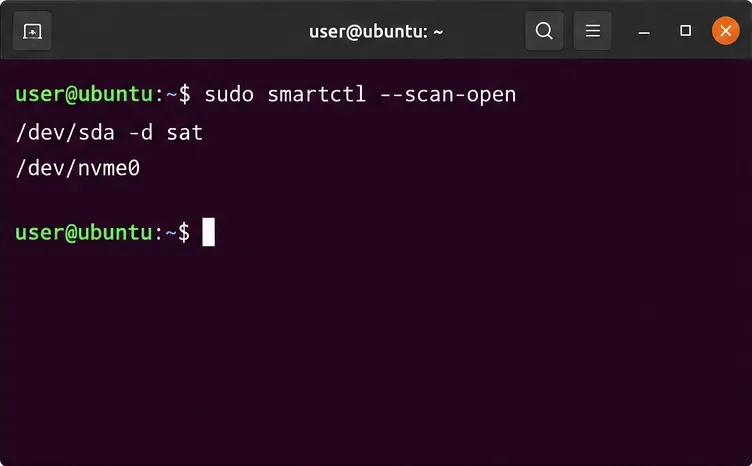
Compare mail delivery options, configure smartd on Ubuntu, and verify that disk-health warnings reach your inbox.
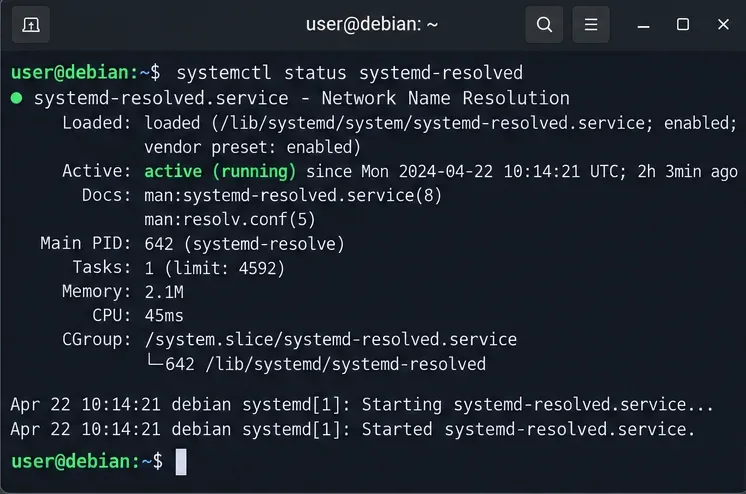
Restore DNS lookups on Debian 12 by checking systemd-resolved, repairing resolv.conf when needed, and verifying upstream DNS and application resolution.
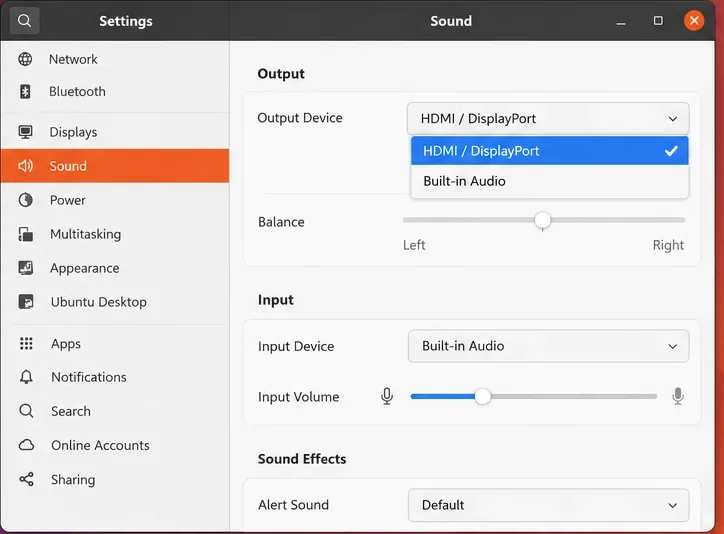
Get Ubuntu to detect your monitor or TV as an audio output, select it in Sound settings, and check the connection or PipeWire device list if HDMI is missing.