Almost all apps on your smartphone require certain permissions to function properly. While many users simply grant these permissions without a second thought, others are more cautious about giving apps access to sensitive features like storage, camera, and microphone.

While some degree of caution is warranted, Instagram is a trusted app that generally does not pose any threats. Here’s how to enable microphone access for Instagram and learn why it is essential.
1. Enabling Microphone Access
To enable microphone access in Instagram, you will need to adjust the settings on your mobile device. Follow these steps based on whether you're using an Android or an iPhone.
For Android Users:
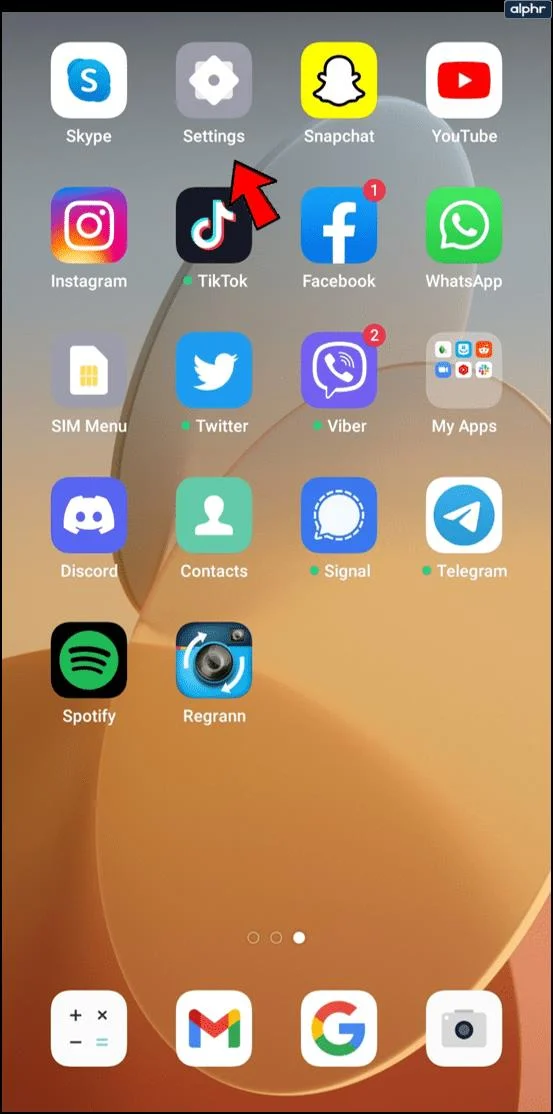
- Go to Settings > Apps.

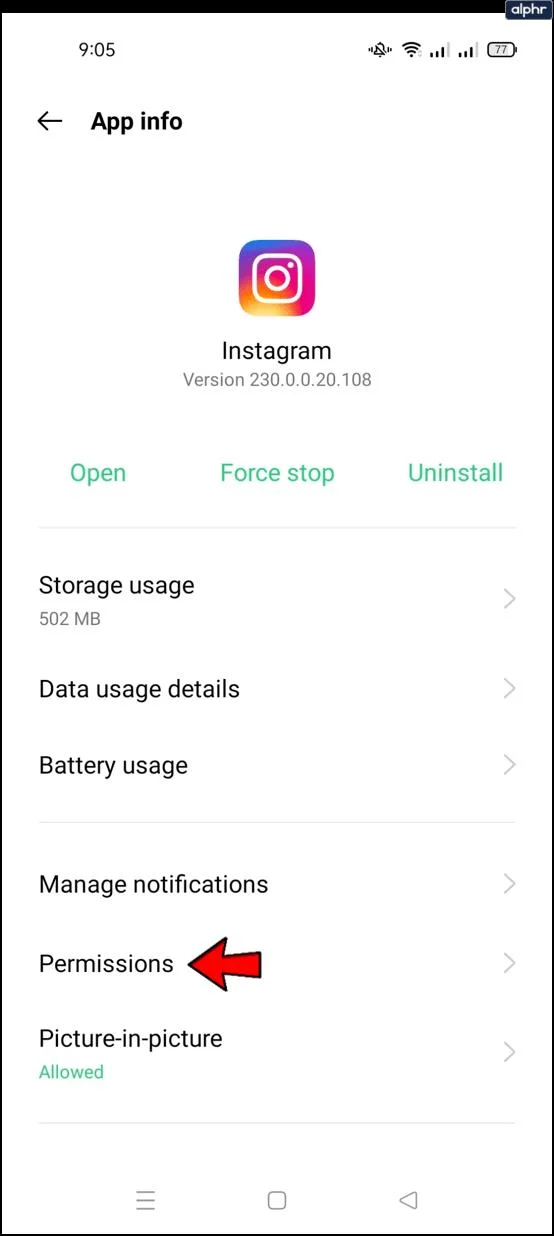
- Select Instagram, then navigate to Permissions.

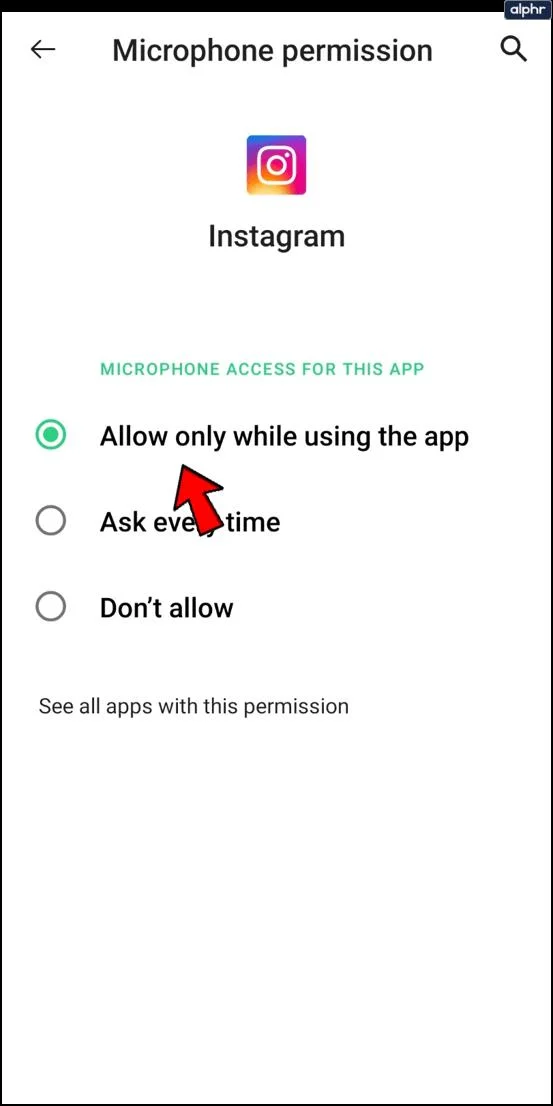
- Allow access to the microphone.

For iPhone Users:
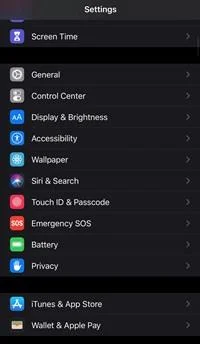
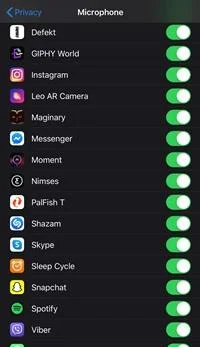
- Go to Settings > General, then scroll down to Privacy.

- Select Microphone, then toggle on the switch next to Microphone.

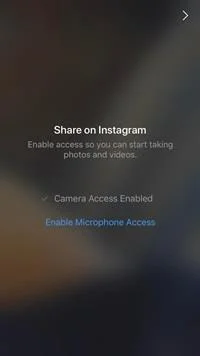
Once you return to Instagram, it should not prompt you for microphone access anymore, allowing you to enjoy all the app features seamlessly.
2. Why Does Instagram Need Microphone Access?
Some users have reported that Instagram requests microphone access when they attempt to take photos. This permission is vital as many of Instagram’s features rely on audio input for a complete experience.

However, it is worth noting that while microphone access is essential, you can choose to disable audio when posting videos by tapping the speaker icon at the top.

3. Voice Messages
Instagram has recently introduced the ability to send voice messages, aligning with social media trends. This feature allows users to record messages up to 60 seconds long and share them directly in DMs.

To record a voice message:
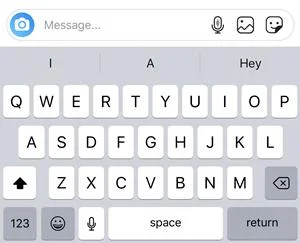
- Tap the microphone icon in the text bar and hold it to record.
- Alternatively, swipe up to record hands-free.
- Release the button to send, or swipe left to cancel.
Should you accidentally send the message, you can easily unsend it by long-pressing and selecting the Unsend option.
4. Important Security Reminder
Although many features of Instagram can be accessed without enabling the microphone, you should remain vigilant about app permissions:
- Only grant microphone, camera, and storage access to reputable apps (e.g., from official app stores).
- Be cautious about potential risks, including data breaches or malware infections.
When using official applications like Instagram, enabling microphone access is generally safe. Are there any other questions regarding Instagram and its features? Please feel free to ask in the comments below.











Julia L. -
For anyone encountering issues, try deleting and re-downloading the app. It fixed mine
Huyền Lizzie -
Great tips! I love using the microphone for my Instagram stories, makes things so much easier
LuckyCat -
Your explanation is clear and easy to follow! Just enabled my mic in a few minutes
John Doe -
This is going to elevate my Instagram game! Thanks for making it simple to understand
Bobby J. -
Thanks for this! Do we need to restart the app after changing the settings
CrazyDogLover -
Haha finally I can record with my voice! I always felt awkward typing out my messages
Phúc IT -
I thought I was the only one facing this issue! So glad I found this post. Thanks for sharing!
HelpingHand -
If anyone’s having trouble after enabling, I suggest checking if Instagram needs an update
SophieL -
This is the best how-to guide! Now I can send voice messages without a fuss!
Amy B. -
Such a useful article! I appreciate the step-by-step directions. Anyone else excited to try this
Chloe the Great -
Any chance you could add a section about troubleshooting common issues? That would help a lot!
Frankie -
Does anyone have tips on making the best voice notes for Instagram? I'd love to hear suggestions!
Jessie -
I love how this article is structured! Very straightforward and helpful
Victor F. -
Great article! Enabling the mic is perfect for my creative flow on Instagram
Jackie P. -
I’m wondering if this works for both iOS and Android? Can anyone confirm?
CrystalVibes -
Fun fact: Using the mic makes my stories so much more engaging. Try it out!
HappyFace -
So easy! I never knew it was this simple to enable the microphone. Thank you
Andy M. -
This feature is so helpful, especially when I'm busy and don't want to type
Michael S. -
Big thanks for this! I'm ready to make my Instagram stories funnier!
Jordan -
Wow, I didn’t know this feature even existed on Instagram! Definitely going to use it
Quang vn -
This article is super helpful! Thanks a lot! Will definitely share it with my friends.
Hương Đà Nẵng -
It worked like a charm! So excited to use the mic feature now. Thank you
Sunny Daze -
Awesome post! Can't wait to try recording voice clips for my reels now!
Kevin T. -
Came here looking for help and I found exactly what I needed! Appreciate it
Ryan G. -
Yes! Finally, a post that explains it well. I can’t wait to use my new microphone feature
Lee Kim -
Just followed the steps and it worked fantastic! So glad I found your post.
Emily123 -
Thanks for the guide! I had no idea how to enable the microphone on Instagram before.
Kiara B. -
Super informative post! I always wondered how to use the microphone feature effectively
Natasha R. -
Can someone explain how it works with IGTV? Will the microphone settings transfer over
Grace M. -
Has anyone else had issues with Instagram crashing after enabling the mic? Let me know
Ravi Kumar -
I had to enable microphone access first in settings. Thanks for reminding me!
Chloe P -
I’m glad I found this. Can’t believe I was missing out on such a cool feature!
Tommy NG -
I did everything but couldn’t get it to work. Any suggestions on why it might not be enabling
SarahLou -
OMG! I was so confused. Just followed the steps, and it worked perfectly! You’re a lifesaver
Alex B. -
I’ve been struggling with this! Your tutorial really helped me out. Now I can record stories easily
Sandy98 -
This is a game changer for content creators! I’m so glad I found it
Linhsus -
Made my day! Now I can share quick voice notes in my stories. So cool
Mèo con -
Lol, I was talking to my phone all this time… Thank you for shedding light on this