When you edit or design in Canva, each design element has its own layer. Grouping layers in Canva makes your design more professional and also makes it easier for you to edit and work on your design. Merging layers in Canva allows you to select the layers you want to group or merge them all. Here are instructions for grouping layers in Canva.
How to group layers in Canva
Step 1:
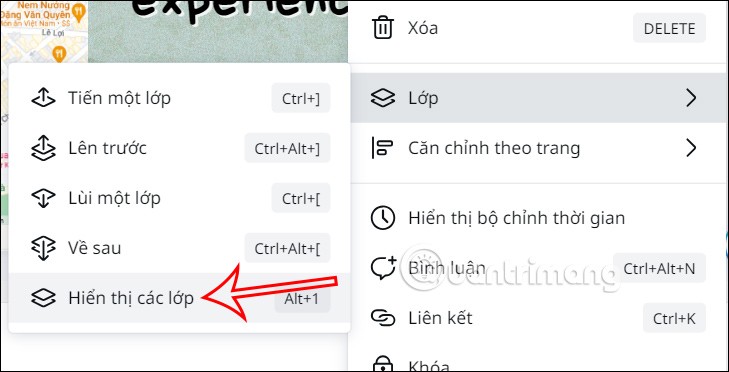
At the interface on Canva, you open the design you want to merge layers. Next, on the design, right-click, select Layers , then select Show layers in the display menu.
Step 2:
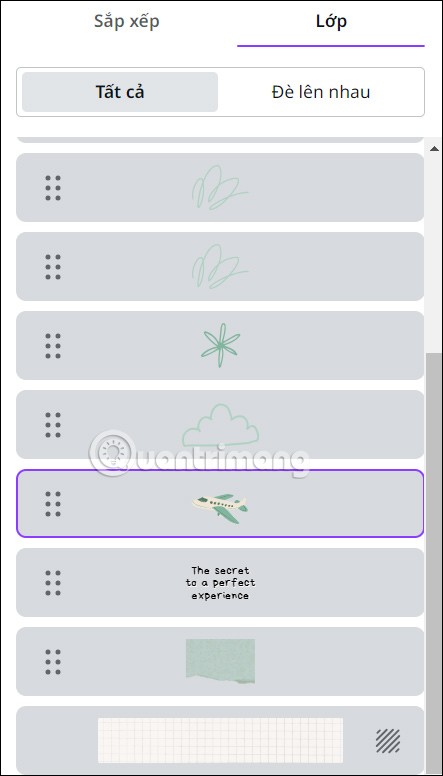
Immediately after that on the left side of the interface shows the detail layers currently present in this design.
Step 3:
To select the layers you want to merge , press the Ctrl key and click on the layers you want to group together. Next, right-click and select Group from the list of options for layers in Canva.
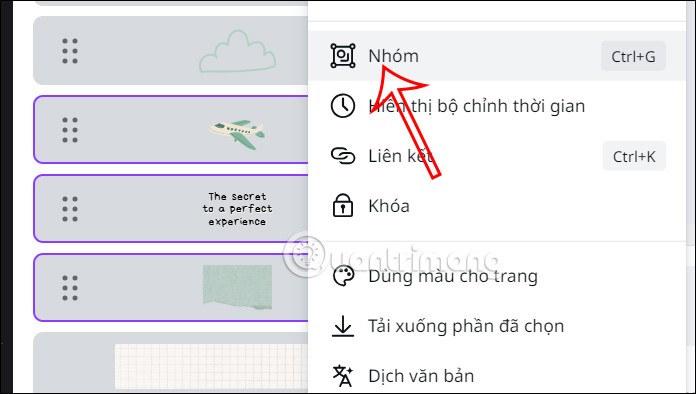
Immediately after that you will see the layers merged together and have a layer group icon as shown below.
With grouped layers in Canva, when you edit or move, it will be applied to those layers, but you can still edit each layer in that group layer separately. You just need to click on the detail you want to edit.

Step 4:
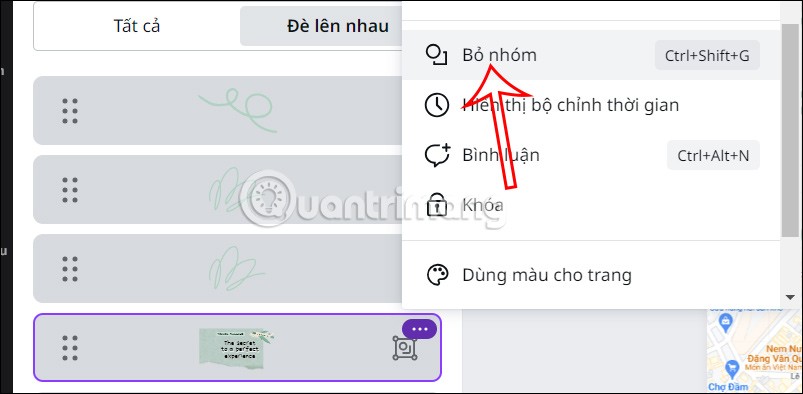
To ungroup layers in Canva , right-click on the group layer , then select Ungroup in the displayed list. The result is that the layers have been separated as before.
