Restore Collabora CODE Settings Without Losing Deployment Changes
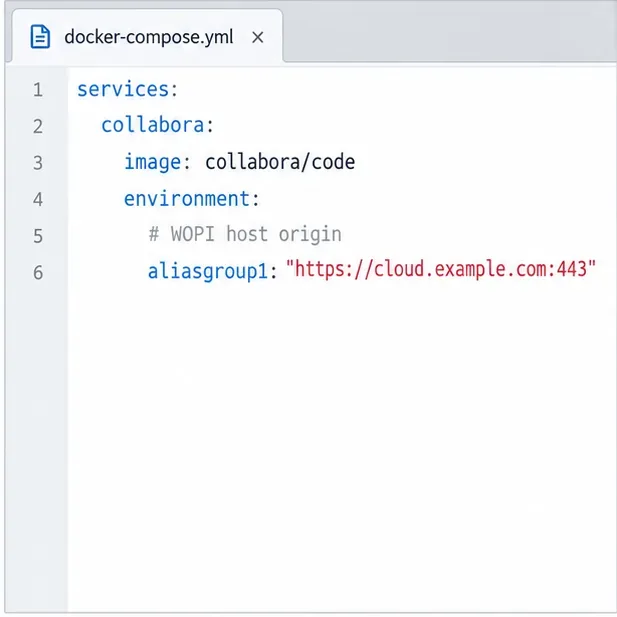
Back up coolwsd.xml and its deployment sources, restore them safely, and verify CODE before users return to editing.
Do you plan to take a vacation for a while and want to let your colleagues and partners on Microsoft Teams know about it? Teams' Out of Office feature will help you.
With Microsoft Teams , you can manually set your operational status. Out of Office is the option to notify others about your absence and inability to chat. Below are ways to set up out-of-office status on Microsoft Teams .
How to set Out of Office status on Microsoft Teams
If you're not working one day or are on vacation, you can set up Out of Office on Microsoft Teams. Then, when coworkers send you messages, they'll receive an automatic response about your absence.
You have two ways to set up an away status on Microsoft Teams for Windows and Mac: via account profile and settings.
Set absent status via Microsoft Teams profile
1. On your computer, open Microsoft Teams.
2. If you are a member of multiple teams, select the team or group whose status you want to edit. If not, skip this step.
3. Next, click the avatar in the upper right corner of the screen.
4. Click Set status message .
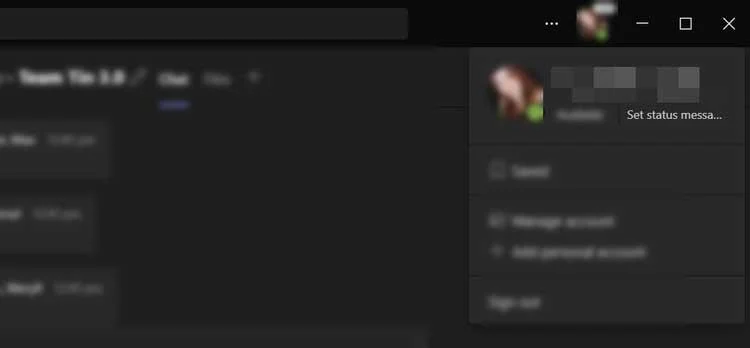
5. At the bottom of the pop-up window, click the Schedule out of office button . This action will open a new window.
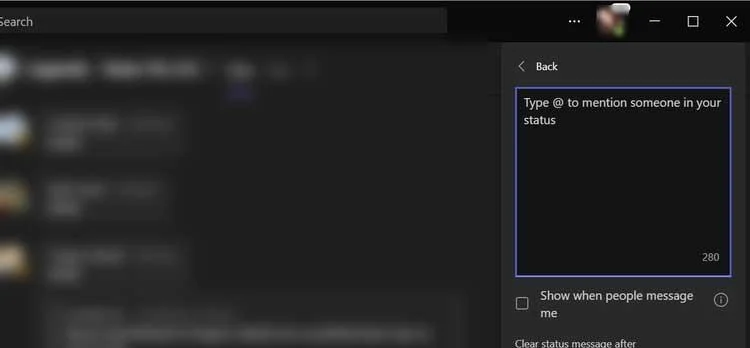
6. From the Out of Office window, turn on Turn on automatic replies .
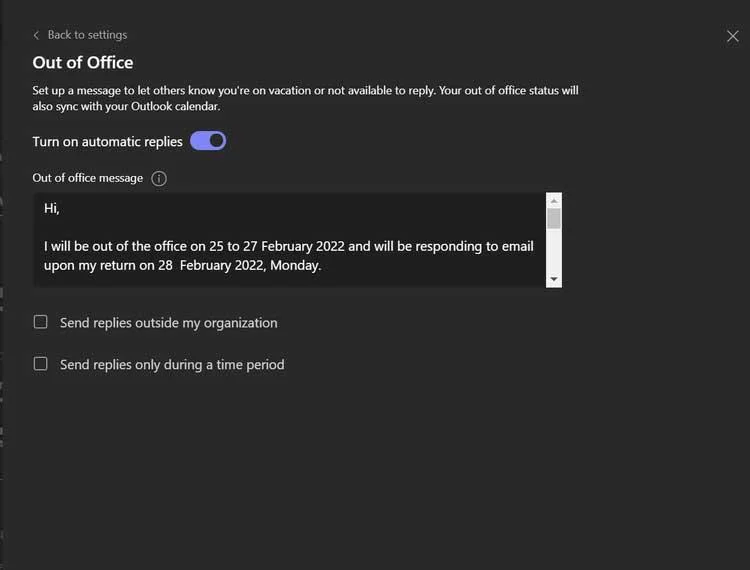
7. Then, enter your out-of-office or work message in the text box below the switch. Any messages you write here are sent to people who are contacting you in Teams or viewing your profile. It is also sent as an automatic response in Outlook. You can also enter your return to work notification here.
8. After adding a message, you have the option to enable automatic replies to people outside your company or organization. If you work outside the company, you should enable this option.
9. All you have to do is click the box next to Send replies outside my organization . If you only want to send a resignation notice to everyone in your contacts, check the Only to your contacts box . If you want to send it to everyone, select All external senders .
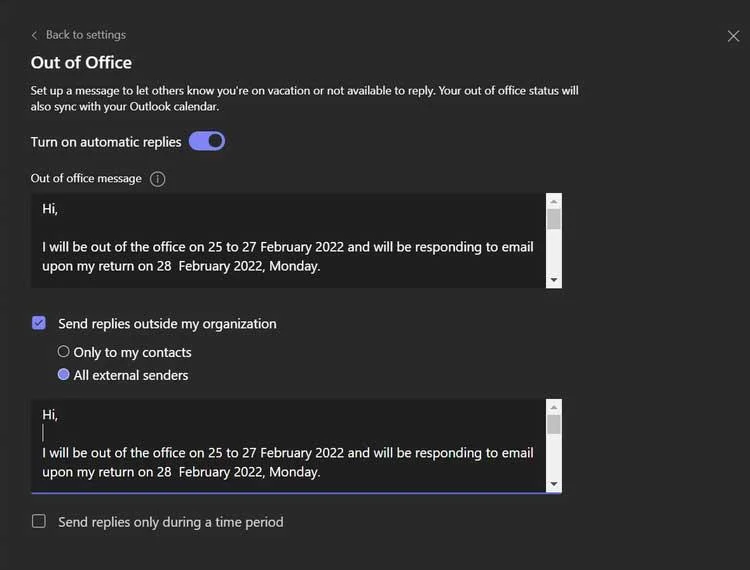
10. Next, set the message you want to send to the external partner. Type a reply in the dialog box provided, or you can copy & paste the message in the Teams status.
11. You also need to set up the time Teams sends automatic replies. Click the box next to Send replies only during a time period to activate it.
12. Finally, click Save .
Set away status via Microsoft Teams Settings
1. Open the Microsoft Teams app on your computer.
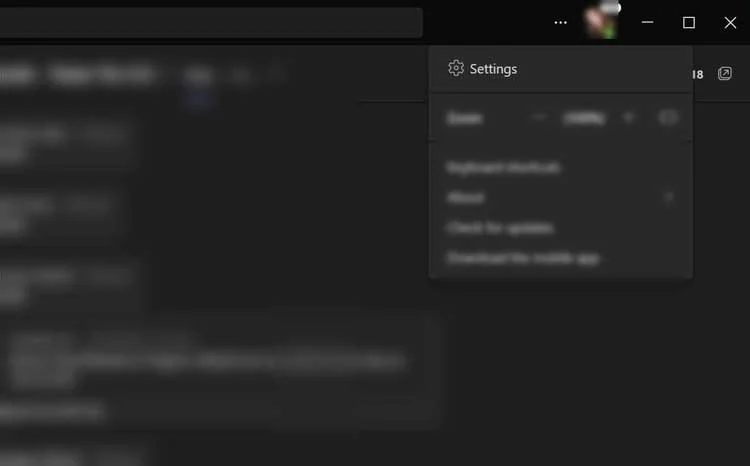
2. Then, click the 3-dot menu next to the profile photo.
3. Select Settings .
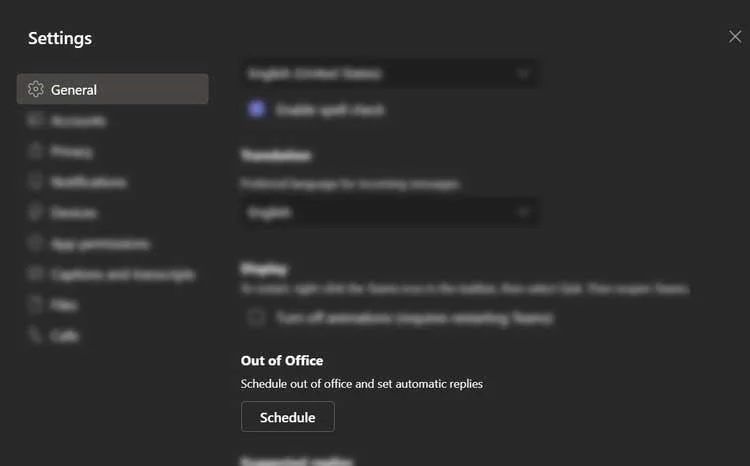
4. In the right navigation panel, click General . Next, scroll to the bottom of the General page and click Schedule . The Out of Office window opens.
5. Follow steps 6 through 12 in the previous instructions to set Out of Office status on Teams.
How to remove Out of Office status on Microsoft Teams
If you want to return to normal mode and turn off automatic replies, follow these steps:
Above is how to set absent or non-working status on Microsoft Teams . Hope the article is useful to you.
Back up coolwsd.xml and its deployment sources, restore them safely, and verify CODE before users return to editing.
Allow the exact Nextcloud or other WOPI origin in CODE, then verify the active host allow-list and distinguish it from Nextcloud’s source-IP restriction.
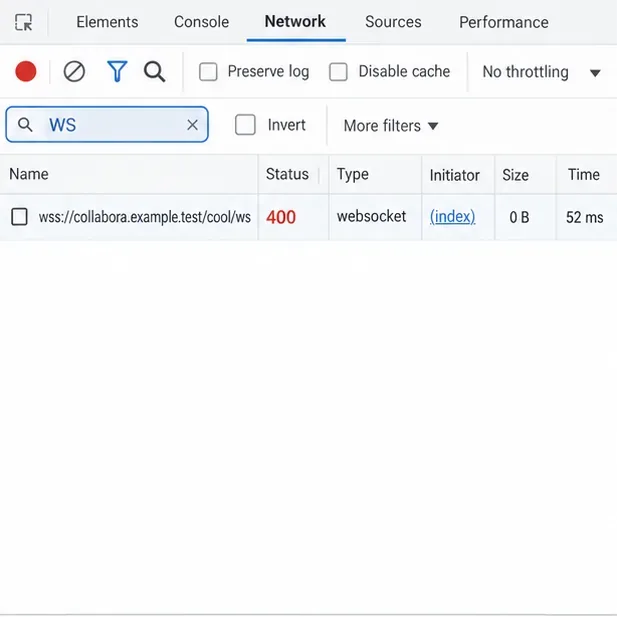
Trace Collabora’s browser, WOPI, and WebSocket connections to find why a document will not open, then apply the fix that matches your Nextcloud setup.
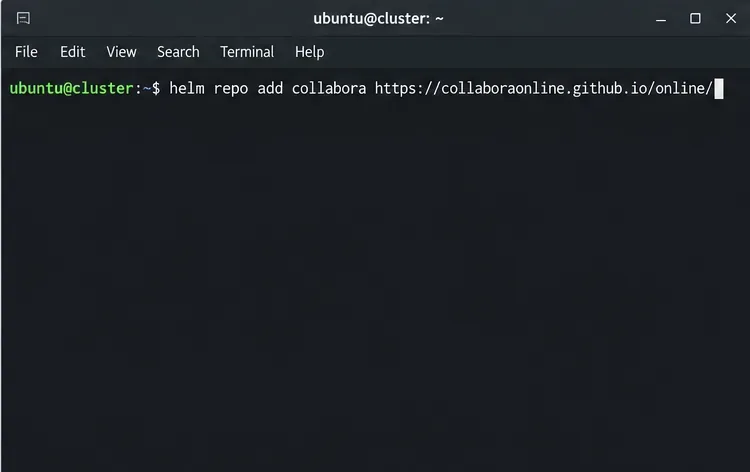
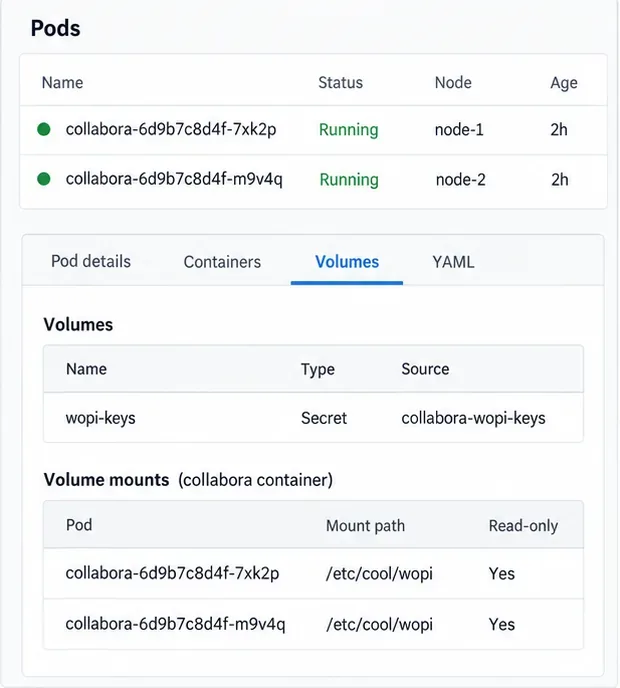
Deploy Collabora CODE replicas with Helm, keep each document on one pod through WOPI affinity, and verify ingress, node placement, and Nextcloud editing.
Trace a failed socket handshake from browser to coolwsd, then match the reverse-proxy route to your Collabora version, including the CODE 26.04 Apache change.
Trace Collabora WOPI proof failures to mismatched keys, stale discovery data, clock drift, or proxy URL changes—without weakening validation.
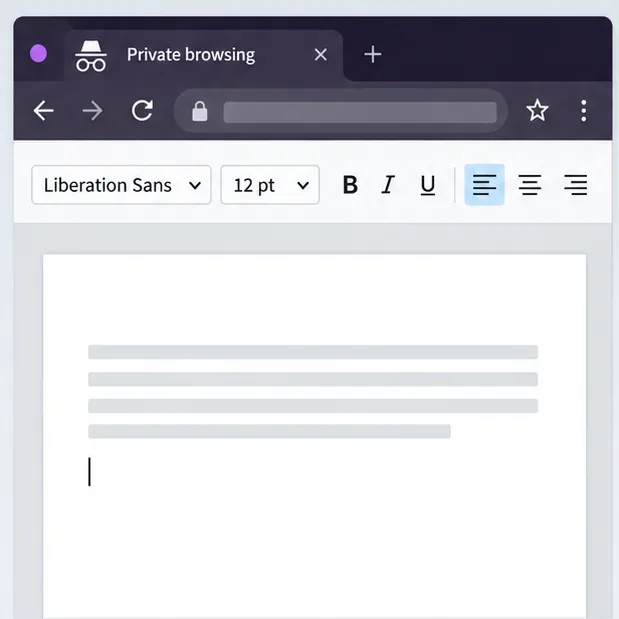
Reset browser zoom, test a clean session, and identify when a malformed size menu needs a Collabora server update.
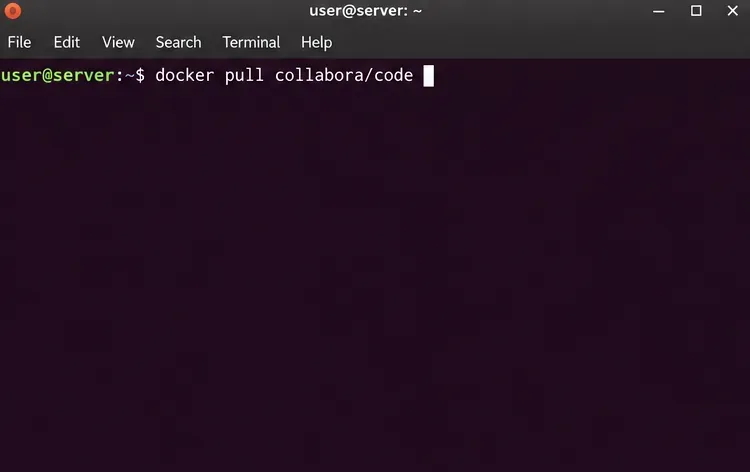
Deploy Collabora CODE with Docker, connect it securely to Nextcloud Office, and verify document editing with practical WOPI and proxy checks.
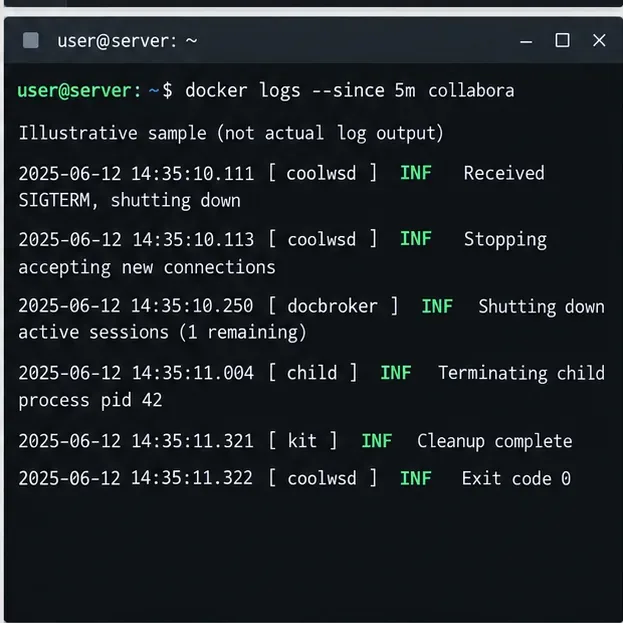
Temporarily raise coolwsd to debug, capture one failed open, and use the log sequence to separate WebSocket, WOPI, proxy, and container issues.
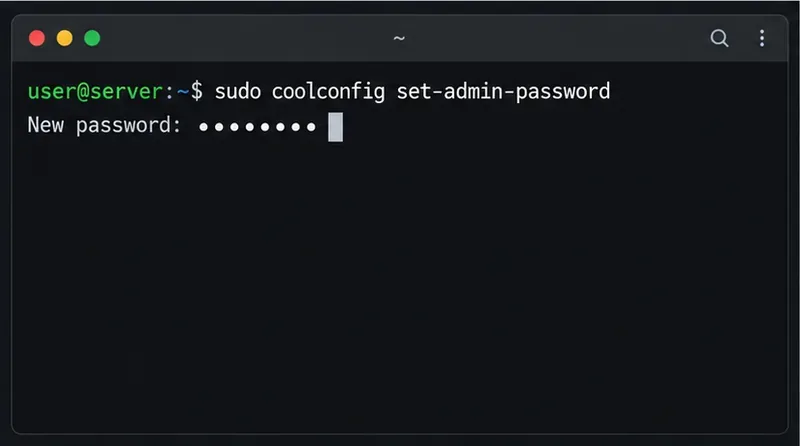
Configure the Collabora Online admin login for Docker or Linux, restart the right service, and verify the new password without exposing it.