When building characters in ScratchJR, adding other content such as sound and language to the character will make the program more interesting. In this article, students will learn how to add sound and use sound in ScratchJR for each of their characters. We can use the available sounds in the program, or use the sound recording for the character for ScratchJR.
How to use sounds in ScratchJR
Step 1:
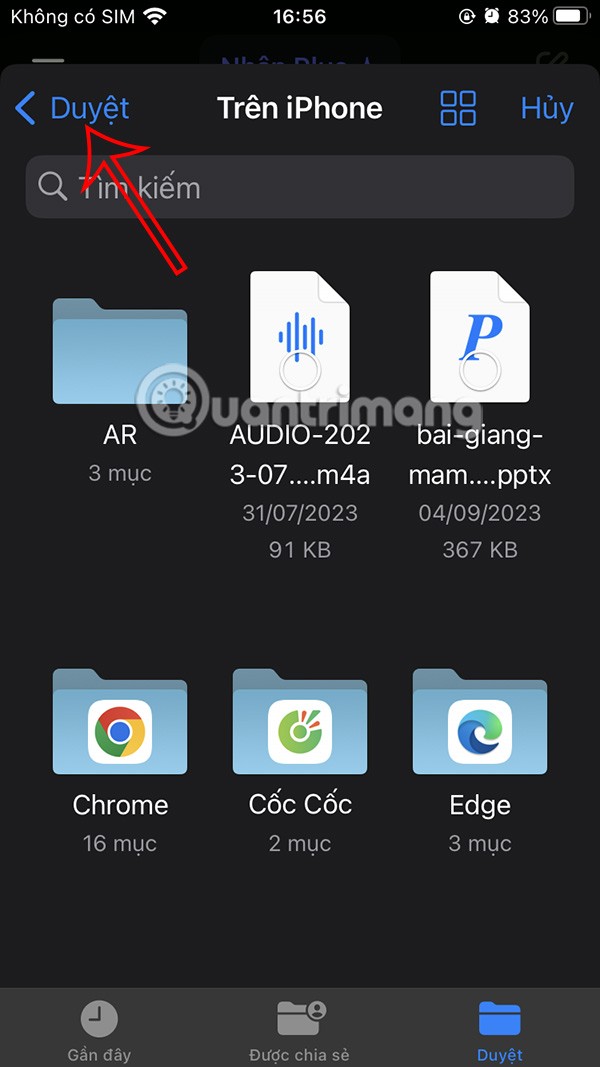
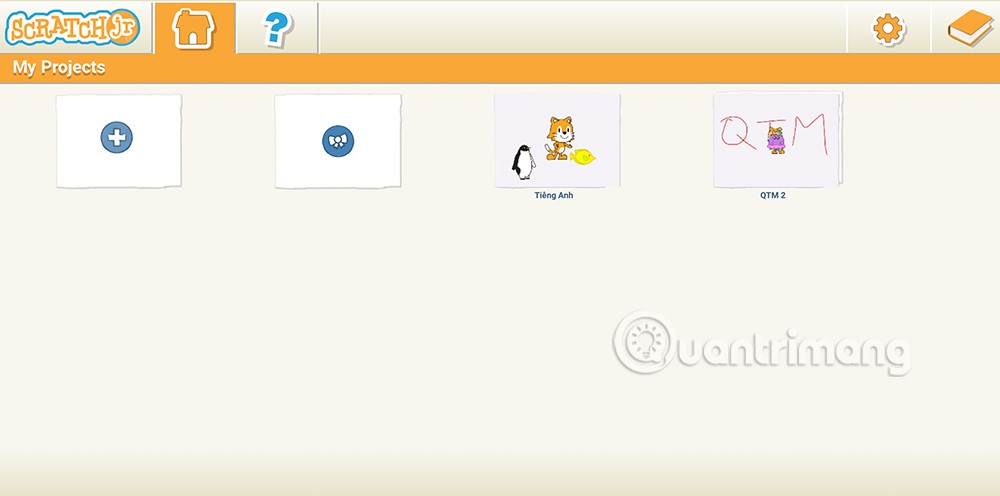
We reopen the English program we created earlier on ScratchJR.
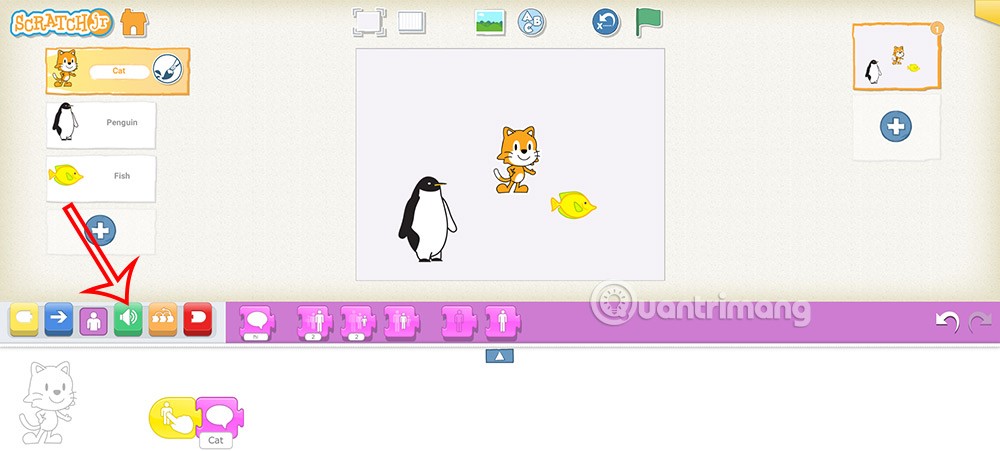
Next, click on the first character you want to use sound for in ScratchJR and then click on the blue speaker icon .
Step 2:
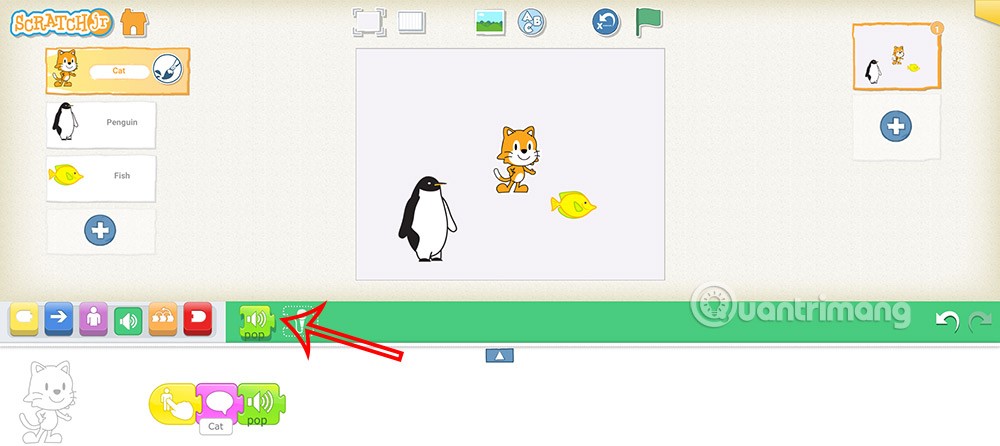
In the sound command you will see 2 blue command blocks. The first command is to make a POP sound. You can drag this blue piece down to make the character make a POP sound.
Step 3:
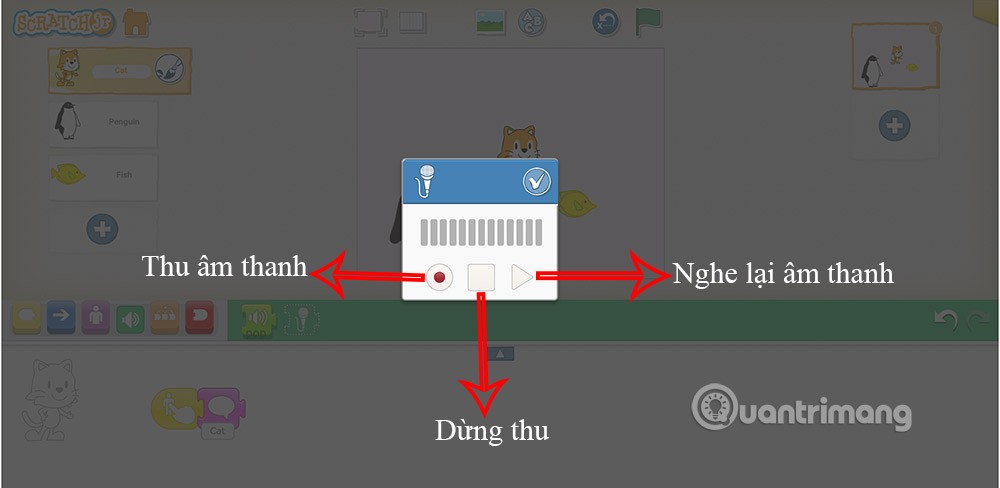
To create a new sound for the program, click on the second microphone command in the sound command. A small sound recording interface will appear .
- Click the red button: Start recording, you can pronounce the English word you want.
- Click the square button: Stop recording.
- Click the triangle button: Listen to the recorded audio again.
- V mark: Save the audio clip and close the interface.
Step 4:
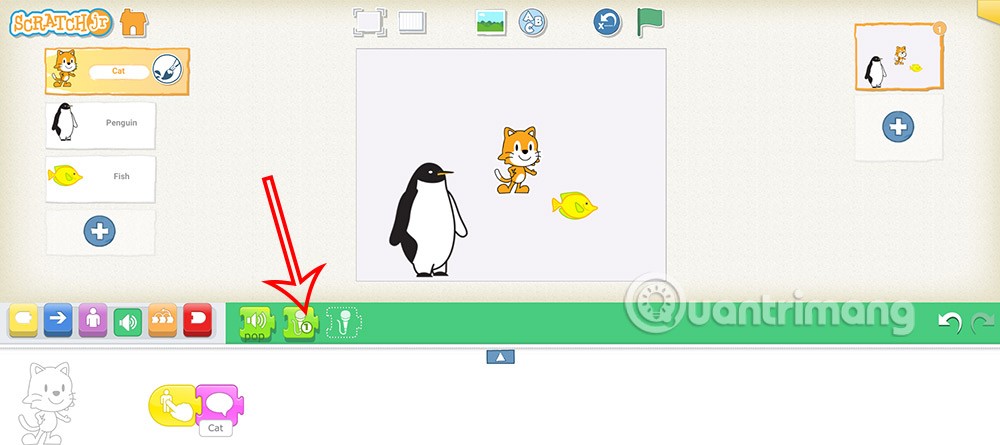
After recording the sound, a new command will appear in the sound command group , which is the sound you just recorded.
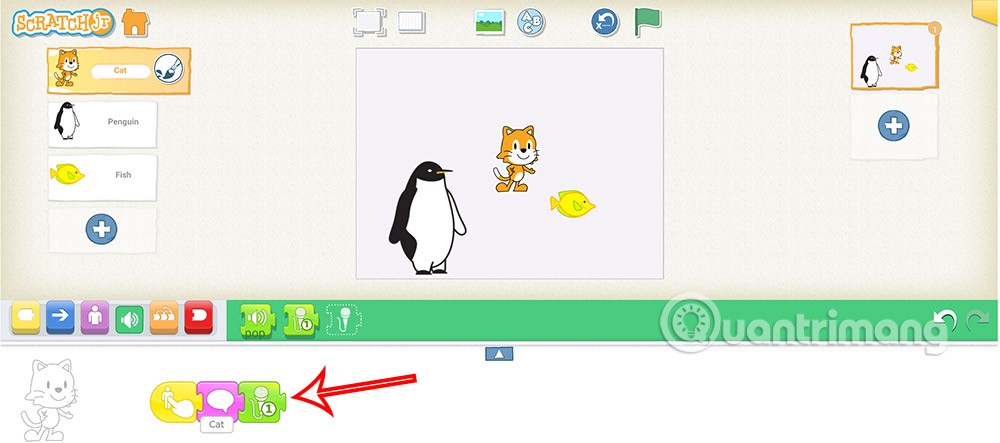
We will drag and drop this captured audio piece to the character in the show.
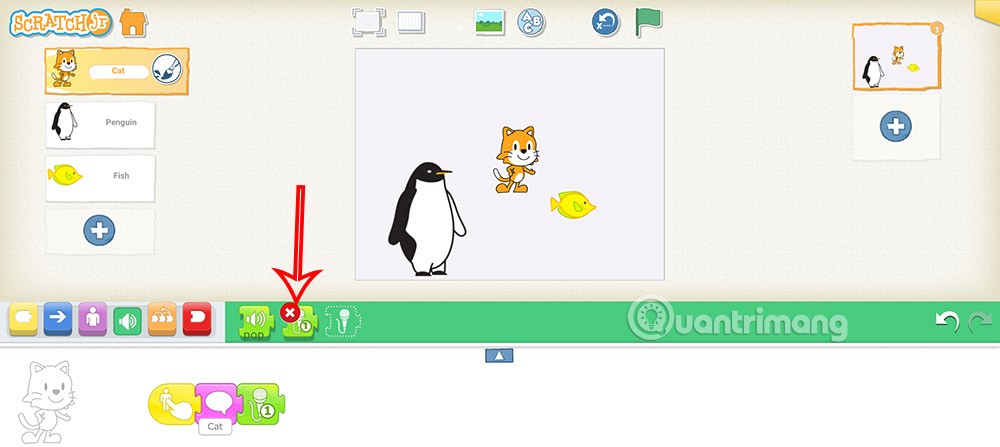
To delete a recorded sound, press and hold the sound patch and then press the red x icon to delete . Note that we can only record a maximum of 5 different sounds.
Step 5:
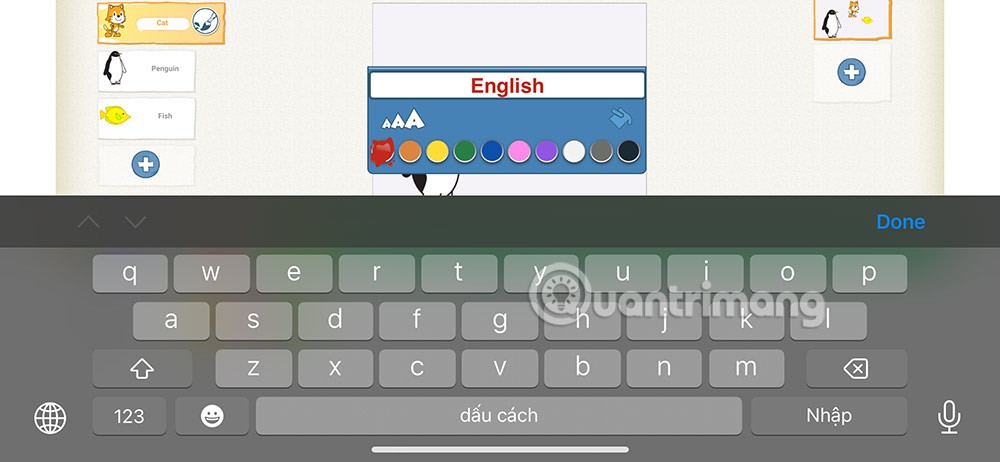
To create a complete English learning program, you need to add a title . Click on the ABC icon at the top of the stage.
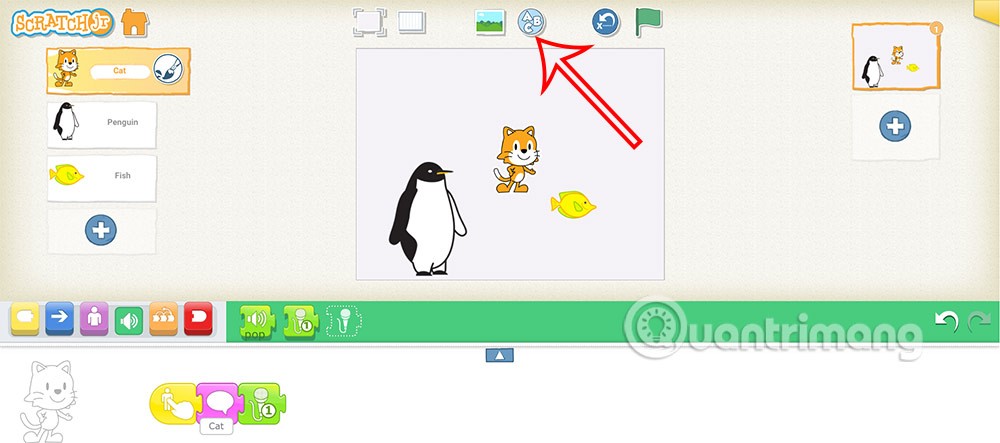
Now display the interface to enter the title for the stage .
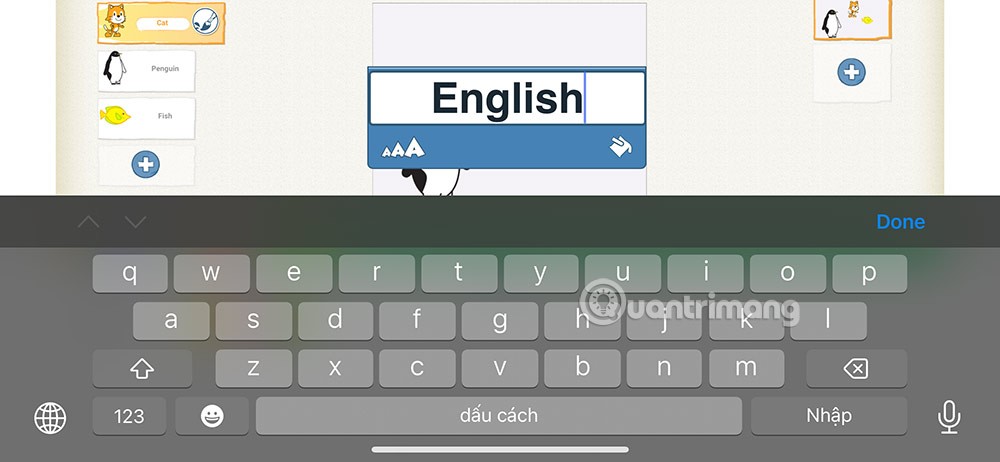
Below the aaa icon to resize the title to your liking.
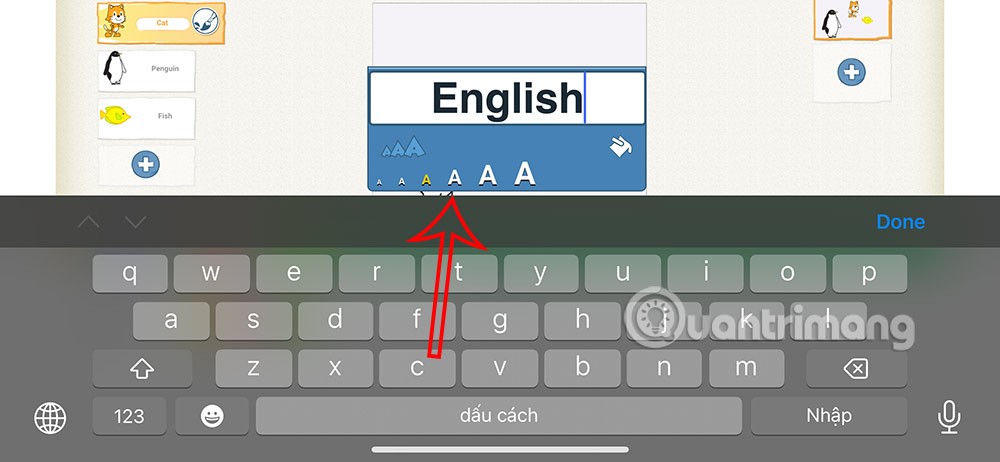
We can zoom in or out the title displayed in the stage.
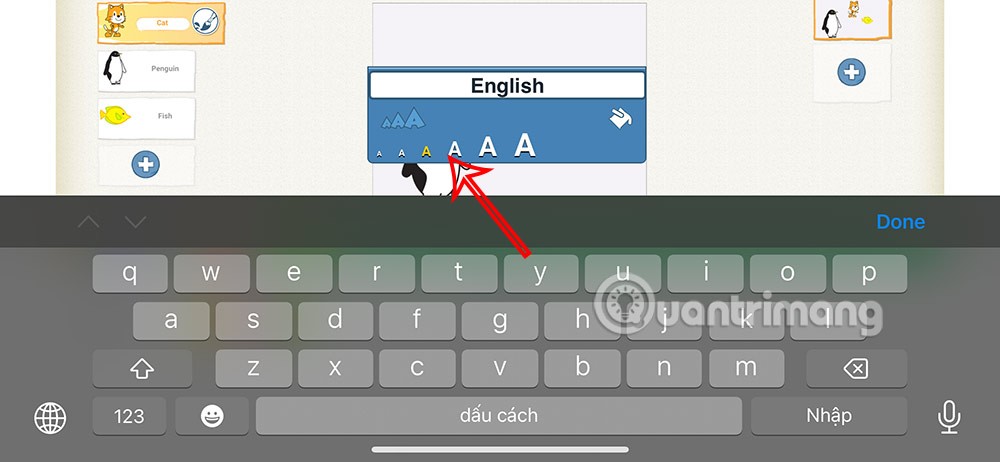
Paint bucket icon to change the text color of the title.
Click on each colored circle below to change the title color you want to use.
