ChatGPT extensions help users freely create their ideas, such as creating videos on ChatGPT. Users just need to enter the description of the AI-generated video on ChatGPT, and then the invideo.io extension will analyze the content and create this AI video. Below is a guide to creating videos on ChatGPT.
How to create AI videos on ChatGPT
Step 1:
First, users need to log in to ChatGPT and then look at the left menu and click Explore GPT.
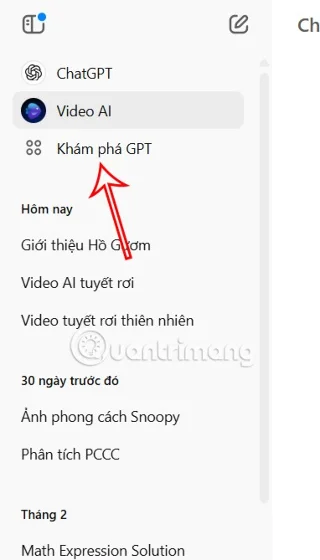
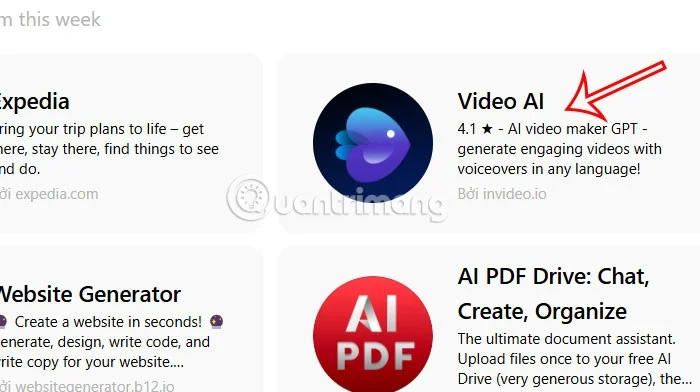
Display the application interface on ChatGPT, scroll down and click on the Video AI application to use.

Step 2:
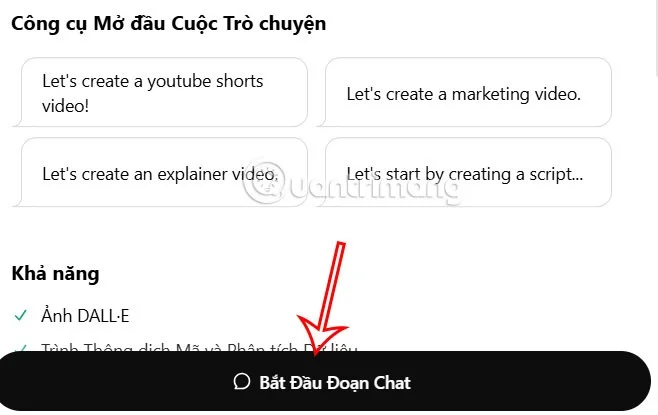
Then you will see information about the video creation application on ChatGPT, users click on Start chat to perform.

Step 3:
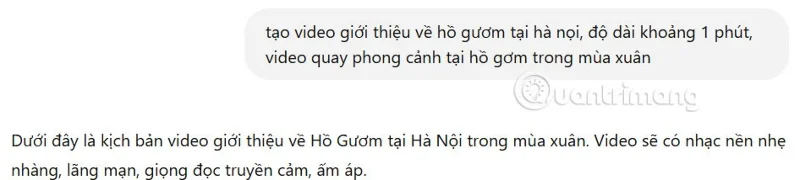
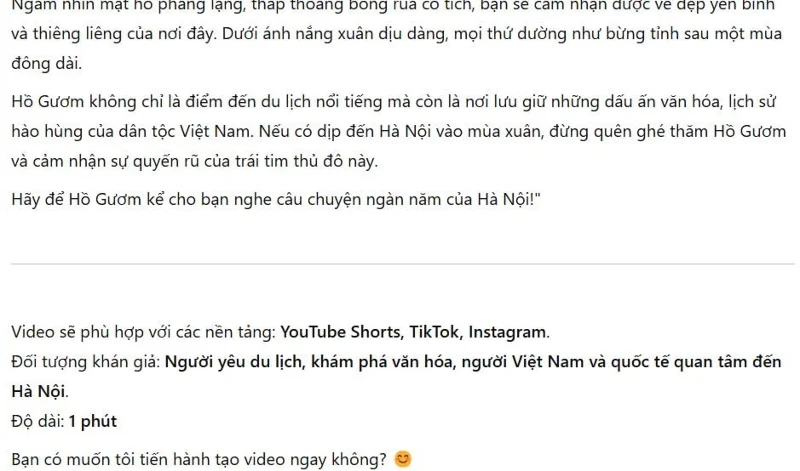
Now we will enter the request to create an AI video into the interface and press Enter. Then you will receive the script that the video will create for you to preview.

You read the content and the video script AI will create later. If satisfied, we enter the command to create the video to execute.

Step 4:
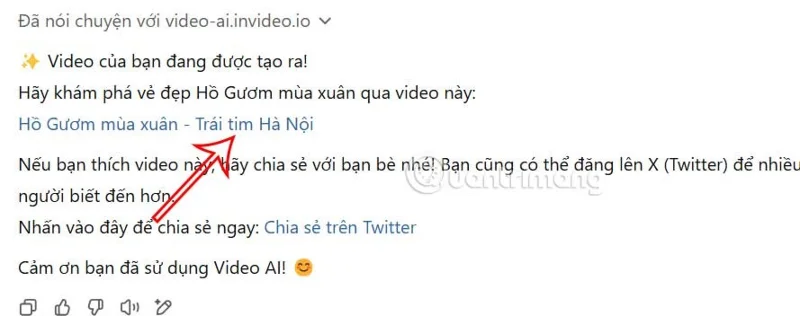
You will then see a response from the AI video creation app on ChatGPT. Users click on the blue link to switch to the AI video creation interface on Invideo.

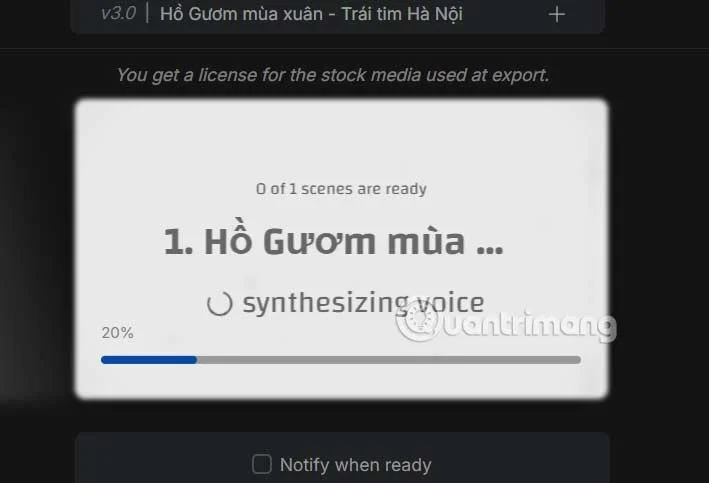
We wait for the video creation process on ChatGPT to be done. This process depends on the length of the video you want to create, as well as the content you want to create.

Step 5:
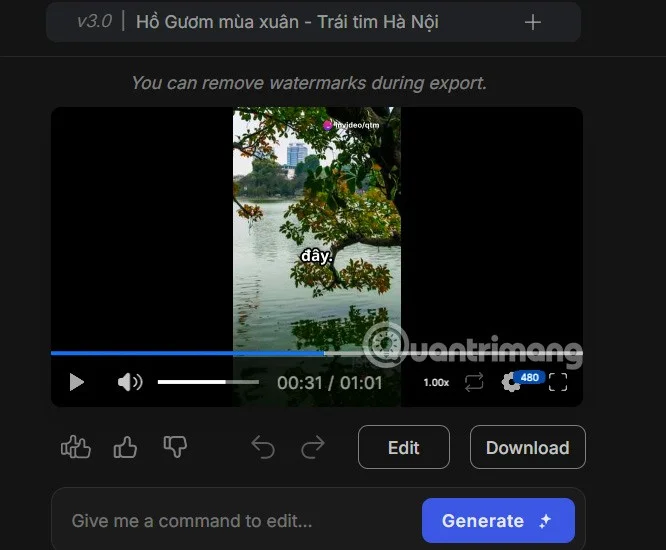
When the AI video creation process is complete, you will see the AI video as usual. We can click Edit to edit the video.

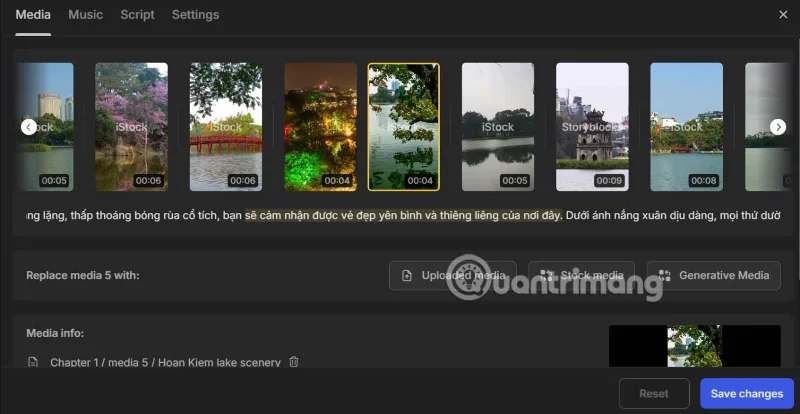
The video editing interface will be divided into different sections. You can re-enter the description content to recreate the scene in the video. If there are any changes, click Save changes to save the new content for the video and proceed to create a new one.

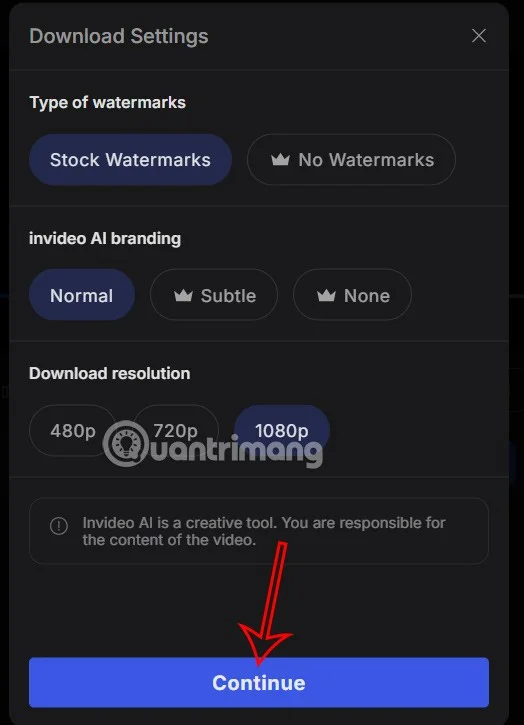
Your AI generated video will have a watermark because you are using the free version, click Continue below to continue.

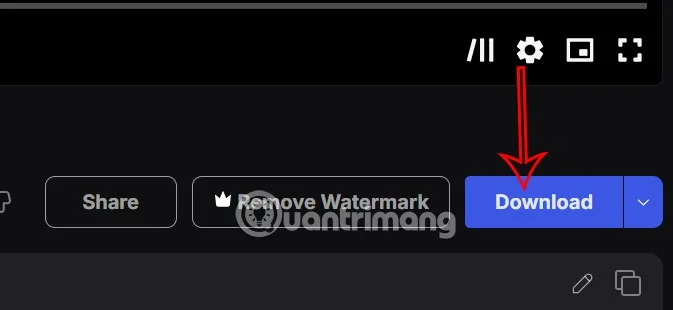
Finally, the user clicks the Download button to download the video to the computer and it's done.