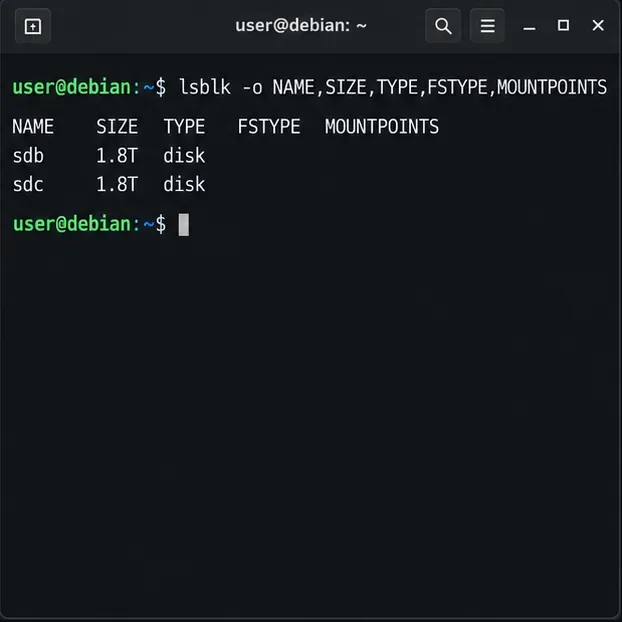
Keep Debian 12 Security Updates Running on a Headless Server
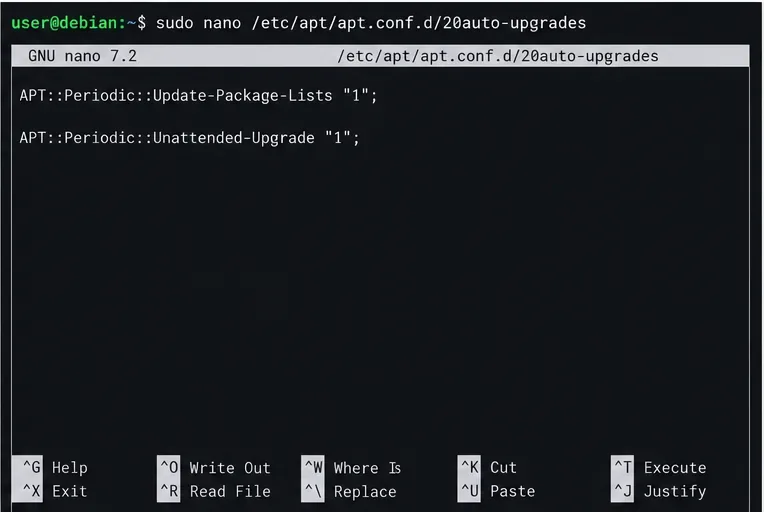
Enable Debian’s unattended security updates over SSH, keep the default package sources, and verify scheduled runs through systemd and APT logs.
When playing Lien Quan, you will have beautiful moments when you are alone, accepting 2, accepting 3... This makes you want to share them with friends, other players. This article will help you to be able to record moments or the entire match as quickly as possible.
Table of Contents
To be able to use this mode, players need to follow these steps:
Step 1: At the main interface of the game, select the Settings icon in the top right corner of the screen.

Step 2: In the Settings section, select Record Match.

Step 3: Turn on the navigation key in the Unlock moment recording section.
In addition, you can turn on the HD Recording button for better video quality.
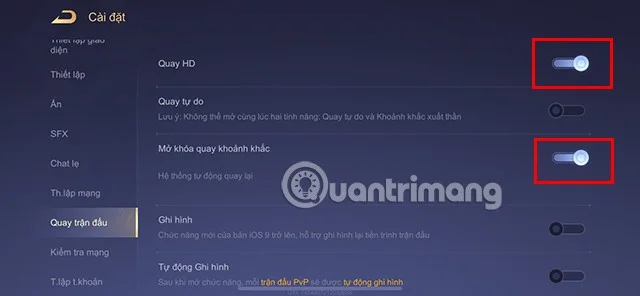
In addition to knowing how to record the best moments in the match, you can also choose Free Recording, Recording mode ... to record the entire match if your phone's memory capacity is large enough.
Step 4: After setting up as above, you can start playing the game and the system will automatically record your amazing moments.
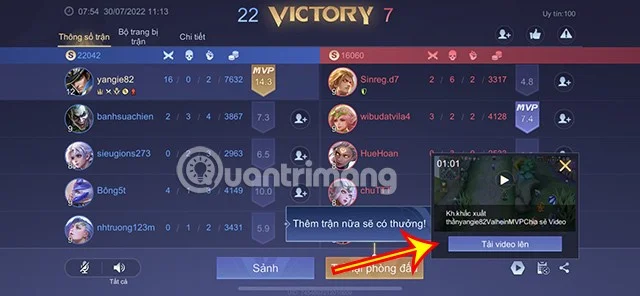
When the match ends, at the bottom right of the screen there will be a video icon , click here and select Initialize so that the system can create a video recording the match moment for you.
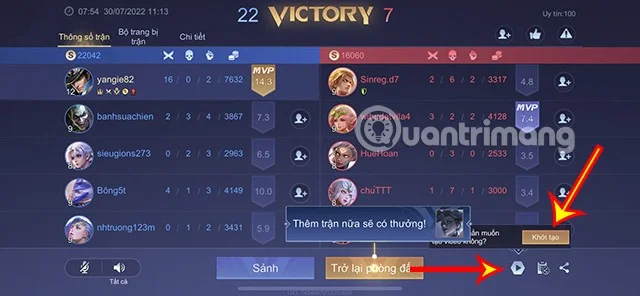
Through this, you can save videos to your device or share them directly on social networking platforms so that your friends can also follow your excellent match moments.
In particular, to be able to have the best moments, what you need to do is understand how to play, master how to use the champion you have chosen. Therefore, you can refer to some of the articles below to understand the gameplay of different champions.
Watch live in game
In case you want to review the video you recorded during the match, you can do the following.
Step 1: Click on Settings.
Step 2: Select Match Recording in Settings.
Step 3: Scroll down and select Watch Video.
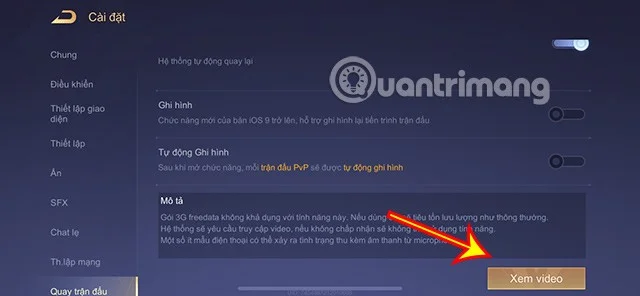
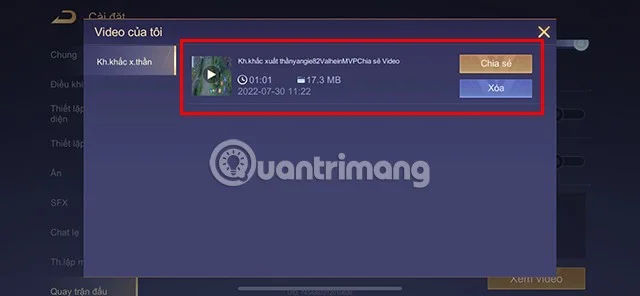
Here will be your Moment Videos , you can review or Share to the platforms you want.
In case the device memory is full, you can delete these videos via the Delete button.
Review via Photo Folder
In addition to watching directly in the game, you can also access the phone's Photos folder and review the video saved to your device. This will help you watch the video more easily as well as edit the video before sharing it with others.

Hopefully through this article, you can more easily record Lien Quan game videos and share your beautiful moments with your friends.
Enable Debian’s unattended security updates over SSH, keep the default package sources, and verify scheduled runs through systemd and APT logs.
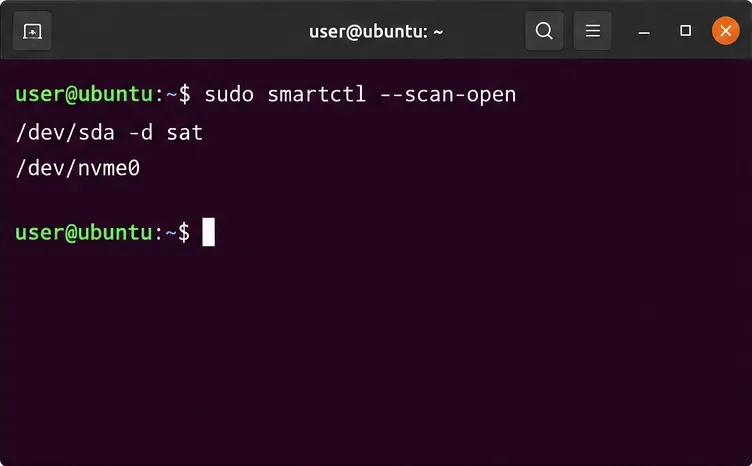
Compare mail delivery options, configure smartd on Ubuntu, and verify that disk-health warnings reach your inbox.
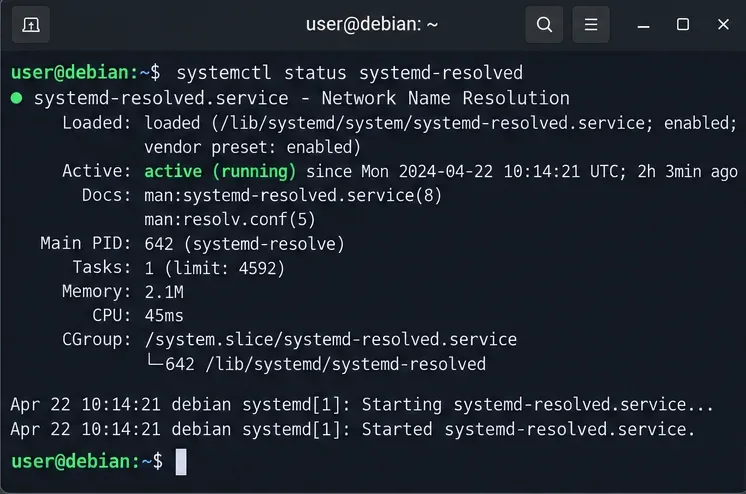
Restore DNS lookups on Debian 12 by checking systemd-resolved, repairing resolv.conf when needed, and verifying upstream DNS and application resolution.
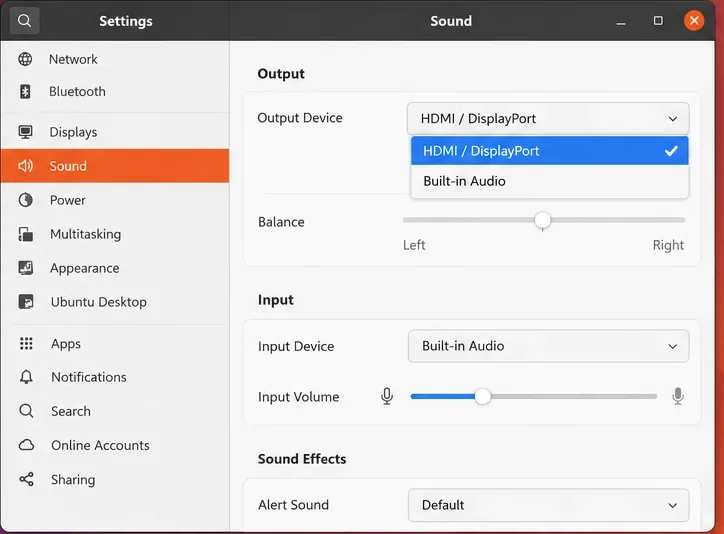
Get Ubuntu to detect your monitor or TV as an audio output, select it in Sound settings, and check the connection or PipeWire device list if HDMI is missing.
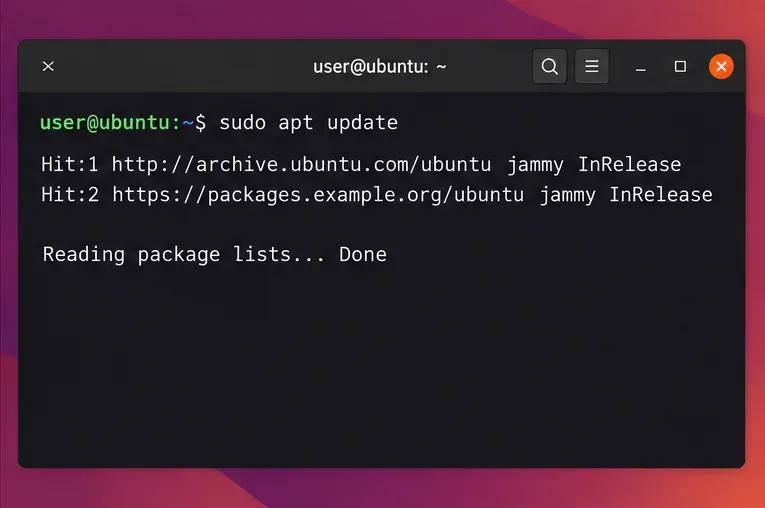
Resolve Ubuntu APT signature warnings safely by identifying the failing source, refreshing its verified key, and checking the result without disabling security.
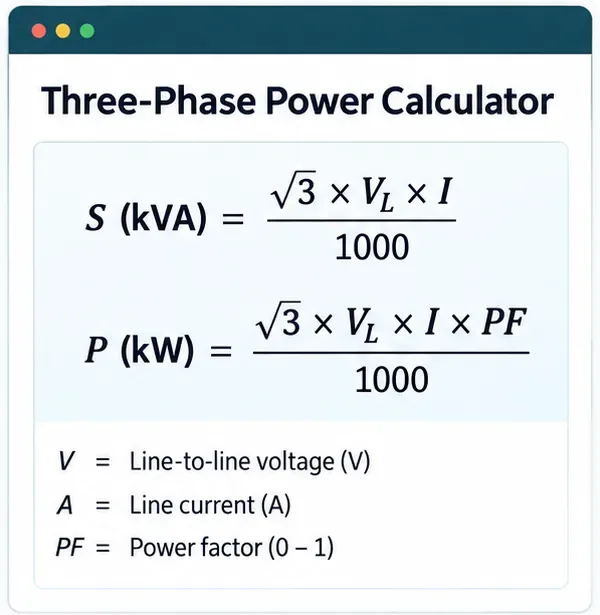
Learn the balanced three-phase formulas and convert line voltage, current, kW, kVA, and power factor step by step, with a worked example and limits to check.
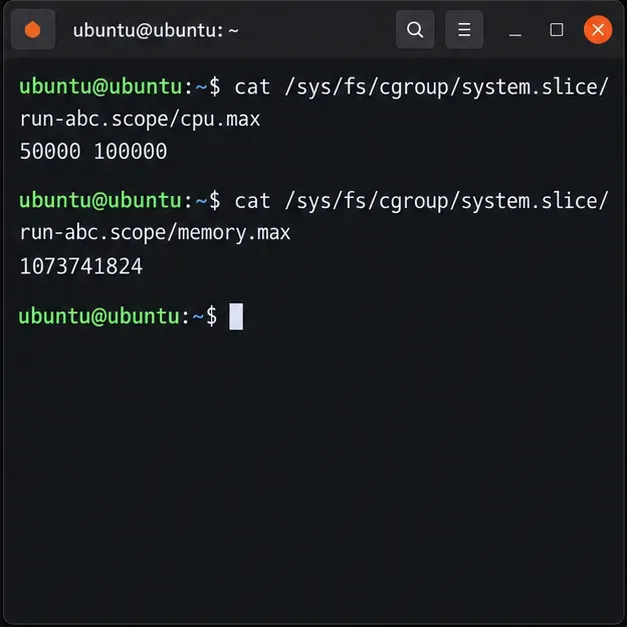
Run a workload inside a systemd scope with CPUQuota and MemoryMax, then verify the limits through cgroup v2.
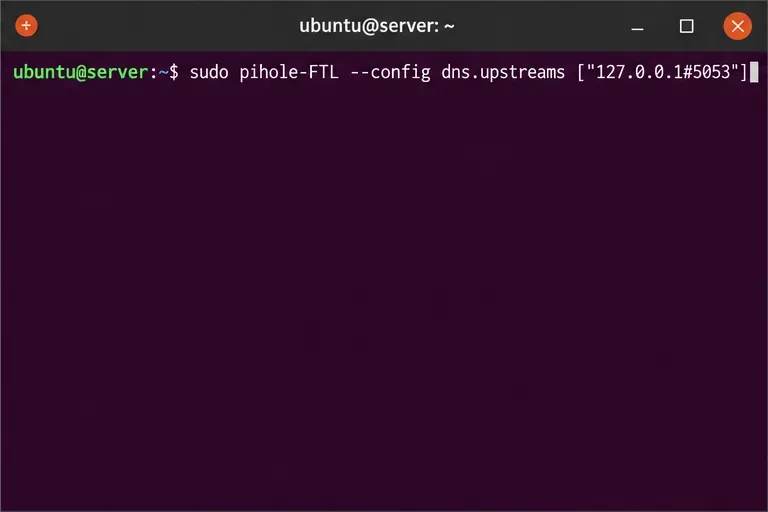
Set up dnscrypt-proxy as Pi-hole’s local DoH bridge on Ubuntu 24.04, with a localhost-only listener, resolver selection, and checks before switching DNS.
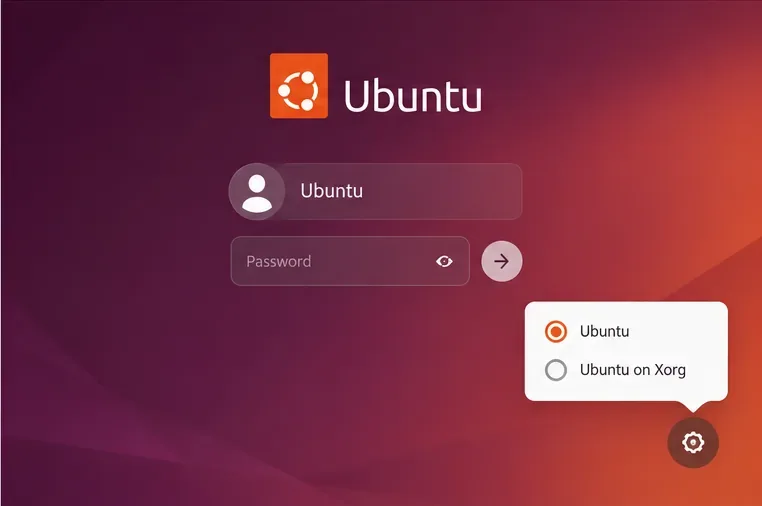
Check Ubuntu’s touchpad settings, confirm Wayland, and test GNOME’s built-in swipes before troubleshooting apps or hardware.
Create and verify a two-disk Debian 12 RAID 1 data array, format it safely, and configure it to assemble and mount after reboot.