If you are having problems with your external webcam or the built-in camera on your laptop, resetting the camera settings on Windows 11 can be an easy fix. Sometimes incorrect settings, software updates, or driver issues can cause the camera to not work properly. Here's how to reset your Windows 11 camera settings.
How to reset Windows 11 camera settings via Settings
Step 1:
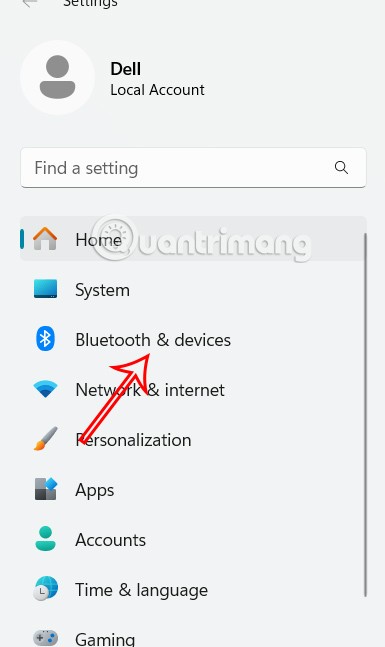
Press Windows + I to open Settings on your computer, then click Bluetooth & Devices on the left side of the interface.
Step 2:
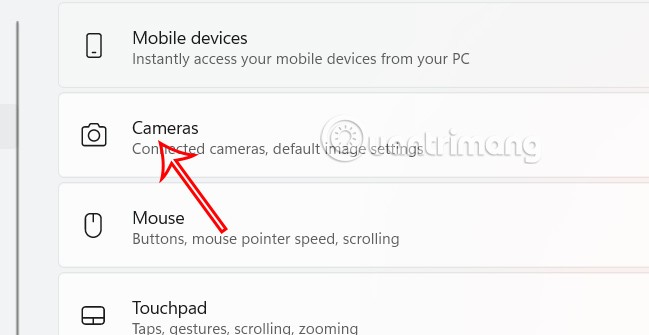
Looking at the interface next to it, the user clicks on Cameras to adjust on the computer.
Step 3:
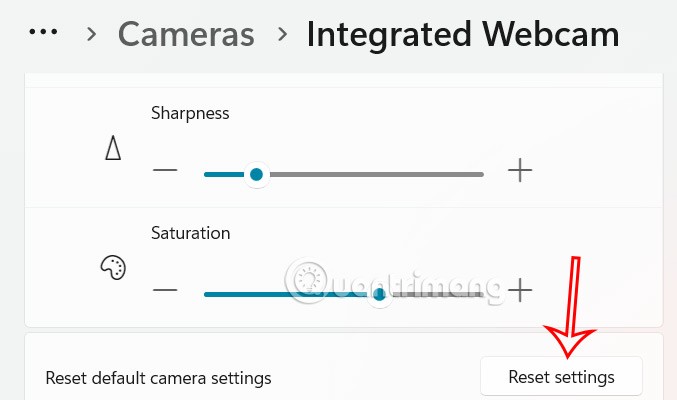
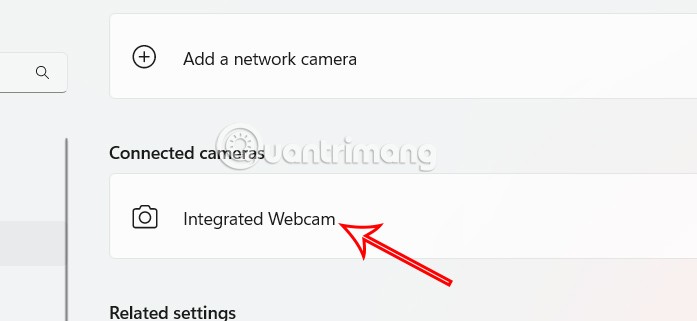
Now at Connected Camera, click on the camera connected to the computer or the camera available on the laptop to adjust.
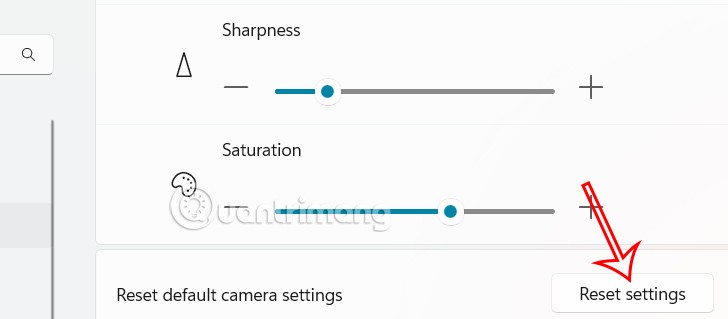
Finally, we click Reset Settings to reset camera settings on Windows 11.
How to reset Windows 11 camera settings via Camera App
Step 1:
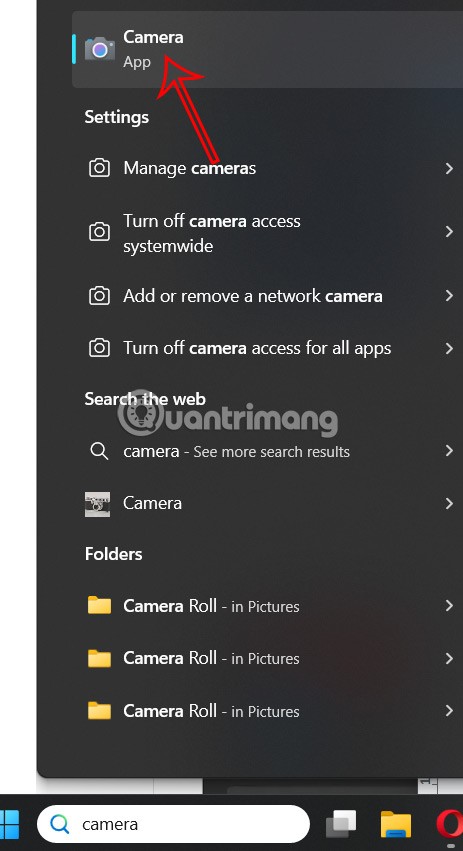
On the Windows interface, click on the search bar and enter the keyword Camera to access.
Step 2:
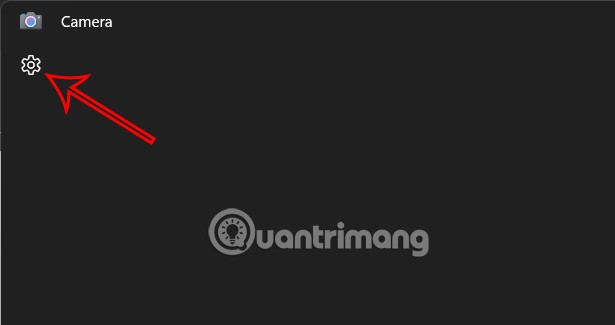
Go to the application interface, click on the gear icon to adjust.
Step 3:
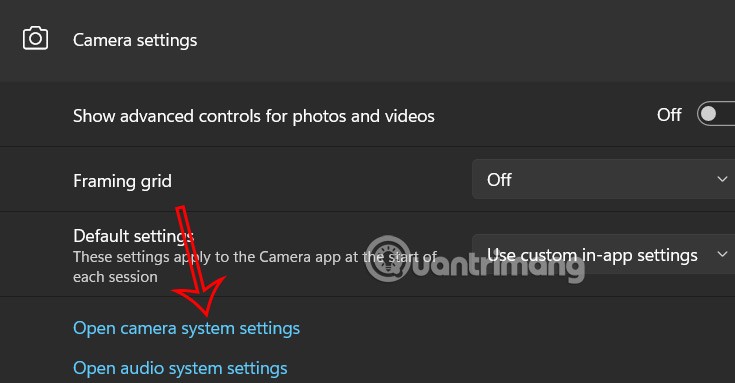
Now click Open Camera System Settings to continue.
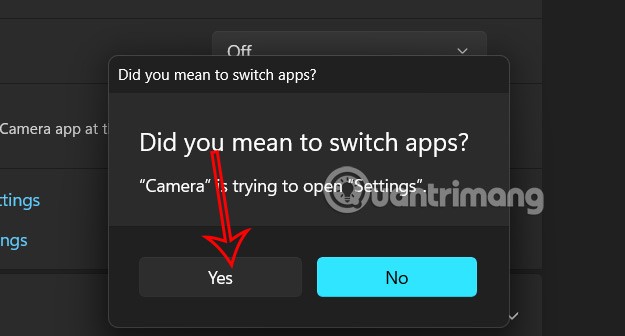
Displays a message as shown, click Yes to go to the camera settings interface.
Finally, you select the camera to change the settings and press Reset Settings to do so.
