Home
» How to
»
Things to know when connecting a hard drive to a Samsung LED TV
Things to know when connecting a hard drive to a Samsung LED TV
The USB port on the TV not only allows you to connect the TV to USB, but you can also plug the hard drive directly to listen to music, watch movies, watch photos ... So how to connect Samsung LED TV to the hard drive? Does every television accept the hard drive? Let's go with WebTech360 to find the answer in the article below!
Which Samsung LED TV is connected to the hard drive?
Connecting a hard drive is very common on television
Connecting the hard drive to the TV is not only on the TV with a USB port or not, but also depends on whether the USB port has enough power to power the hard drive to keep working. This also means that, for each type of USB port on the TV, connecting the hard drive requires different actions. On Samsung LED TVs are as follows:
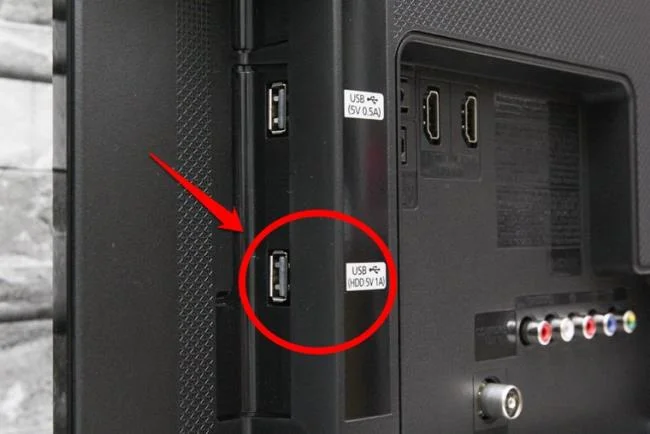
- If your TV has a USB port, note the word HDD: This means, this USB port is best supported when you plug the hard drive into the TV. Now you just need to connect to the hard drive through this port, and the TV can read content from pictures to music, movies.
The USB port (HDD 5V / 1A) supports hard drive connection
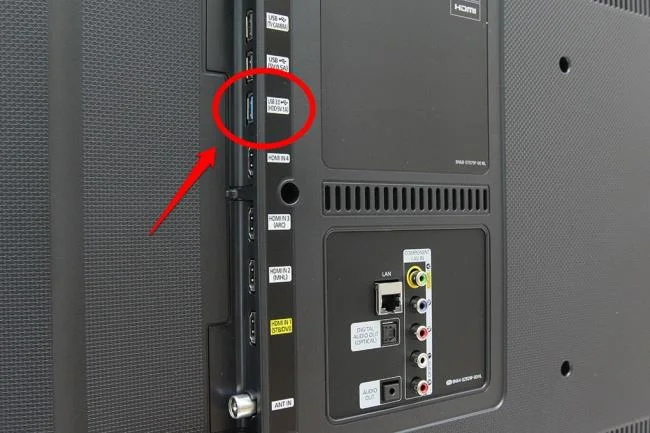
- If the TV has no USB port denoted HDD, but has a USB 3.0 port or the terminal is denoted green, this also means that this is a USB 3.0 port. Power from this port is enough to power the hard drive, so when you encounter this type of port you just plug the hard drive in and connect like the HDD port.
USB 3.0 port on Samsung LED TV
- If your Samsung LED TV does not have both the above USB ports, but just a normal USB port, to connect the TV to the hard drive through this port, you must power the hard drive using a USB cable. the letter Y then the TV can recognize the hard drive.
Maximum hard drive capacity
On Samsung LED TVs, the TV technically accepts all levels of hard drive capacity. That is, the TV is not limited to how much T is required for the TV to receive. However, the reality shows that the higher capacity hard drive has, the more difficult and slow the support of the TV will be, even if the capacity is too high, the TV will only receive and not read. Therefore, to ensure Samsung LED TV best supports hard drive reading, you should connect the TV to the hard drive with a capacity of less than 2T.
Connect the hard drive to comfortably listen to music, watch movies
What to do when the TV does not recognize the hard drive
If Samsung LED TV does not recognize the hard drive, or recognizes the hard drive but cannot read the contents, you can fix it by the following ways:
- Power supply for the hard drive. With conventional USB 2.0 (5V - 0.5A) ports, when connected, there is not enough power to connect the hard drive. Therefore, you need to power the drive by using a USB Y cable, one end of the cable plugs into another USB port on the TV to provide enough power to the hard drive.
- Use hard drives from reputable brands in the market.
- Use a hard drive with a lower capacity.
- If you have tried the above methods and the TV still does not recognize the hard drive, please reset the factory settings and reset the TV from scratch.
The above are important points to note when you connect the TV hard drive to the Samsung LED TV. WebTech360 hope this article has brought you useful information.
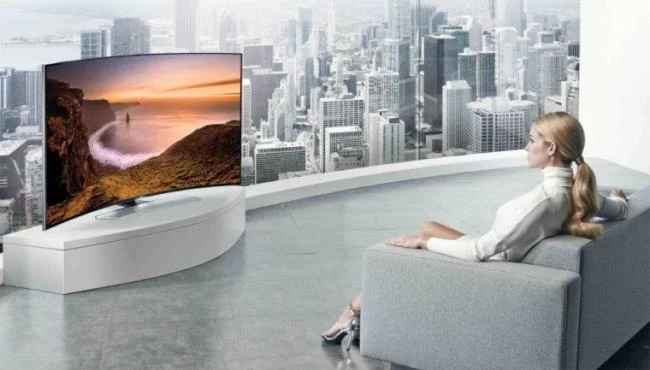
Some Samsung LED TVs allow to connect to a hard drive via USB