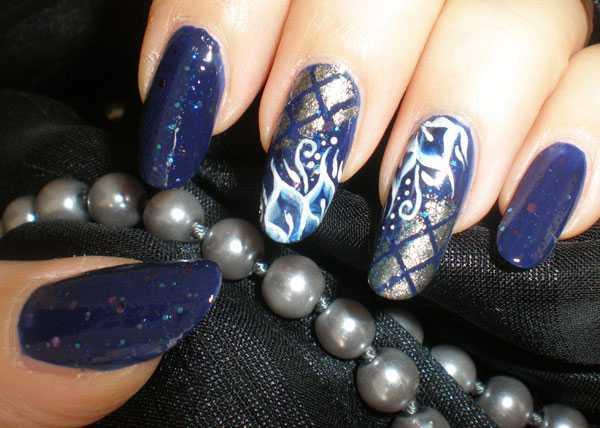
After presenting the nail polishes that are part of the permanent Faby Classics collection and the nail polishes of the Opi San Francisco collection , I created a manicure by combining these wonderful winter colors to offer you a winter nail art idea.
The inspiration came from the night in winter … the frost, the ice crystals, the cold wind, the reflections on the snow that are created with the light of the moon, nocturnal glows that illuminate frozen flowers.
A deep blue enriched with glitter together with a full and full-bodied silver for a very romantic Nail Art that recreates a moonlit night on the nails . If you like this idea, follow step by step how to make my winter nail art proposal.
REQUIRED
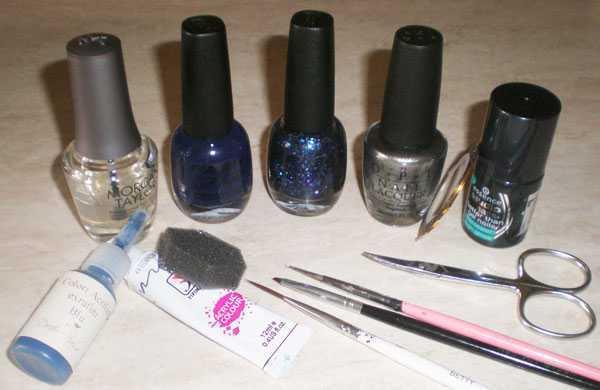
Let's see together what we need to create this winter Nail Art:
- Morgan Taylor nail polish base;
- nail polish Faby For Sure, Yes! 301;
- Faby The Milky Way 301 nail polish;
- Opi Haven't The Foggiest nail polish;
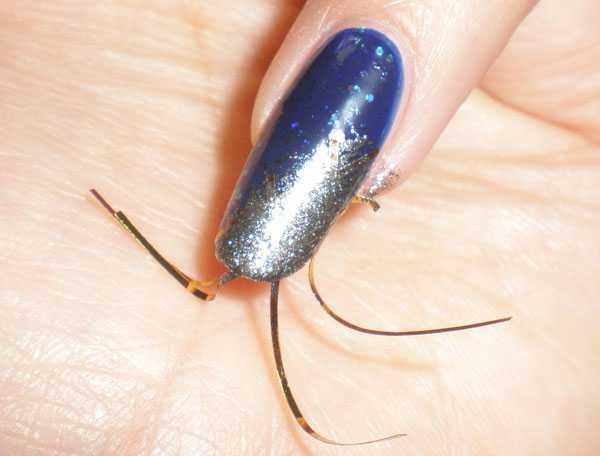
- earwig;
- striping;
- sponge;
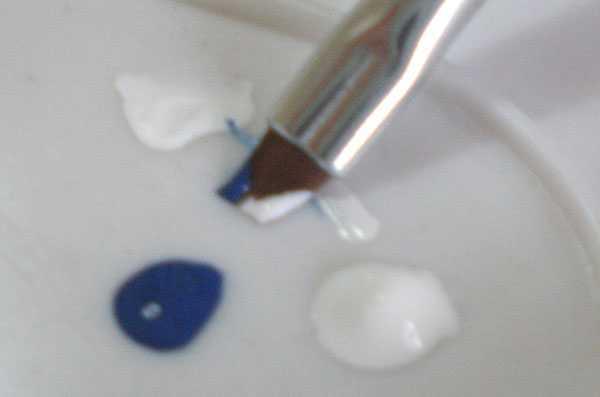
- white and blue acrylic colors;
- fine tip brush;
- Carrè brush;
- dotter;
- Essence top coat.
PROCEDURE
Below are the various steps to create this Winter 2013 Nail Art with two techniques, One Stroke and Striping:
FIRST STEP: spread the nail polish base to protect the nails.
SECOND STEP: proceed with the writing of Faby For Sure, Yes !.

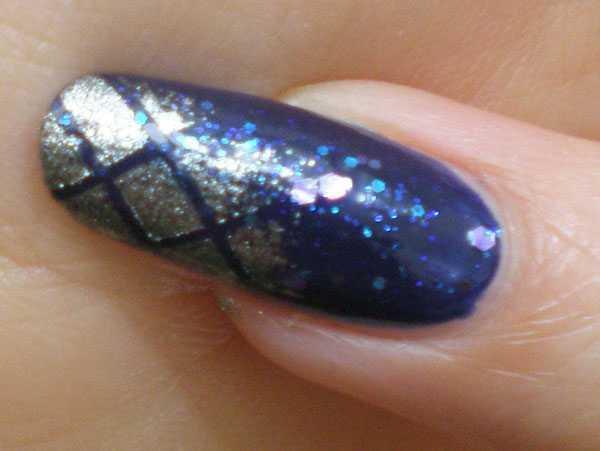
THIRD STEP: let it dry and apply Faby The Milky Way on all nails.

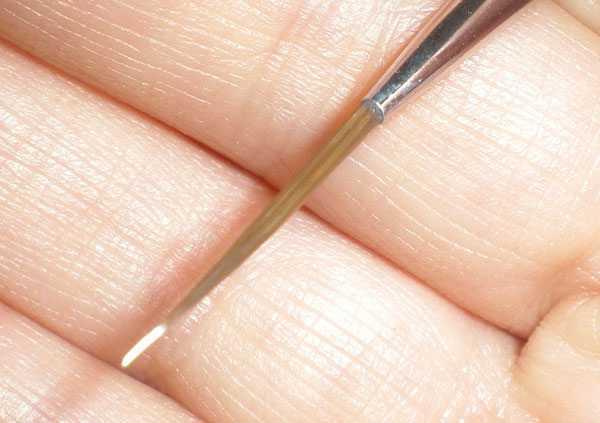
FOURTH STEP: with the scissors cut four strips of striping and apply them on the nails as if to form a diagonal grid.
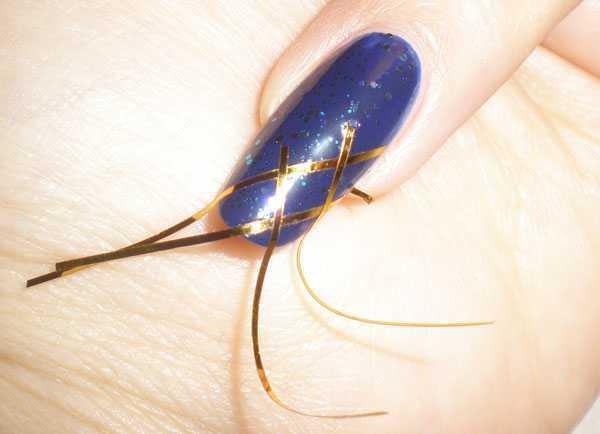
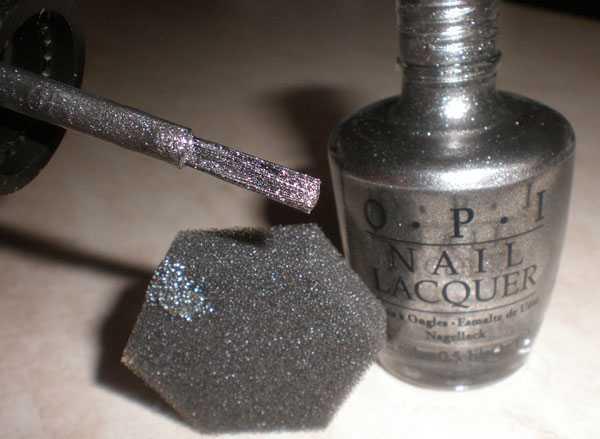
FIFTH STEP: put a droplet of Opi Haven't The Foggiest on the sponge and dab on the stripes by applying light pressure in order to obtain the shaded effect.
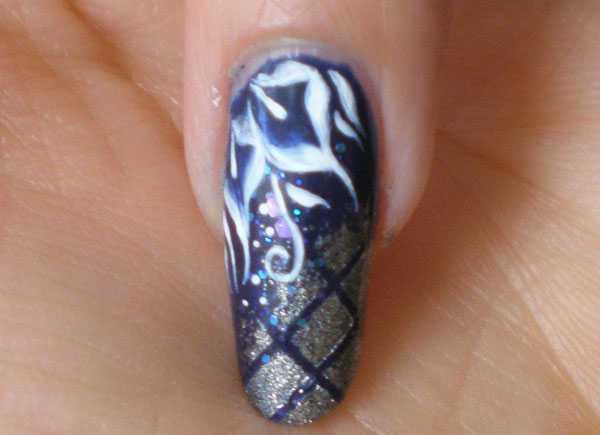
SIXTH STEP: take the white and blue acrylic colors, dip the carrè brush and make the first and second petal, immediately after the third and fourth to obtain a calla.
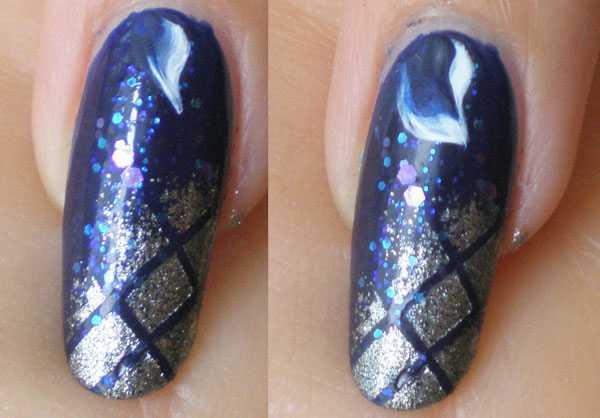
SEVENTH STEP: do the same for the second calla.
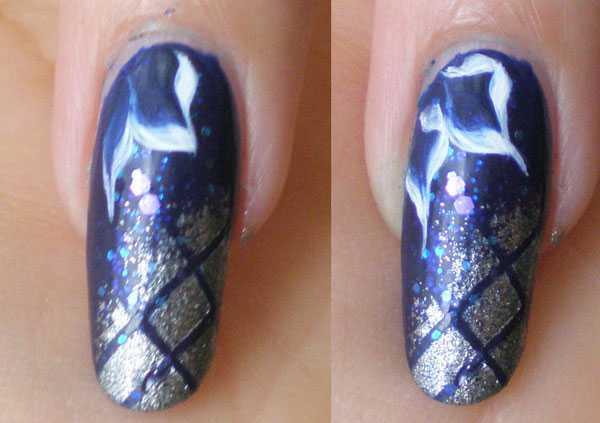
EIGHT STEP: with the detail brush, surround the calla lilies with the white acrylic color and finish them with a thin tip to make them harmonious.
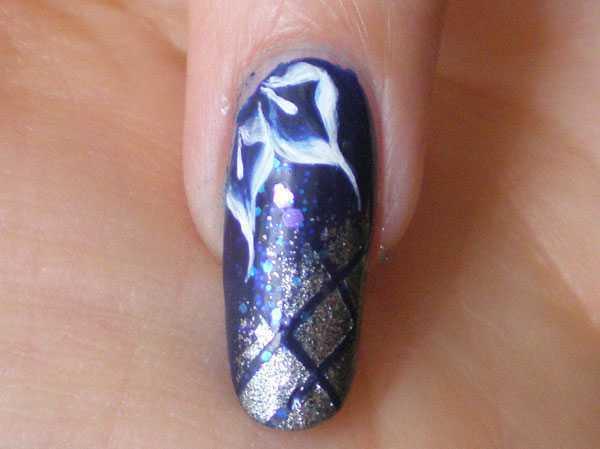
NINTH STEP: detailed with a small spiral some leaves and with the dotter some dots here and there.
TENTH STEP: perform the same procedure on the middle finger contrary to that of the ring finger.
ELEVENTH STEP: to finish it sealed with the top coat.

Do you like this nail art for winter? Let me know if you will try to make it too!


