Home
» Discover
»
Free Pumpkin Carving Stencils: 10 Spooky Designs to Print at Home
Free Pumpkin Carving Stencils: 10 Spooky Designs to Print at Home
A pumpkin stencil can look great on a screen and still be frustrating to carve if the print is too small or its delicate sections disappear around the pumpkin's curve. The useful starting point is a design you can print clearly, fit comfortably, and cut without losing the pieces that hold it together.
These 10 free pumpkin carving stencils come from The Pumpkin Lady's original pattern library, created by Lisa Berberette. Each link below opens a printable PDF on the artist's own website. There are classic faces, ghosts, a cat, a bubbling cauldron, and more detailed skeleton scenes.
Download links and PDF contents checked November 1, 2026. The artist currently offers the patterns free; paper, ink, pumpkins, and tools are separate costs. The PDFs retain personal-use and copyright restrictions, so download from the source rather than redistributing the files.
10 spooky pumpkin designs with free printable PDFs
The notes below describe the shapes visible in each file and the details to consider before printing. They are selection guidance, not timed carving tests or the publisher's difficulty ratings. For a less complicated first project, start by looking at Abner's few large facial shapes.
A skeleton peering between tombstones above a grassy edge.
A detailed choice for a larger clear surface. Small bones, facial features, and grass tips require controlled cuts.
Choose for the pumpkin you have. A tall, narrow pumpkin is a better candidate for an upright composition than a wide word design. If the only way to fit a scene is to shrink its tiny details until you can barely distinguish them, switch to a simpler pattern.
1. Print one pattern and check the size
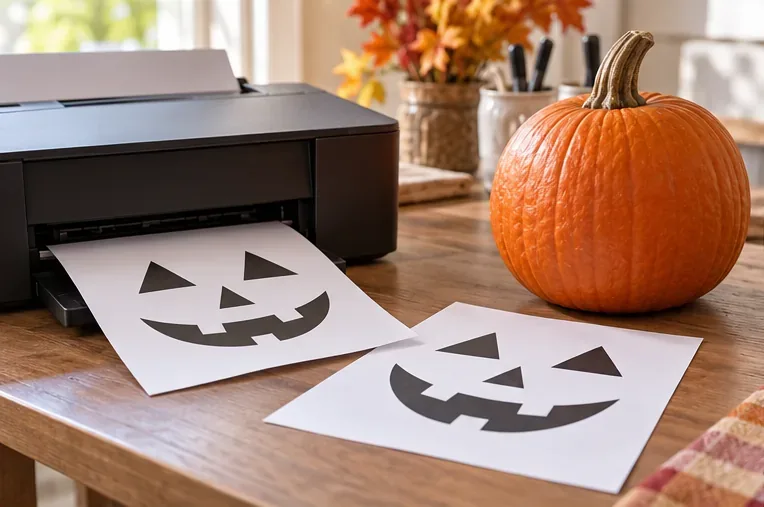
Open the selected PDF and use its print command. Choose the paper you have, such as US Letter or A4, and match the page orientation to the file. Some designs are portrait; others are landscape. Use print preview to check the entire outline and any instructions before using ink.
Start with a size that fits within your printer's printable area, then hold the paper against the pumpkin. The whole design should sit on a usable front surface without wrapping so far around the sides that you cannot work comfortably. If necessary, adjust the scale and print again.
Leave the printed instructions visible on a spare copy or nearby screen. Numbers, shaded regions, and outlines can mean different things within a pattern; read that sheet's cutting directions instead of assuming every dark area should be removed.
Print a clear pattern, then check its size against the pumpkin before transferring it.
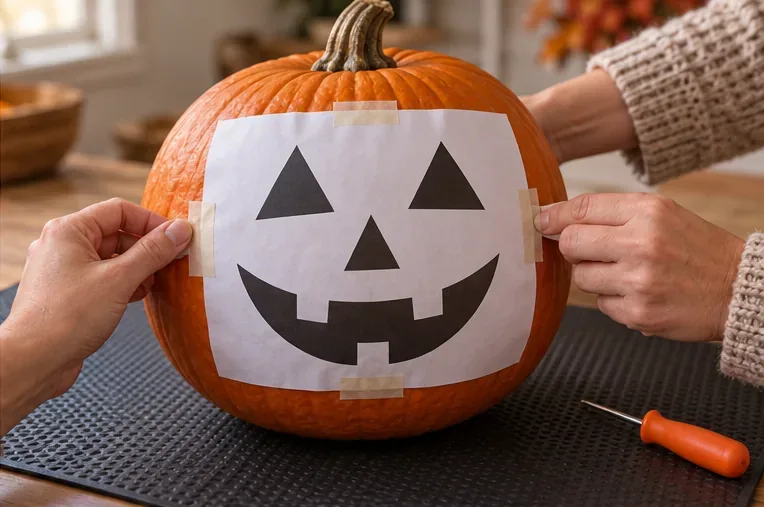
Have an adult open and clean the pumpkin. The artist's own transfer guidance recommends taping the print securely in place and marking its outlines through the paper with a poking tool. Fit the paper with folds at the margins so the important lines stay in position.
Check the transfer before making any cuts: every required contour should be visible, and close lines should remain separate. If tape slips or the pattern shifts, realign it while the pumpkin is still intact. A clear transfer is easier to follow than a partly guessed outline.
Fit the paper securely so the design stays aligned on the curved surface.
3. Follow the pattern's cutting order
Read the numbered instructions on the chosen sheet. Abner, for example, begins with the nose, then the eyes, then the mouth. More elaborate designs have their own sequence for facial details and background openings.
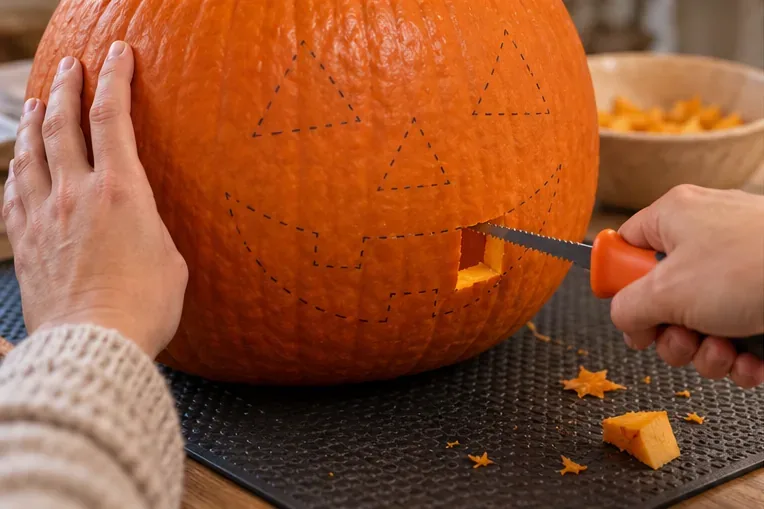
Pumpkin Masters' carving guidance supports working on fine details before broad outer areas and using gentle sawing motions. Keep your supporting hand out of the blade's path. If a cutout resists removal, check for an uncut connection rather than pushing hard against a delicate neighboring strip.
Keep the parts meant to remain as pumpkin connected. If those supporting pieces start bending or cracking, stop and reassess the cut. Removing extra material to make an opening bigger can also remove the structure that keeps a face or scene recognizable.
Follow the transferred lines slowly and keep the supporting hand away from the cutting path.
4. Light the pumpkin and judge the finished result
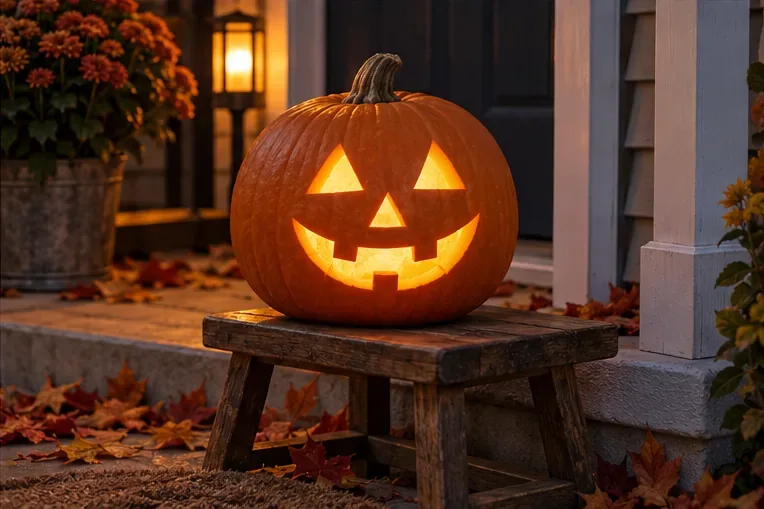
Place a battery-operated light inside and inspect the design from the distance where people will see it. The CPSC recommends battery-powered lighting or glow sticks instead of open-flame candles for jack-o'-lanterns.
A successful carve should have a readable silhouette, distinct eyes or lettering, and supporting sections that remain intact. Compare it with the pattern before making adjustments. Check the light's position first if one area looks dark; a weak glow does not automatically mean you should cut away more pumpkin.
If the tiny details merge from viewing distance, choose a larger print or a bolder design for your next pumpkin. A stencil helps with layout, but pumpkin shape, print size, tool control, and the condition of the flesh still affect the result. Keep the finished display stable and leave walking routes clear.
Check the finished silhouette with the light on and from the intended viewing distance.