to mark the correct answer
How to Add Font to Canva
Learn exactly how to add font to Canva with this step-by-step guide. Upload custom fonts through Brand Kit to use them across all your designs in minutes.
Poll Everywhere is certainly not a strange tool for teachers anymore, especially Powerpoint has become very familiar to most teachers, Powerpoint is like a companion in our work. However, the integration of external Add-ins into Powerpoint to increase the attractiveness of Slide is not known to everyone. Today I will show teachers how to create interactive Slides with Powerpoint and Poll Everywhere, this is extremely important when teachers use it to review students' knowledge or quickly collect student opinions. about a certain topic and students' answers will also help teachers better orient their teaching hours.
1. Prepare.
To create interactive Slides on Powerpoint with Poll Everywhere, teachers need to create an account on the website: https://www.polleverywhere.com (How to create is very easy, so I do not instruct here)
Install Polleverywhere Add-in to your teacher's Powerpoint.
To install this Add-in, teachers go to the address: https://www.polleverywhere.com/app/ –> Teachers select Windows Powerpoint then click Download to download and install.
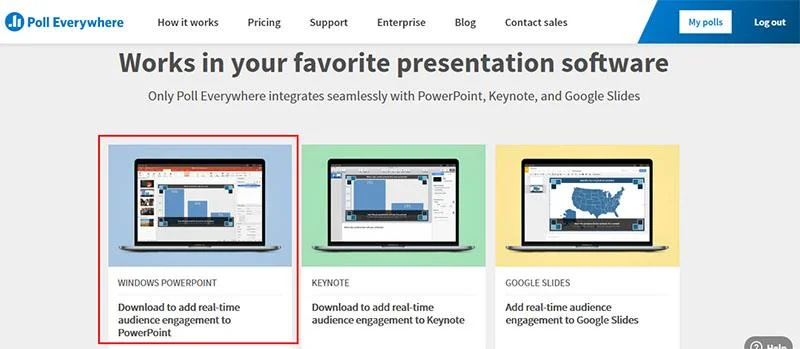
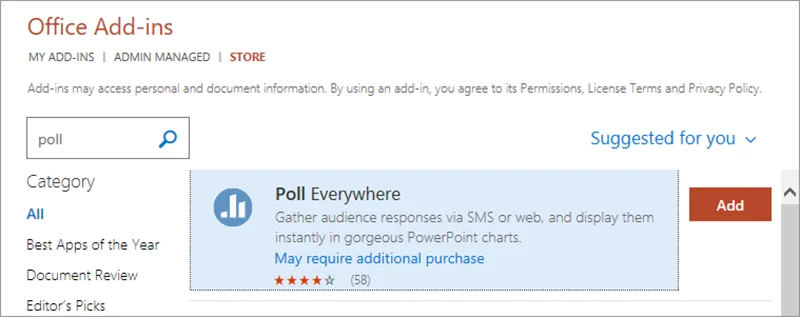
Note: If any teacher uses Office 365 or 2019, Polleverywhere is available in Insert -> Add-in so teachers do not need to install it anymore. Teachers just need to go to Insert -> Add-in -> Get Add-in -> find Poll Everywhere
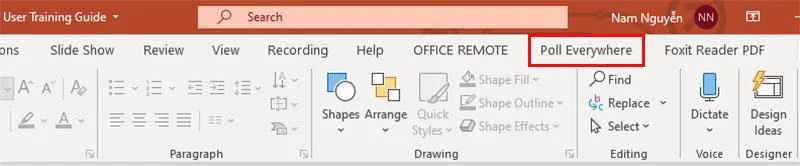
After the installation is complete, start Microsoft Powerpoint, teachers will see an additional tab named Poll Everywhere on the teacher's Ribbon .
2. Start with the first Poll on Powerpoint
Step 1: Create a new Slide.
Step 2: On the Ribbon, teachers click Poll Everywhere -> New -> Activity
Step 3: Proceed to log in with the account that the teacher created.
Step 4: Choose a question type
Here, teachers need to choose the right question type to use for their slides.
Step 5: Create the first question.
The implementation method for question types is not much different here. Nam will use Multiple choice as an illustrative example.
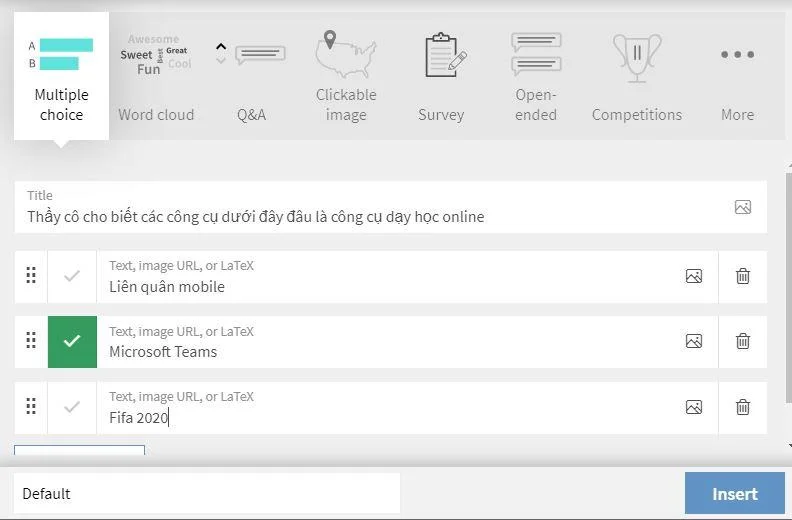
Teachers can add images to the answer options by clicking the Upload Image icon to upload images. Teachers can also delete answer options by clicking the Delete Answer Choice button
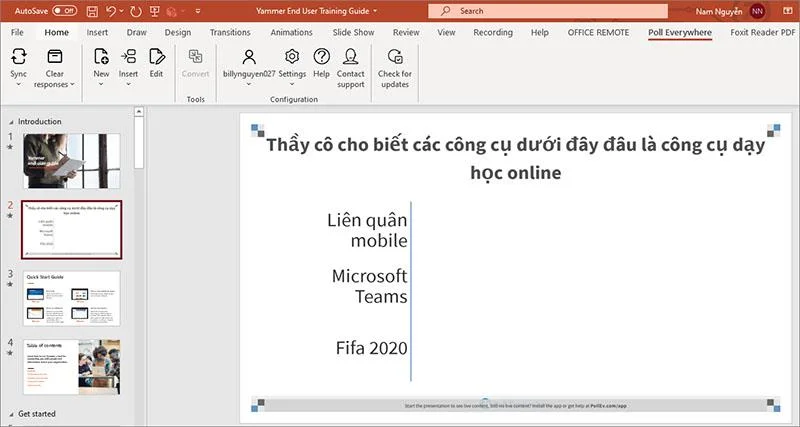
Step 6: Click Insert to add Poll and Slide of the teacher. Powerpoint will automatically add a slide to contain the teacher's Poll. It's simple, isn't it, now teachers, experience your slides, it will be very interesting.
The students' answers will be displayed right on the teacher's slide, and they can also observe them.
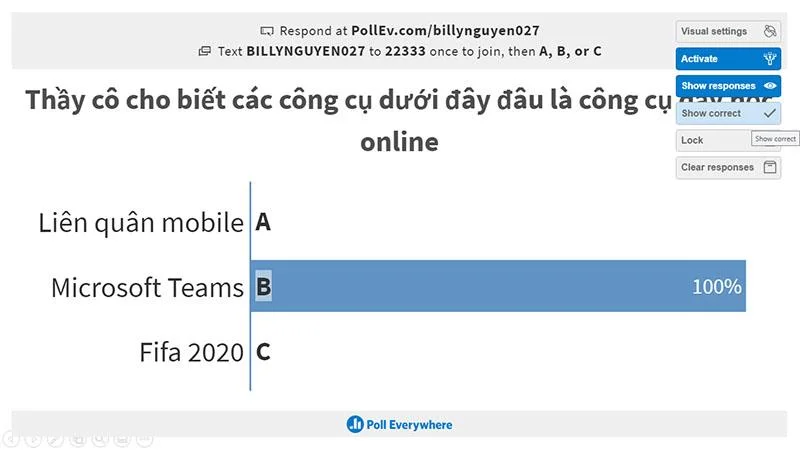
Teachers can also change some of the settings for their slides to suit what they want.
In addition, teachers can also learn more settings in Visual Setting
3. How will students use it?
When the teacher presents the Slide, the teacher will teach her Slide as follows:
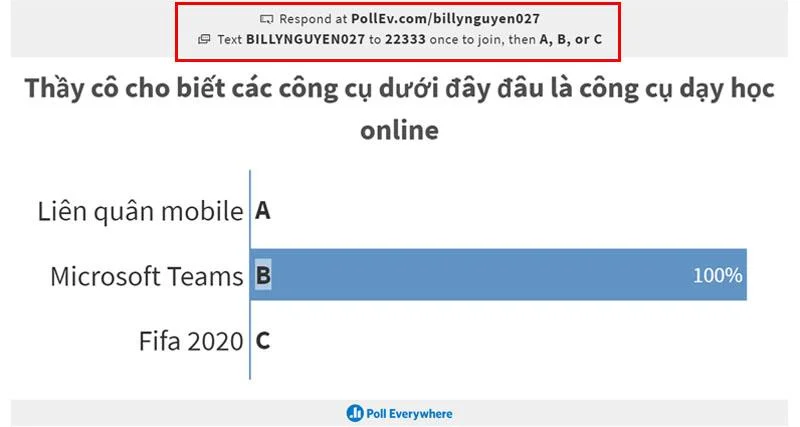
Students have 2 ways to use Polleverywhere and interact with the teacher's Slide
Way 1 . Students access the website: https://pollEv.com/ and enter the teacher's ID (My example is: billynguyen027 ) -> Click Join to start interacting.
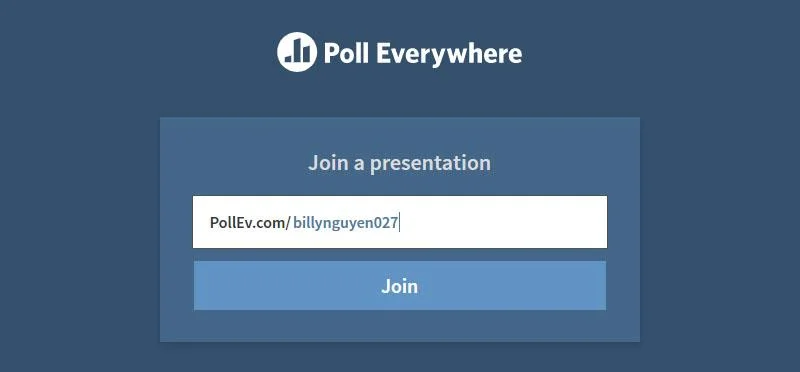
Method 2: Students can download the Poll Everywhere app to their phones and use it via the App.
Students also enter the teacher's ID into the app, then enter the Student's Name (if using it for the first time) and start interacting.

4. The main functions of the Poll Everywhere toolbar
Next, please try other types of questions yourself. For now, let's take a moment to learn some of the main functions on the Poll Everywhere toolbar
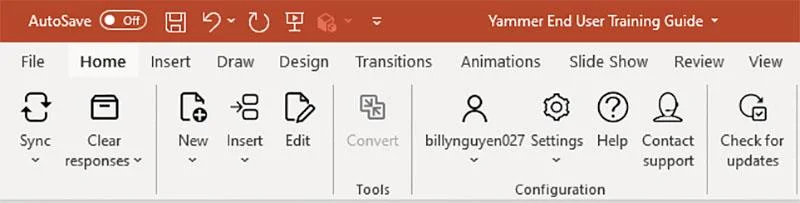
In addition, we have a few more functions in the configuration frame: like Account, Settings, help, contact support.
Here are some basic steps to help teachers easily implement. Wish teachers will have very satisfactory slides and interesting lessons.
For more reference: Instructions for creating interactive videos with Microsoft Stream
Learn exactly how to add font to Canva with this step-by-step guide. Upload custom fonts through Brand Kit to use them across all your designs in minutes.
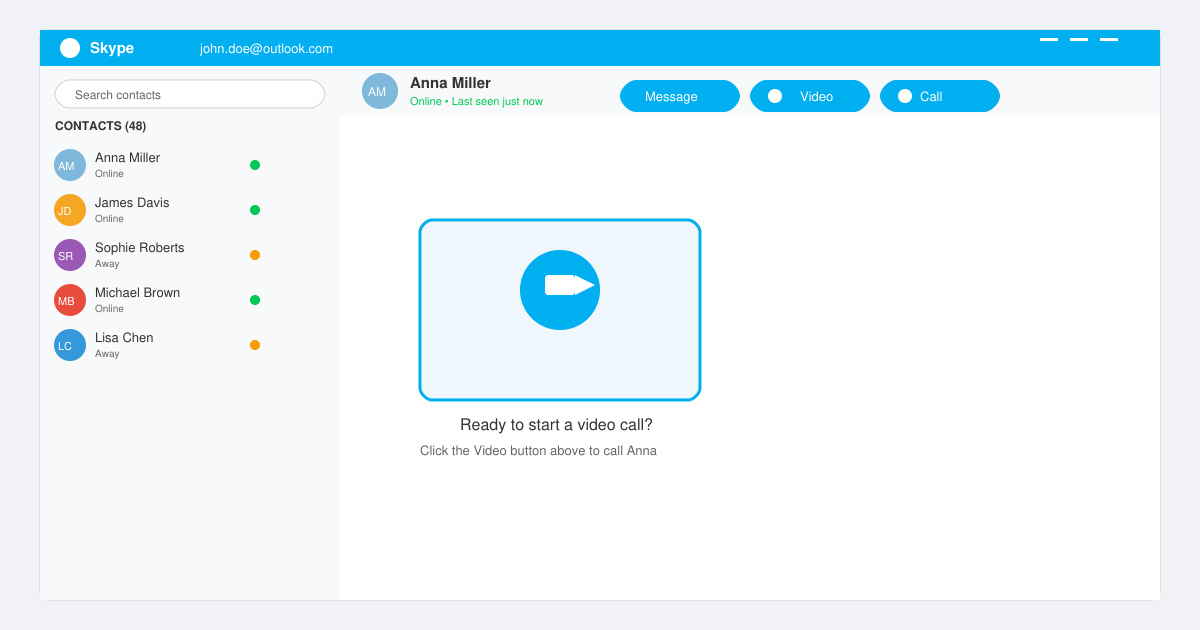
How to Use Skype for free video calls, messaging, and screen sharing. Follow this complete guide to install the app, set up your account, and start communicating in minutes.
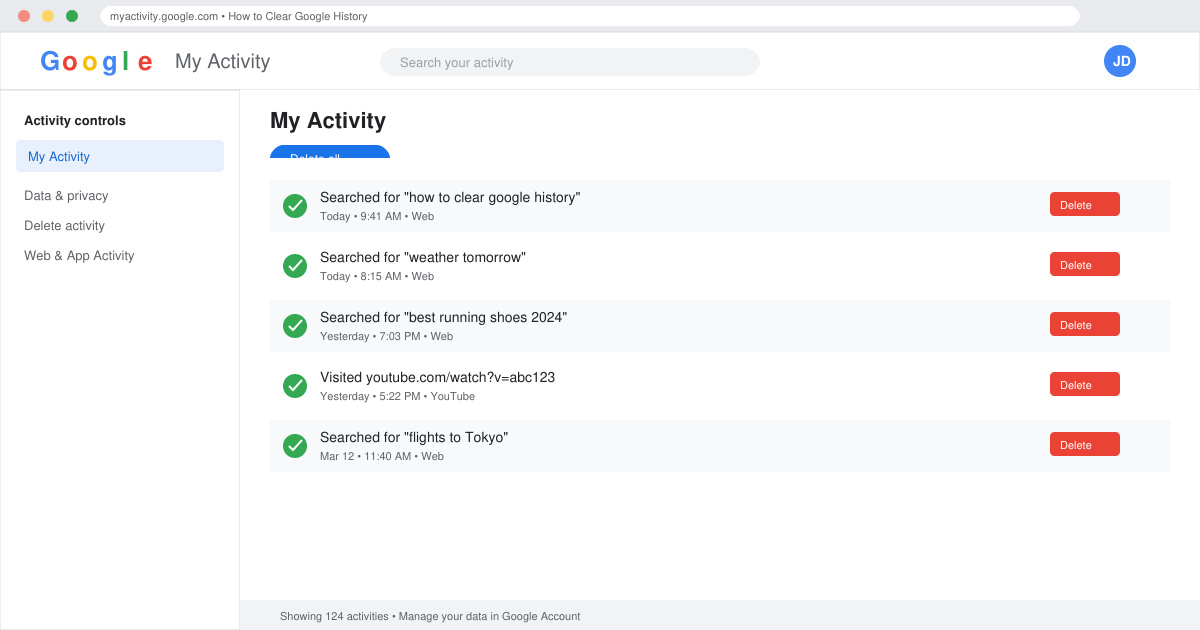
Learn how to clear Google history quickly to protect your privacy. This step-by-step guide shows you how to delete search activity from your Google account on any device.
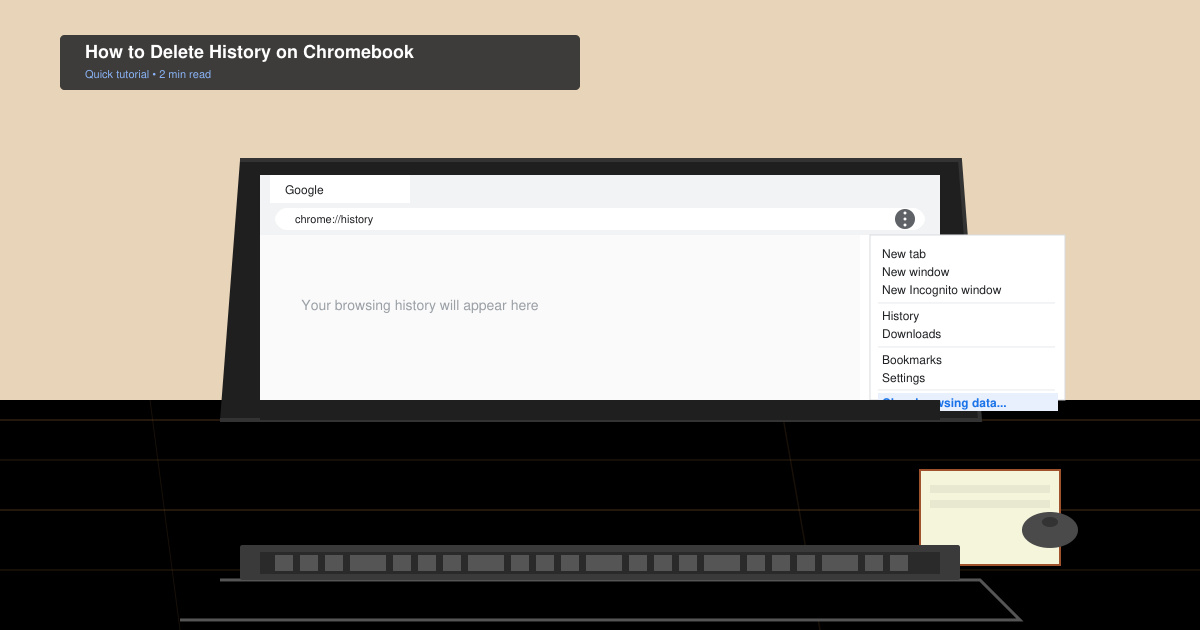
Learn exactly how to delete history on Chromebook to protect your privacy. Follow these precise steps to clear browsing data, cookies, and cached files on your device.
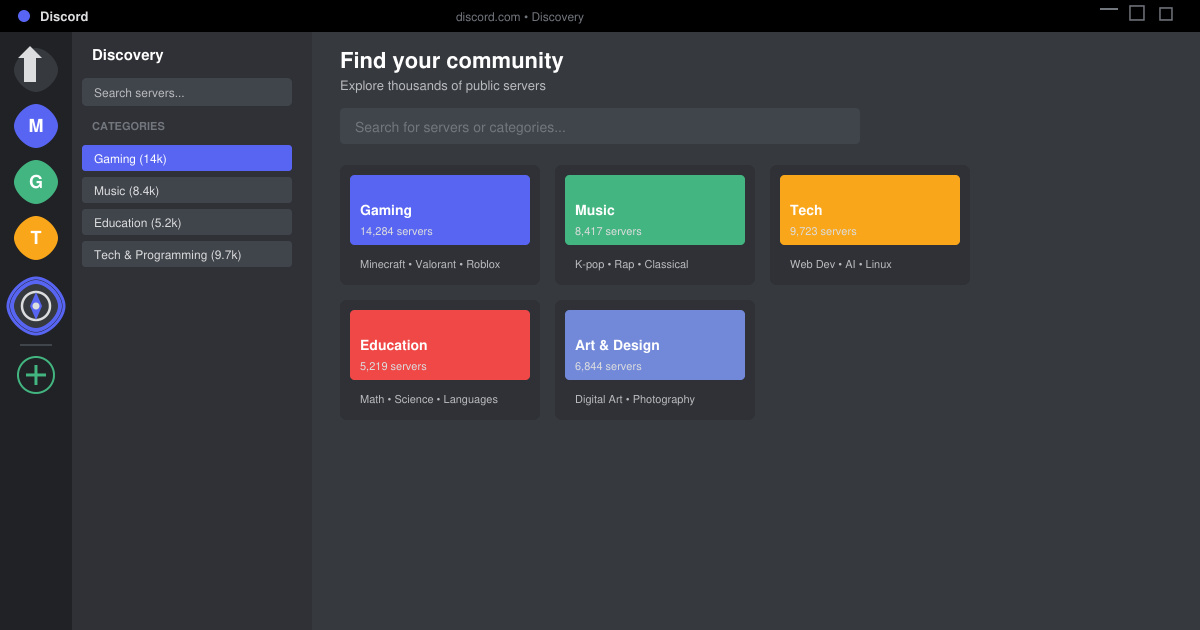
Learn how to find a server on Discord with this clear walkthrough of the built-in Discovery tool and other reliable methods. Join active communities fast.
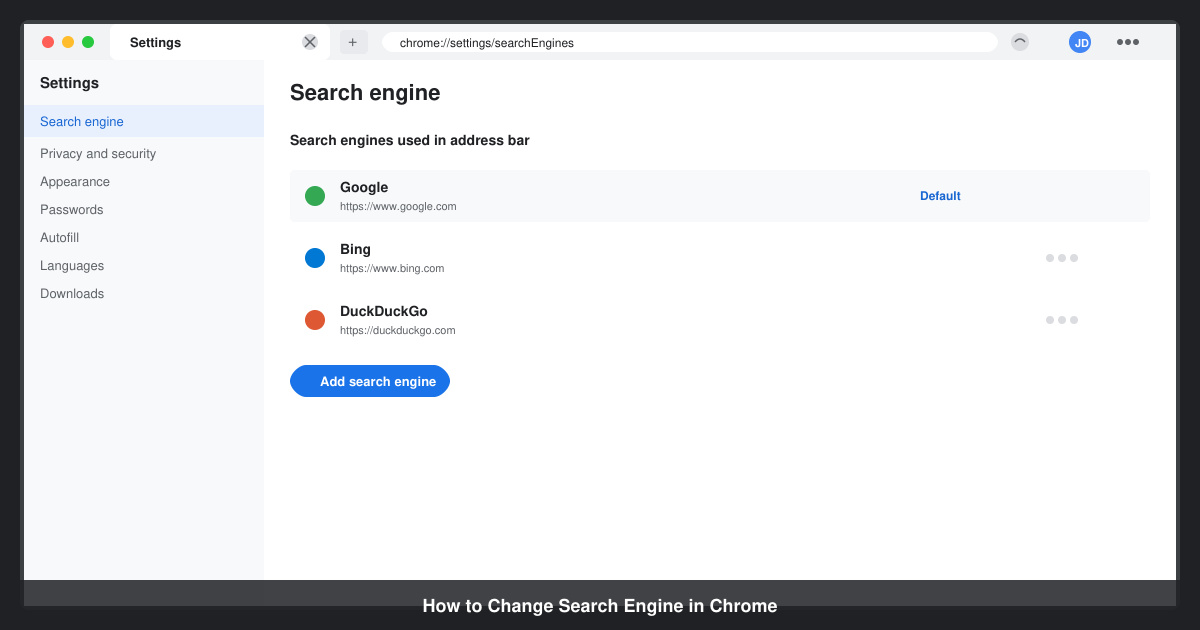
How to Change Search Engine in Chrome takes just a few clicks in Settings. Switch your default provider to Google, Bing, DuckDuckGo or another option and improve search results instantly.
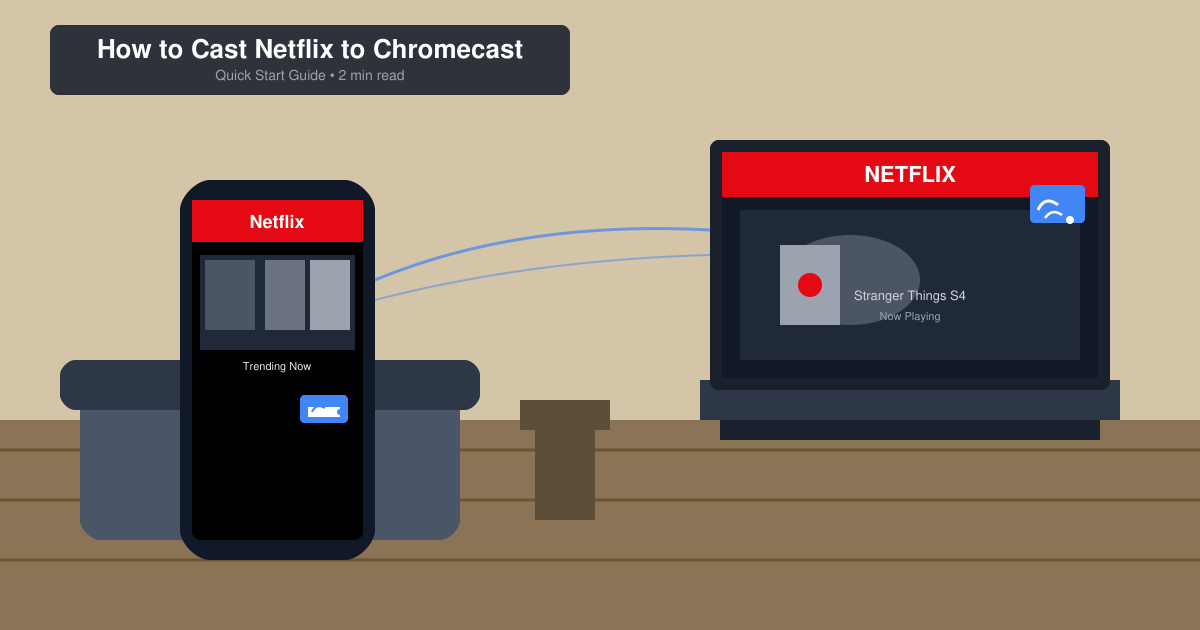
Learn exactly how to cast Netflix to Chromecast from your phone or computer. Follow these steps to stream movies and shows to your TV in minutes.
Learn exactly how to set Google as your homepage on Chrome in under a minute. Follow the precise steps in Chrome Settings to make google.com load when you click the home button.
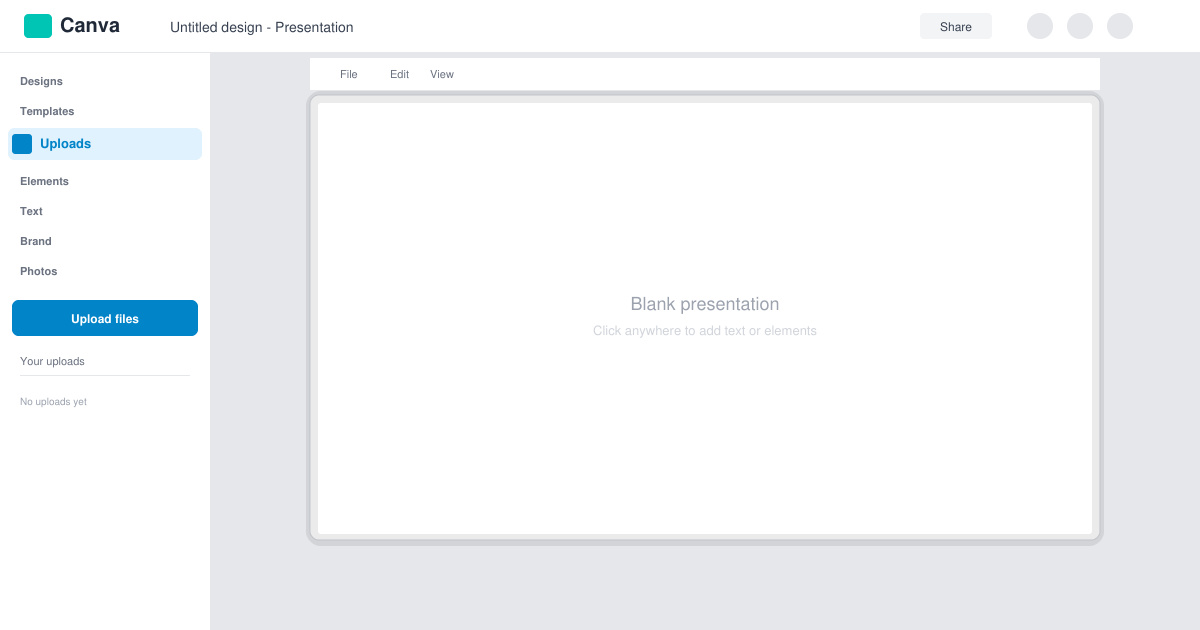
Learn how to add pictures to Canva in just a few clicks. This guide shows the fastest ways to upload your own photos or use Canva's library for any design project.
How to create a QR code in Canva is simple with the built-in generator. Follow these exact steps to add a working, customizable QR code to any design in under two minutes.