Ever watched your Windows 11 screen timeout kick in too soon during a crucial moment, locking you out and disrupting your flow? 😩 You're not alone. In the fast-paced world of modern computing, controlling when your screen dims or locks is key to boosting productivity and saving battery life. This guide dives straight into how to change Windows 11 screen timeout settings with ease, using the latest tweaks for a seamless experience. Let's empower you to take charge of your device—no tech headaches required!
Why Adjust Your Windows 11 Screen Timeout?
Before we jump into the steps, let's quickly cover the benefits. The Windows 11 screen timeout determines how long your display stays on before it dims, turns off, or locks for security. Tweaking it can:
- ✨ Extend battery life on laptops by preventing unnecessary screen glow.
- 🔒 Enhance security with shorter lock times in shared spaces.
- 🚀 Improve focus by keeping the screen active during long sessions.
Whether you're a remote worker juggling tabs or a gamer needing uninterrupted visuals, mastering these settings feels like unlocking a superpower. Ready to customize? We'll break it down into foolproof methods.
Method 1: Using Windows 11 Settings App (Easiest for Beginners)
The built-in Settings app is your go-to for quick changes. It's intuitive and requires no extra tools. Follow these steps to change Windows 11 screen timeout:
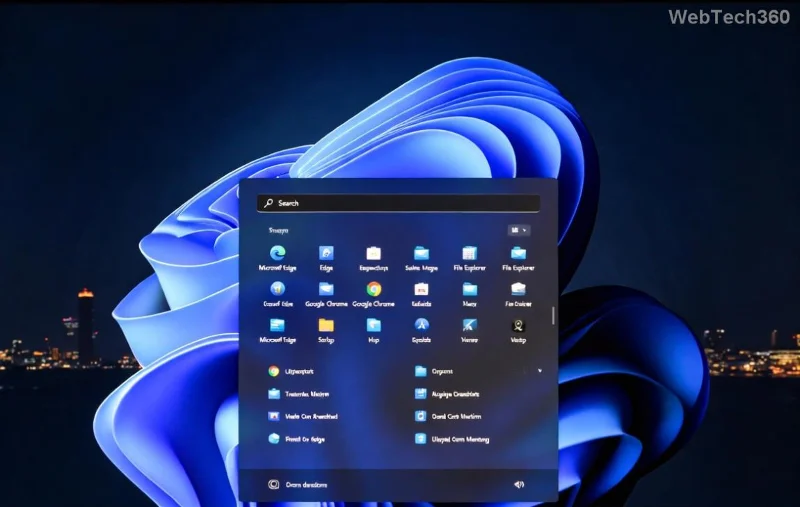
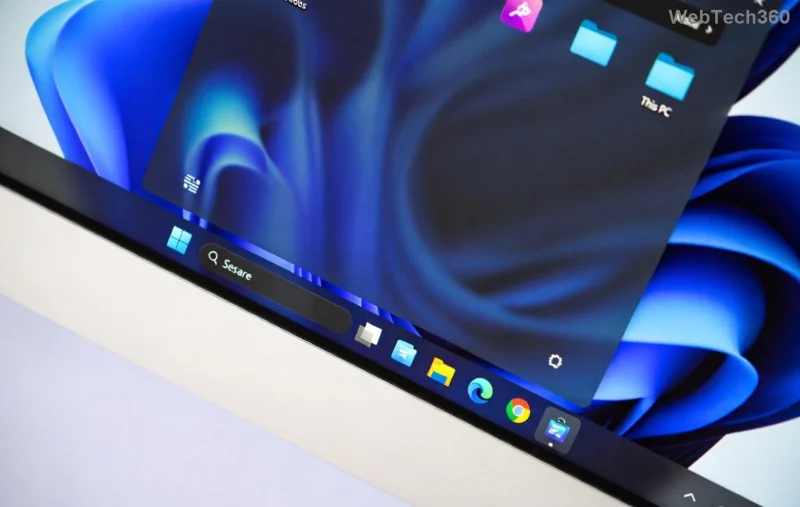
- 👆 Click the Start button (Windows icon) on your taskbar and select Settings (gear icon). Or press Windows + I for a shortcut.
- Navigate to System > Power & battery.
- Under Screen and sleep, you'll see options like "On battery power, turn off my screen after" and "When plugged in, turn off my screen after."
- Click the dropdown menus to select your preferred time—options range from "Never" to 5 minutes.
- For screen lock, scroll to Screen and sleep and adjust "On battery power, put my device to sleep after" similarly.
- Hit Save changes if prompted. Done! Your screen will now respect your new Windows 11 screen timeout rules.
Pro tip: If you're on a desktop, the "plugged in" settings apply universally. Test it by leaving your screen idle—watch it behave exactly as you want. Feeling accomplished already? 👍
![Adjusting Screen Timeout in Windows 11 Power Settings]()
Method 2: Power Options in Control Panel (For Advanced Customization)
Want more granular control over Windows 11 power settings? The classic Control Panel offers deeper dives, especially for multi-monitor setups or custom power plans.
- Search for "Control Panel" in the Start menu and open it.
- Go to Hardware and Sound > Power Options.
- Spot your active power plan (like Balanced) and click Change plan settings next to it.
- Under Put the computer to sleep, set times for battery and plugged-in modes.
- Click Change advanced power settings for extras—like turning off the display separately from sleep.
- Expand Display > Turn off display after, and dial in your ideal screen timeout minutes.
- Apply and OK out. Restart if needed for full effect.
This method shines for power users. Imagine tailoring timeouts per scenario: short for work, longer for media marathons. It's all about making your PC work for you.
Handling Screen Saver and Lock Screen Timeouts
Screen savers add flair but can tie into your Windows 11 screen timeout. To adjust:
- Right-click the desktop > Personalize > Lock screen > Screen saver settings.
- Select a saver (or None) and set "Wait" to your desired minutes—e.g., 10 for a quick fade.
- Check "On resume, display logon screen" for security.
- Apply changes.
For lock screen specifics, head back to Settings > Accounts > Sign-in options. Here, tweak "Require sign-in" to "When PC wakes up from sleep" to sync with your timeout prefs. This ensures a smooth, secure transition every time.
![Windows 11 Screen Saver and Lock Options]()
Troubleshooting Common Issues with Windows 11 Screen Timeout
Stuck with stubborn settings? Here's a quick table of fixes to keep things running smoothly:
| Issue |
Solution |
| Timeout ignores changes |
Update drivers via Device Manager > Display adapters. Restart your PC. |
| Screen never times out |
Check for third-party apps overriding settings; disable in Task Manager. |
| Battery drains fast post-change |
Balance with shorter sleep times in Power & battery settings. |
| Laptop-specific glitches |
Run the Power Troubleshooter: Settings > System > Troubleshoot > Other troubleshooters. |
If issues persist, a quick system scan with built-in tools often resolves them. For official guidance, check Microsoft's support page on power plans.
Pro Tips to Optimize Your Windows 11 Experience
Now that you've nailed the basics, elevate your setup:
- ⭐ Create multiple power plans: One for office (short timeout), one for home (longer).
- 🔋 Monitor usage with Task Manager (Ctrl + Shift + Esc) to see power hogs.
- 📱 For tablets or hybrids, enable "Best power efficiency" in Power & battery for on-the-go tweaks.
- 🛡️ Always pair short timeouts with strong passwords—security first!
These adjustments not only fix annoyances but transform how you interact with Windows 11. Imagine a device that anticipates your needs, saving energy while keeping you in the zone. What's your next tweak? Stick around as we explore more ways to supercharge your setup in future guides. You've got this! 🎉