Build a Reusable AutoYaST Profile for SLES 15 Installs

Turn an existing SLES 15 system into a reviewed AutoYaST profile, validate it, and use it to deploy a test server with fewer manual steps.
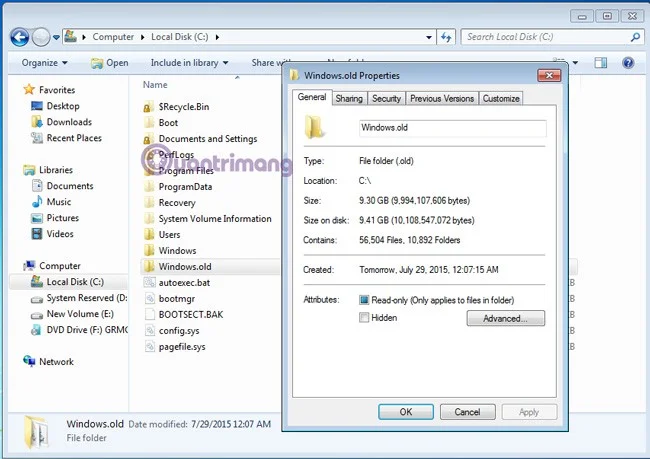
Usually, after you reinstall Windows without deleting the old partition, the new Windows 7/8/8.1 will have an additional folder in drive C named Windows.old. What is that? It is a folder containing all the system files of the old Windows version. If it is not deleted, the system will automatically collect them all into one folder and name it Windows.old. So how do you delete this folder, because the capacity of this folder is usually quite large (about 10GB or so)?
1. Delete the Windows.old folder using the built-in Disk Cleanup tool:
This is the simplest and easiest way to do it, without having to use Command or external support software. First, open My Computer , right-click on drive C (the partition containing the Windows.old folder ) > Properties :
Here, you will see the Disk Cleanup tool right below the disk capacity parameters. Click Disk Cleanup, the system will calculate to delete unnecessary Windows files, then select Clean Up system Files as shown below:
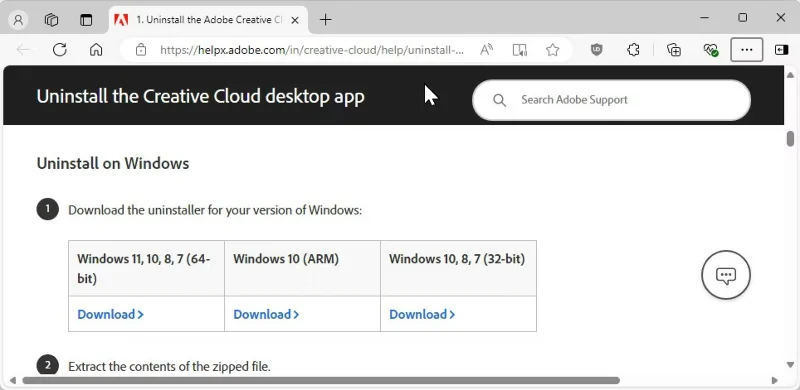
The next options panel appears, you will see the Previous Windows Installations line appear. Check that box (it is best to check all) and then click OK:
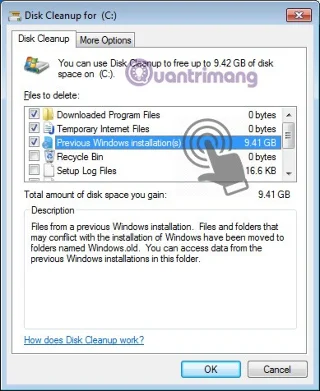
Wait a moment for Windows to delete the file, then reopen drive C and the Windows.old folder will disappear!
2. Delete the Windows.old folder using the command - Command:
This is the second option if you don't want to use Windows Disk Cleanup (or simply want to "feel like a pro"). Open Command as Administrator (select Run > type cmd > right-click on cmd.exe and select Run as Adminstrator ):
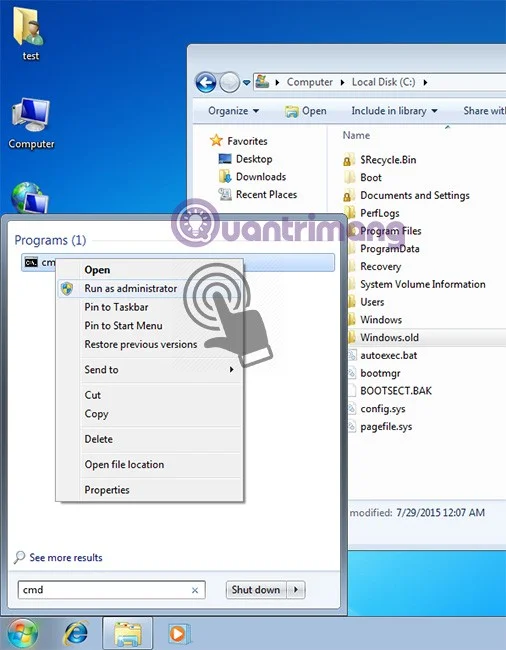
The Command window appears, we type the command:
RD /S /Q %SystemDrive%\windows.old
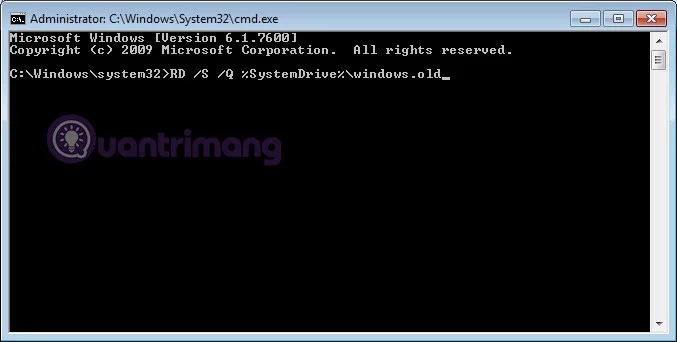
Or if you don't want to type, copy the command above, in the command window > right click > select Paste (because you can't press Ctrl + V in the command line window):
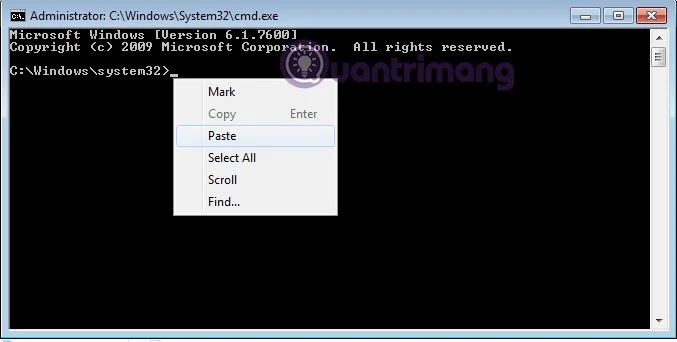
Press Enter, open drive C and check if the Windows.old folder has been completely deleted. Good luck!
Turn an existing SLES 15 system into a reviewed AutoYaST profile, validate it, and use it to deploy a test server with fewer manual steps.
Install the SLES 15 KVM and libvirt tools, enable the right host service, and configure selected virtual machines to start after a reboot.
Use systemd jobs and the previous boot journal to locate a slow service, mount, or storage dependency, then correct it without masking the cause.
Use firewall-cmd to inspect the active zone, allow HTTP safely, preserve SSH access, and verify that the rule survives a reload on SLES 15.
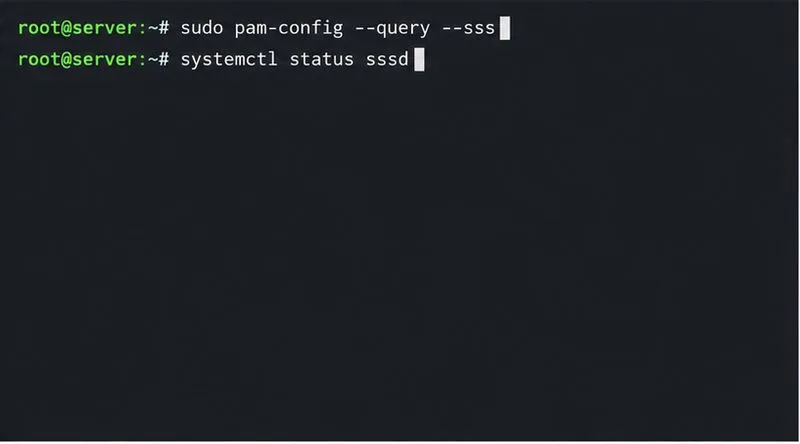
Trace a PAM failure to its service, account policy, or identity provider, then repair the right SLES configuration while preserving a working admin session.
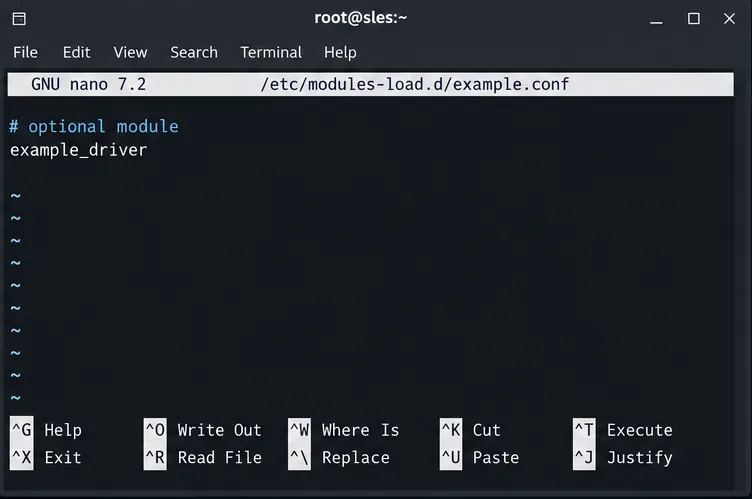
Trace a failed kernel module at SLES startup, correct an obsolete boot entry or repair the required driver, and verify the next boot.
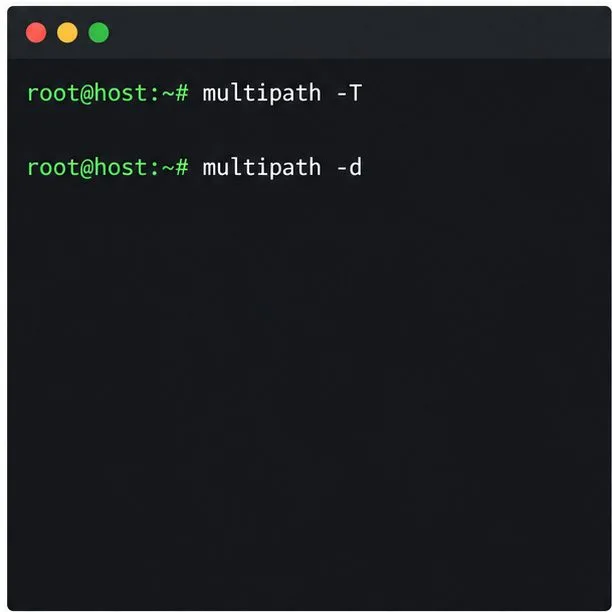
Prepare SCSI SAN paths, enable multipathd, inspect SUSE’s hardware defaults, and verify stable device maps without guessing array settings.
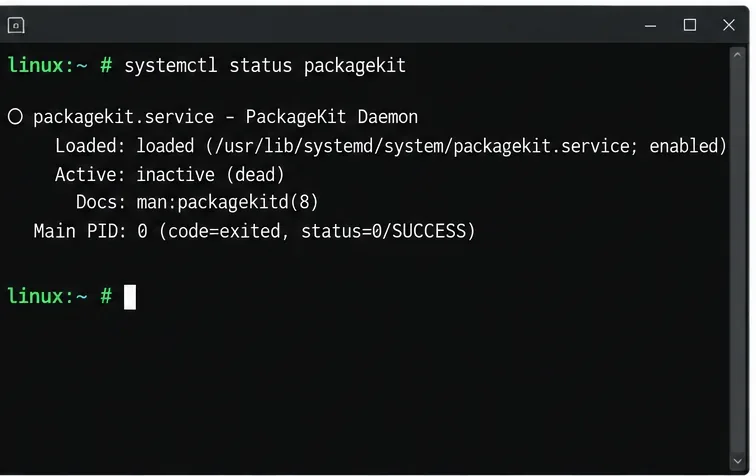
Find the process holding Zypper’s package lock, distinguish process conflicts from package locks, and retry updates without deleting lock files blindly.
Register SLE HA, bootstrap SLES 15 nodes, then add fencing, quorum, and tested service resources before relying on failover.
Trace a Zypper refresh error to SUSE, RMT, or a third-party endpoint, then apply the right server-side or cache fix without disabling essential updates.