Set Up a Windows-Style XFCE Panel on Pardus Linux
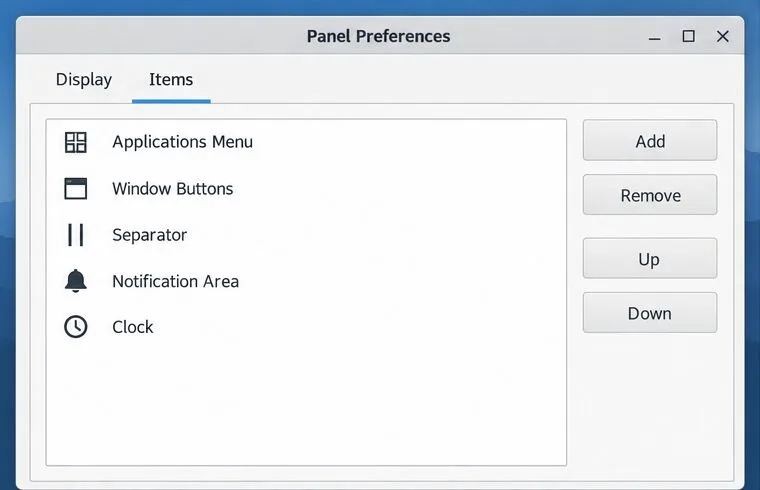
Arrange Pardus XFCE as a familiar bottom taskbar with an app menu, pinned launchers, open-window buttons, and a system tray.
Can't select power mode in Windows 10, what should I do? Below is how to fix There Are Currently No Power Options Available error on Windows 10 .
There are many reasons why you receive the message There Are Currently No Power Options Available on your Windows 10 PC when clicking the Power icon . Luckily it's not too difficult to fix this problem.
How to fix the error of losing Power options in Windows 10
Windows has a setting that you can use to prevent users from using Power options on the computer. If you or someone else has enabled this option, this is the reason why you cannot see the Power options in the Start menu .
Luckily, you can fix this by changing the value in the Local Group Policy Editor:
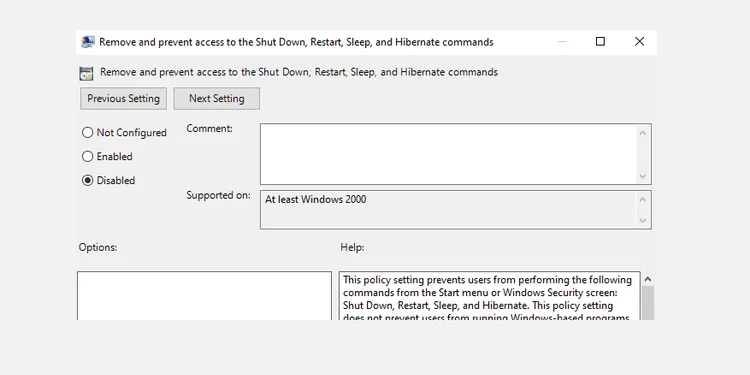
If you use the Home version of Windows 10, you do not have to access the Local Group Policy Editor. In this case, use Registry Editor to turn off the setting to hide power options.
Details of each step:
1. Press Windows + R simultaneously to open the Run box .
2. Type regedit in the Run window and press Enter .
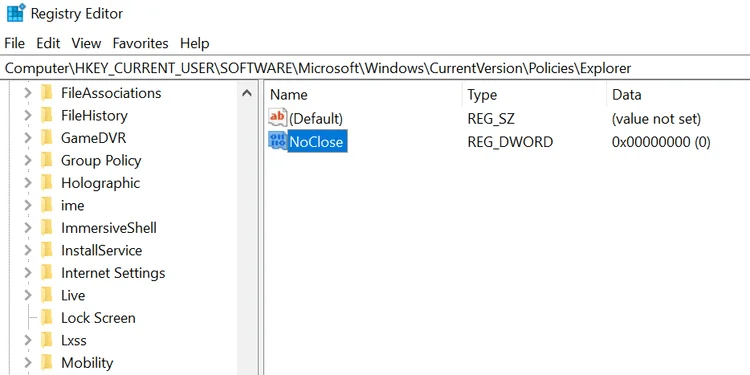
3. On the Registry Editor screen , navigate to the following path:
HKEY_CURRENT_USER\Software\Microsoft\Windows\CurrentVersion\Policies\Explorer4. In the right panel, double click the NoClose item .
5. Set the Value data of NoClose to 0 and click OK .
6. Restart the computer.
If someone has edited the Power Plan, the laptop cannot be shutdown and restarted because there is no Power option. Now you need to reset Power Plan as follows:
1. Open the Start menu, find Command Prompt , click Run as administrator .
2. Select Yes in the User Account Control window .
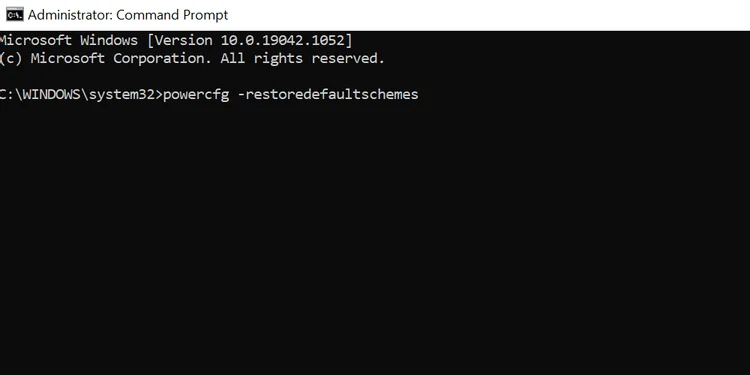
3. In the Command Prompt window , enter the following command and press Enter :
powercfg -restoredefaultschemes4. Your Power Plan will be reset.
Corrupt files are often the cause of many problems on Windows 10 PCs, including power failures. The good news is that you can run a command from Command Prompt to repair corrupted files as follows:
1. Open the Start menu , find Command Prompt and click Run as administrator .
2. Select Yes in the User Account Control window .
3. On the Command Prompt window, enter the following command and press Enter :
sfc /scannow5. Wait for this command to find and repair damaged files.
Above are some ways to fix the error of losing Power options on Windows 10 . Hope the article is useful to you.
Arrange Pardus XFCE as a familiar bottom taskbar with an app menu, pinned launchers, open-window buttons, and a system tray.
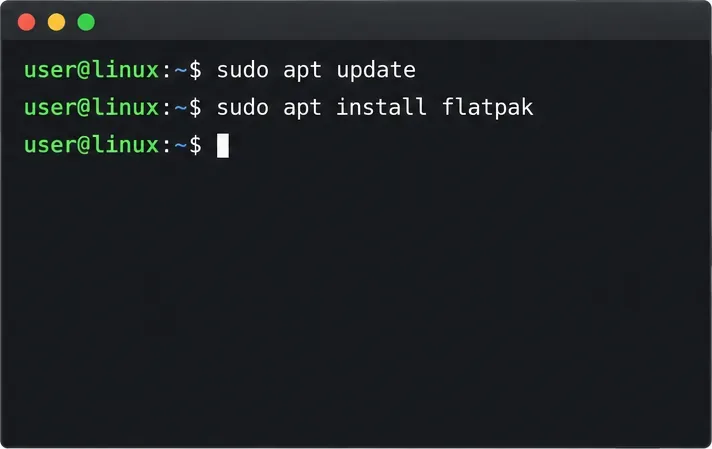
Check your Gooroom release and administrator rules, then follow the official Debian-based setup path for Flatpak or Snap without bypassing system controls.
Learn what Pardus Image Writer can do, how to prepare installation USB safely, and which tools fit custom live images or repeatable fleet deployments.
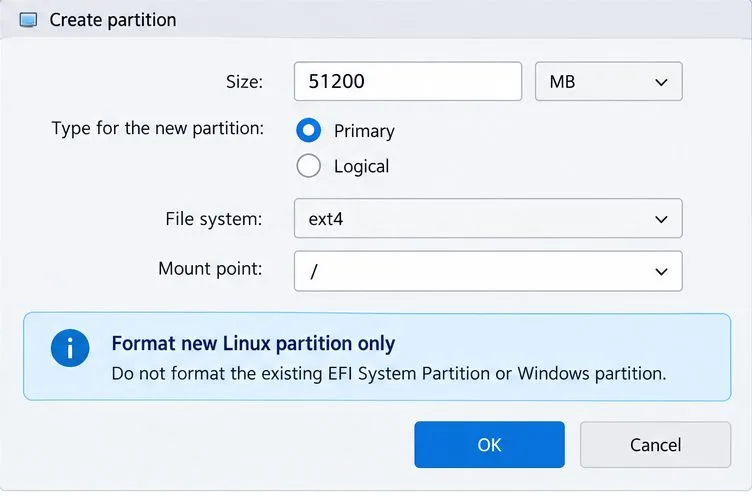
Install Pardus alongside Windows 11 by shrinking the Windows volume, using unallocated space, and preserving the existing EFI System Partition.
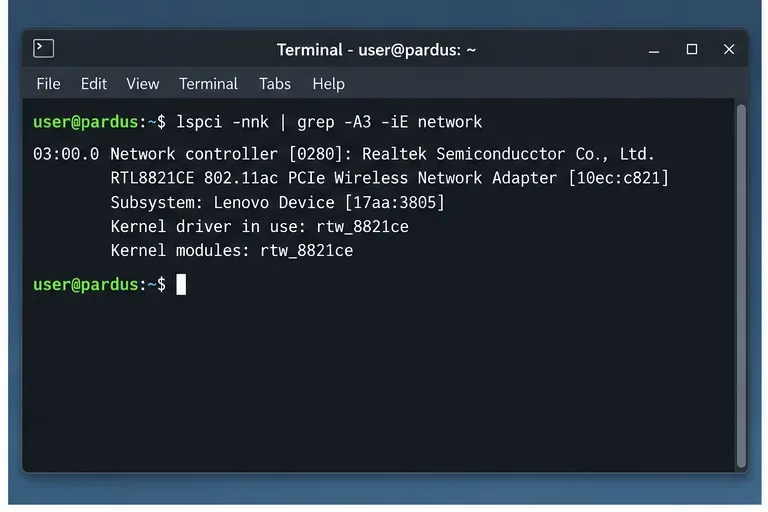
Identify the RTL8821CE, install Pardus-supported Realtek firmware, and verify the driver, Wi-Fi scan, and next troubleshooting step.
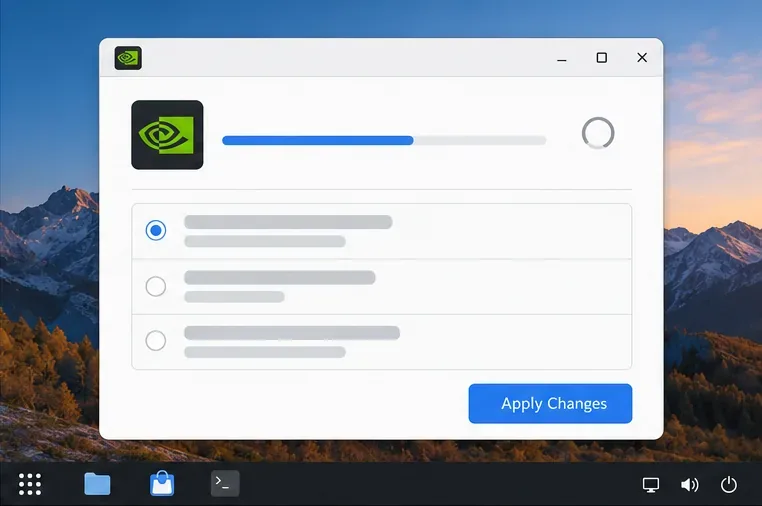
Use Pardus’s hardware-aware installer to enable the right NVIDIA driver, reboot safely, and verify the active kernel module.
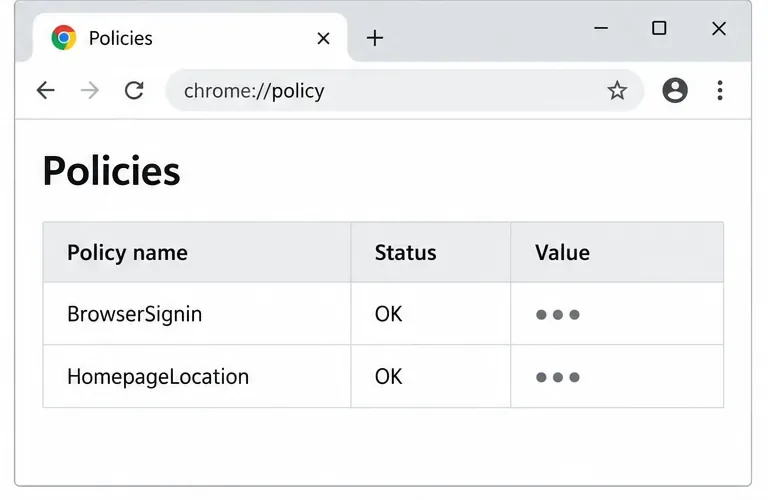
Install the official Chrome package safely on Gooroom OS, check compatibility, preserve device controls, and verify browser policies before use.
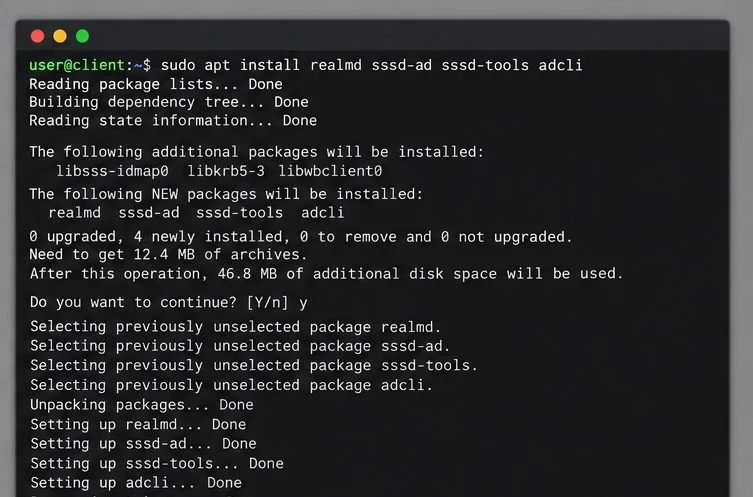
Prepare DNS and time, enroll Pardus with realmd and SSSD, and verify domain membership and user lookup before relying on AD sign-in.
Reduce horizontal tearing in Pardus XFCE by checking your display session, enabling compositor synchronization, and applying Intel’s Xorg TearFree option only when the active driver supports it.
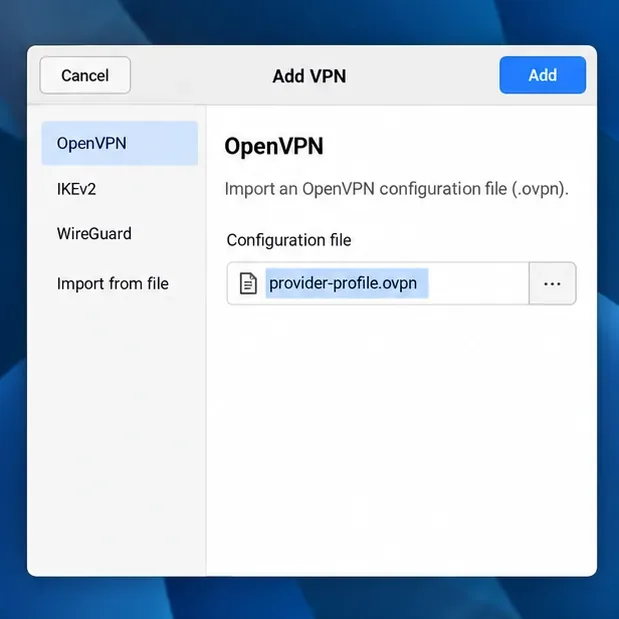
Add an OpenVPN profile to NetworkManager on Pardus, install the right plugin, protect credentials, and verify the VPN is active.