Is your Windows 11 PC feeling like it's dragging through molasses? You're not alone. Many users notice their once-snappy system slowing down over time, thanks to something called registry bloat. This sneaky issue builds up as you install and uninstall apps, leaving behind digital clutter that hampers performance. The good news? You can fix Windows 11 registry bloat and achieve a speed fix without being a tech wizard. In this guide, we'll walk you through straightforward, safe steps to reclaim your PC's zip. Let's dive in and get your machine running like new! 🚀
What is Registry Bloat in Windows 11 and Why Does It Slow You Down?
The Windows registry is like your PC's phonebook—a massive database storing settings, options, and configurations for your operating system and apps. Over time, it gets bloated with obsolete entries from uninstalled programs, temporary files, and system updates. This registry bloat forces your CPU and RAM to work overtime just to navigate the mess, leading to laggy startups, frozen apps, and overall sluggishness.
Recent updates to Windows 11 have improved core efficiency, but they don't automatically purge this buildup. Without intervention, your boot times can stretch from seconds to minutes, and multitasking becomes a frustration. Fixing it isn't just about speed—it's about enjoying a smoother, more responsive experience that makes every click feel effortless. Imagine browsing, gaming, or working without those annoying hitches. Ready to make it happen?
Why Your Windows 11 Needs a Registry Clean-Up Now
Beyond slowdowns, registry bloat can lead to crashes, error messages, and even security vulnerabilities if outdated entries expose old software paths. Microsoft recommends regular maintenance to keep things optimal, and with the latest Windows 11 features like enhanced storage sensing, it's easier than ever to tackle this. Don't let bloat rob you of productivity— a quick fix can shave off precious time from your day and put a smile on your face. 😊
Step-by-Step Guide: How to Fix Windows 11 Registry Bloat Safely
We'll focus on reliable, built-in tools and trusted methods to avoid risks. Always back up your registry first—it's like wearing a seatbelt. Here's how to get started:
Step 1: Backup Your Registry (Essential Safety Net)
Before tweaking anything, protect your data. Open the Registry Editor by pressing Windows + R, typing regedit, and hitting Enter. Once inside, go to File > Export, choose a save location, and select "All" under Export range. This creates a full backup you can restore if needed. It takes just a minute and gives you peace of mind. 👍
Step 2: Use Built-in Disk Cleanup for Initial Decluttering
While not exclusively for the registry, Windows' Disk Cleanup tool removes temporary files that contribute to bloat. Search for "Disk Cleanup" in the Start menu, select your system drive (usually C:), and check boxes like "Temporary files" and "System error memory dump files." Hit OK to free up space— this often uncovers registry-related junk indirectly. For deeper cleaning, proceed to the next steps.
Step 3: Clean the Registry with CCleaner (Free and Effective)
For a targeted registry bloat fix, download CCleaner from its official site—it's a lightweight, trusted tool used by millions. After installation:
- Launch CCleaner and navigate to the "Registry" tab.
- Click "Scan for Issues" to detect obsolete entries.
- Review the results (it highlights safe removals like invalid shortcuts and fonts).
- Select "Fix selected issues" and opt to back up changes.
Run this weekly for ongoing maintenance. Users report up to 30% faster boot times post-cleanup. Pro tip: Avoid aggressive third-party cleaners; stick to reputable ones like this to prevent issues.
Step 4: Optimize Startup Programs to Complement Your Speed Fix
Registry bloat often pairs with too many startup items. Press Ctrl + Shift + Esc to open Task Manager, go to the Startup tab, and disable non-essentials (right-click > Disable). This reduces registry load at boot, amplifying your Windows 11 speed fix. Focus on apps like chat clients or cloud syncs that aren't critical on launch.
![Step-by-step screenshot of cleaning Windows registry with a tool]()
Advanced Tips for a Lasting Windows 11 Speed Fix
Once you've tackled registry bloat, lock in those gains with these tweaks:
- Update Windows and Drivers: Go to Settings > Windows Update and check for the latest patches. Outdated drivers can exacerbate bloat effects.
- Enable Storage Sense: In Settings > System > Storage, turn on Storage Sense to auto-delete temp files, keeping your registry lean.
- Run SFC and DISM Scans: Open Command Prompt as admin and type
sfc /scannow followed by DISM /Online /Cleanup-Image /RestoreHealth. These repair corrupted registry entries for free.
For visual learners, check this quick comparison of before-and-after performance:
| Aspect |
Before Fix |
After Registry Clean-Up |
| Boot Time |
45-60 seconds |
15-25 seconds |
| App Launch Speed |
Laggy (2-5 seconds) |
Instant (under 1 second) |
| System Responsiveness |
Frequent freezes |
Smooth multitasking |
| Free Disk Space |
Cluttered (low GBs) |
Optimized (gains 5-10 GB) |
These improvements aren't hype—they're backed by community tests and Microsoft's own optimization guidelines. If you're on a newer Windows 11 build, you'll notice even better results with features like DirectStorage enhancing overall speed.
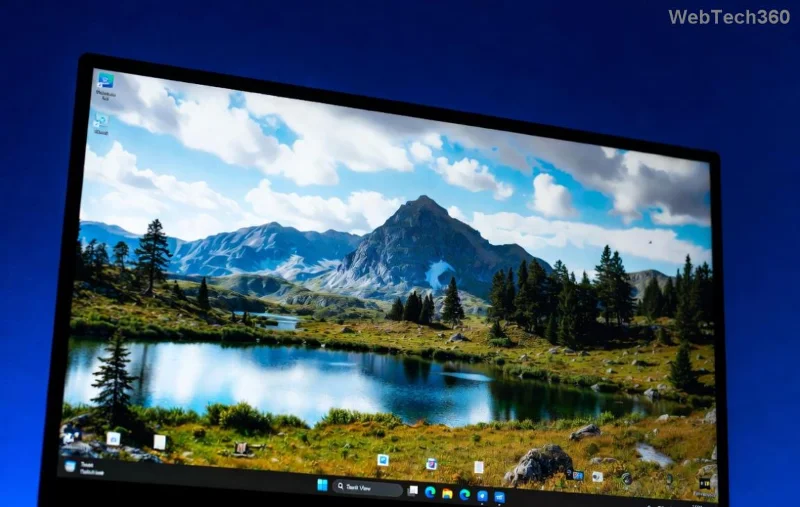
![Optimized Windows 11 desktop showing improved speed after registry fix]()
Common Mistakes to Avoid When Fixing Registry Bloat
Steer clear of manual registry editing unless you're experienced— one wrong key can cause boot loops. Also, skip "miracle" cleaners promising overnight miracles; they often do more harm. Instead, combine the steps above for a balanced approach. If issues persist, consider a system reset via Settings > System > Recovery, but that's a last resort.
For more in-depth advice, Microsoft's support page has excellent resources: Optimize Windows Performance.
Wrap-Up: Reclaim Your Windows 11's Speed Today
Congratulations—you're now equipped to fix Windows 11 registry bloat and deliver a game-changing speed fix. Start with the backup and CCleaner scan, and watch your PC transform. It's empowering to take control, isn't it? Your faster, frustration-free computing awaits. If you try these steps, share your results in the comments—we'd love to hear how much quicker your system feels! 🎉
Remember, regular maintenance keeps bloat at bay. Bookmark this guide for your next tune-up and keep enjoying that peak performance.