Home
» Discover
»
How to Pack Light for Transitional Weather Without Being Unprepared
How to Pack Light for Transitional Weather Without Being Unprepared
Packing light for transitional weather is less about predicting one perfect forecast and more about preparing for a range. A spring or fall trip can start with a chilly morning, warm up by midafternoon, turn windy at sunset, and add rain the next day. If you pack a separate outfit for every possibility, your bag gets heavy fast. If you pack only for the average temperature, you may spend the trip uncomfortable.
The practical solution is a small layering system: a few pieces that can be worn alone, stacked together, and repeated in different combinations. This guide is written as a reference you can use before a 4- to 7-day city trip, work trip, or casual vacation. It is not a rigid capsule formula, and it is not designed for technical hiking, severe winter conditions, or trips with specialized formal gear.
Quick reference: the light-packing formula
Purpose
Pack
Why it works
Base layers
3 to 4 lightweight tops
Easy to repeat under warmer layers
Mid-layers
1 light sweater or cardigan, plus 1 optional overshirt or second knit
Lets you add or remove warmth without changing the whole outfit
Bottoms
2 versatile pairs
Most travelers can rotate bottoms more often than tops
Outer layer
1 jacket, trench, or light shell matched to the destination
Handles wind, drizzle, and cooler periods
Shoes
1 primary pair plus 1 optional alternate
Shoes consume disproportionate bag space
Weather accessories
Compact umbrella, scarf, hat, or sunglasses as conditions justify
Small items extend the useful temperature range of the same clothes
Treat those quantities as a starting point, not a rule. Laundry access, trip length, business dress requirements, and the difference between daytime and nighttime temperatures can all justify changing the count.
1. Pack for a temperature range, not a list of daily outfits
Start by checking the destination forecast close to departure, then look at the likely low, likely high, wind, and precipitation rather than only the daytime headline temperature. Transitional weather is difficult because the problem is usually variation. Your packing system should be able to handle the coolest realistic period by combining layers, while each layer should still be usable when the day warms up.
A practical three-layer structure is:
Base: a T-shirt, long-sleeve tee, blouse, or other comfortable top you would wear by itself indoors.
Mid-layer: a cardigan, lightweight sweater, fleece, overshirt, or blazer that adds warmth without taking over the outfit.
Outer layer: a trench, light insulated jacket, wind-resistant jacket, or shell appropriate for the expected weather.
Before putting anything in the bag, test the coldest combination at home. Put on the base, mid-layer, and jacket together. Check the shoulders, sleeve room, and overall comfort. A jacket that fits perfectly over a T-shirt but becomes restrictive over your sweater is not really functioning as a layering piece.
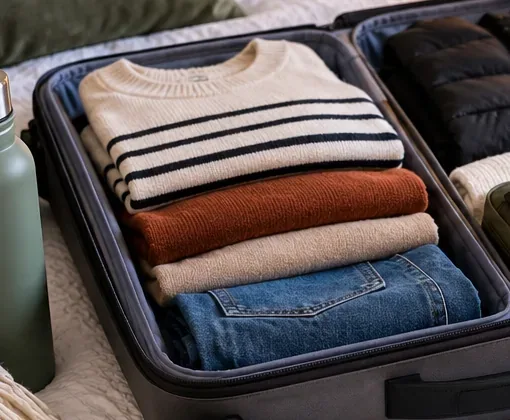
Choose a small set of base and mid-layers that can stack comfortably instead of packing a separate heavy outfit for every temperature.
When to adjust this method
If the temperature swing is small, reduce the number of layers. If the destination is likely to be cold enough that you will wear the same insulated jacket all day, prioritize that jacket instead of multiple mid-layers. If rain is the main uncertainty, a light water-resistant shell may be more useful than another sweater.
2. Build a capsule around repeatable combinations
The easiest way to overpack is to think in complete outfits: Monday outfit, Tuesday outfit, dinner outfit, travel outfit, rainy-day outfit. Instead, choose pieces by role and compatibility.
For a typical 4- to 7-day trip, a compact wardrobe might include three or four tops, two bottoms, one or two mid-layers, one outer layer, and one primary pair of walking shoes. A second pair of shoes makes sense when it has a distinct job—for example, office loafers when your main pair is a sneaker—not simply because it offers another color.
Keep the palette easy to combine. That does not mean everything must be black, gray, or beige. One simple approach is to use two or three base colors for the larger garments and add color through a knit, scarf, or top. The test is straightforward: each top should work with both bottoms, and each mid-layer should work with most of the tops.
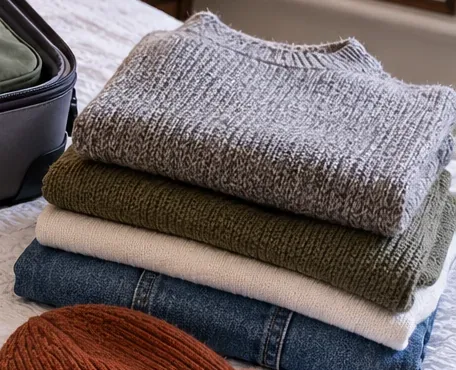
A small mix-and-match capsule works best when most tops and layers coordinate with both of your main bottoms.
A fast edit before you close the suitcase
Remove any garment that only works with one other item unless it serves an essential purpose.
Remove duplicate pieces that provide the same warmth and the same look.
Keep the most comfortable version when two items compete for the same role.
Wear the bulkiest practical shoes and outer layer in transit when that is comfortable.
Leave a little empty space rather than filling every corner simply because the bag allows it.
That last point matters. A bag that closes only when perfectly compressed is harder to repack during the trip, especially once laundry, receipts, snacks, or small purchases enter the equation.
3. Organize by function so the bag stays usable
Once you have edited the clothing, pack it in groups. Packing cubes are optional, but the principle is useful even without them: keep similar items together so you do not have to unpack the entire suitcase to find one long-sleeve top.
Rolling can work well for T-shirts, casual pants, and soft knits. Folding may be better for structured shirts, sweaters that stretch easily, or garments that crease along tight rolls. There is no universal winner between rolling and folding; use the method that fits the fabric and lets you see what you packed.
Place dense items close to the wheel end of a rolling suitcase when practical, and avoid using compression as an excuse to add more clothing. Compression changes volume, not weight.
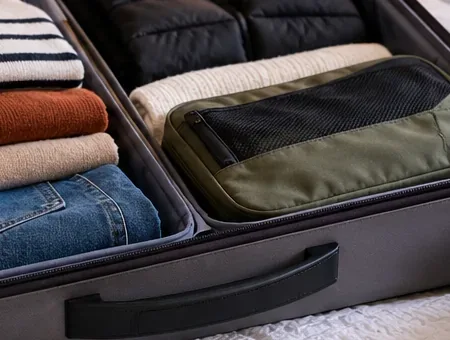
Group clothing by function and keep frequently used layers visible; a packing cube can organize smaller items without encouraging you to overfill the bag.
Suggested organization
Zone
Best contents
Main clothing area
Bottoms, sweaters, shirts, sleepwear
Small cube or pouch
Underwear, socks, compact accessories
Easy-access top layer
Light jacket, scarf, or layer you may need immediately after arrival
Personal item
Documents, medications, electronics, power bank, valuables, and in-flight essentials
4. Keep weather and airport-access items easy to reach
The final step is not about squeezing in more. It is about making the packed bag practical in motion. A compact umbrella buried under five layers is not very useful when you step out of the station into rain. The same applies to a scarf, sunglasses, light jacket, medication, or charging cable.
Keep small weather accessories together near the top of the carry-on or in your personal item. If you are flying from a U.S. airport, remember that the Transportation Security Administration's 3-1-1 rule still applies to most liquids, aerosols, gels, creams, and pastes in carry-on baggage: each container is limited to 3.4 ounces (100 milliliters) or less, with the containers fitting in one quart-size clear zip-top bag per passenger. TSA also notes exceptions for medically necessary liquids. Check the official TSA Travel Tips and 3-1-1 guidance before departure because security requirements can change.
Battery rules matter too. As checked in September 2026, the Federal Aviation Administration says spare lithium batteries and power banks must be carried in carry-on baggage, not checked baggage. If a carry-on is taken at the gate and checked, remove those spare batteries and power banks and keep them with you in the cabin. See the FAA's current PackSafe lithium battery guidance.
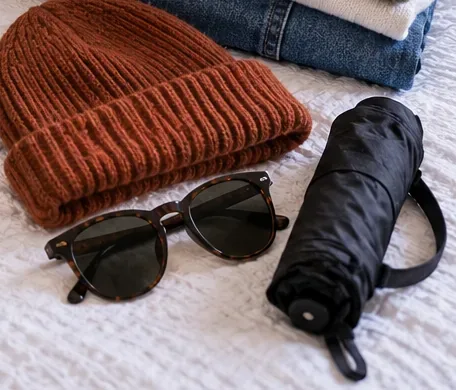
Keep small weather-ready accessories together and accessible so you can respond to sun, wind, or rain without unpacking the whole suitcase.
Carry-on limits: verify your airline, not a generic packing chart
There is no single carry-on size that applies to every airline, fare, aircraft, or route. Before you finalize your packing list, open your airline's own baggage page and check both the carry-on allowance and the personal-item rules for your ticket.
For example, American Airlines currently lists a maximum standard carry-on size of 22 x 14 x 9 inches (56 x 36 x 23 cm), including handles and wheels, and a personal-item limit of 18 x 14 x 8 inches (45 x 35 x 20 cm). That is an airline-specific example, not a universal standard. See the airline's official carry-on baggage page. The FAA also cautions that airline rules can be stricter than general regulations and recommends checking directly with the carrier; see the FAA carry-on baggage tips.
Transitional-weather packing checklist
Check forecast highs, lows, wind, and precipitation shortly before departure.
Test your base, mid-layer, and outer layer together.
Choose tops that work with both primary bottoms.
Limit shoes to one main pair plus one clearly different-use pair when needed.
Pack one outer layer suited to the actual weather risk.
Keep an umbrella, scarf, sunglasses, or hat accessible if the forecast supports them.
Move toiletries into compliant travel-size containers when flying carry-on only from U.S. airports.
Keep power banks and spare lithium batteries in carry-on baggage.
Verify your airline's current carry-on and personal-item limits.
Leave enough room to repack without sitting on the suitcase.
What not to cut just to save space
Packing light should not mean removing items that protect your health, safety, or ability to complete the trip. Keep required medications, necessary medical supplies, travel documents, appropriate weather protection, and essential work equipment even if they complicate an otherwise neat capsule. If you have accessibility or medical needs, those needs come before an arbitrary bag count.
Likewise, specialized trips require specialized packing. Hiking in rapidly changing mountain weather, attending several formal events, traveling with an infant, or working with technical equipment can make a minimalist city-trip formula inappropriate.
Bottom line
The most reliable way to pack light for transitional weather is to create flexibility instead of packing for every scenario separately. Build around layers, make most pieces compatible with each other, organize the bag so the useful items stay accessible, and verify the rules that can change—especially airline baggage limits, security requirements, and lithium-battery restrictions.
If you can wear your coldest combination comfortably, remove a layer when the day warms up, create several outfits from the same small group of clothes, and repack the bag without a struggle, you have packed light without leaving yourself exposed to normal weather changes.
Security, battery, and airline baggage details in this article were checked against official U.S. government and airline sources in September 2026. Rules outside the United States, and airline-specific limits, may differ.