Imagine carrying sensitive files on your external USB drive, only to worry about data theft if it's lost or stolen. Fear not! Windows 11 BitLocker is your knight in shining armor, offering robust encryption to safeguard your information. This comprehensive guide will walk you through how to setup Windows 11 BitLocker on external USB drives effortlessly. Whether you're a tech newbie or a seasoned user, you'll gain the confidence to secure your data in minutes. Let's dive in and lock down your drives today! 🚀
Why Encrypt Your External USB with BitLocker in Windows 11?
Before we jump into the steps, let's quickly cover the "why." BitLocker encryption in Windows 11 uses advanced AES algorithms to scramble your data, making it unreadable without the correct key. It's especially crucial for external USB drives, which are prone to loss or unauthorized access. According to Microsoft's latest security updates, enabling BitLocker on external drives can prevent data breaches that affect millions annually. Plus, it's built right into Windows 11 Pro, Enterprise, or Education editions—no extra software needed. Ready to protect your files? Let's get started with the setup.
Prerequisites: What You Need Before Setting Up BitLocker
To ensure a smooth experience with how to setup Windows 11 BitLocker on external USB, check these essentials:
- ✅ A Windows 11 PC running the Pro, Enterprise, or Education edition (Home edition doesn't support BitLocker natively).
- ✅ An external USB drive formatted in NTFS (FAT32 or exFAT won't work for full encryption).
- ✅ Administrator privileges on your PC.
- ✅ A safe place to store your recovery key—think Microsoft account or a printed copy, not on the USB itself!
If your drive isn't NTFS, no worries. Right-click it in File Explorer, select "Format," choose NTFS, and proceed. This prep work sets the stage for seamless USB drive encryption.

Step-by-Step Guide: How to Setup Windows 11 BitLocker on External USB
Now, the heart of our guide. Follow these precise steps to enable BitLocker encryption Windows 11 on your external USB. We'll keep it simple and focused so you can finish in under 10 minutes.
- Connect Your USB Drive: Plug your external USB into your Windows 11 PC. Ensure it's detected in File Explorer. If it's a new drive, back up any data first—encryption will lock everything away until unlocked.
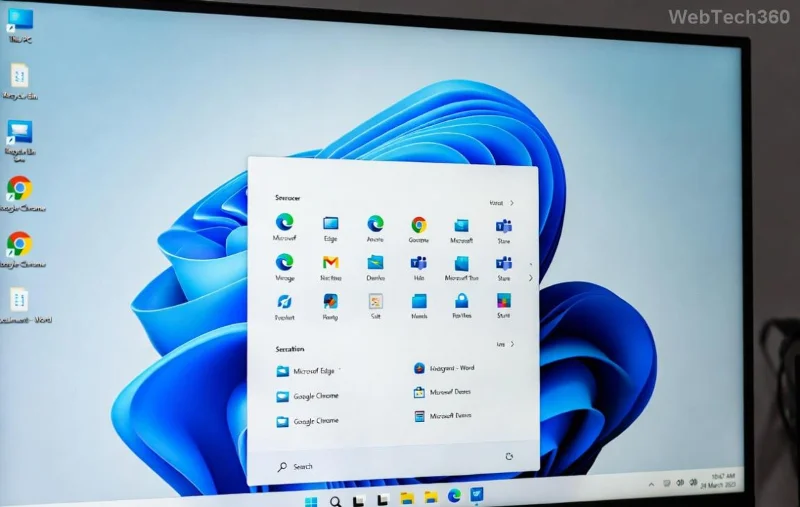
- Access BitLocker Settings: Open File Explorer (Windows key + E). Right-click your USB drive in the left sidebar and select "Turn on BitLocker." Alternatively, search for "Manage BitLocker" in the Start menu for a centralized view.
- Choose How to Unlock Your Drive: You'll see options like "Use a password" or "Use a smart card." For simplicity, pick "Use a password." Create a strong one—mix letters, numbers, and symbols (at least 8 characters). This becomes your everyday unlock key. 💪
- Save Your Recovery Key: BitLocker generates a 48-digit recovery key. Save it to your Microsoft account (recommended for easy access) or print it. Never store it on the USB! This key is your lifeline if you forget the password.
- Select Encryption Options: Choose "Encrypt entire drive" for maximum security (it takes longer but covers hidden sectors). If you're in a hurry, "Encrypt used disk space only" works for new drives.
- Start Encrypting: Click "Start encrypting." Windows 11 will begin the process, showing a progress bar. Depending on your drive size, this could take from minutes to hours. Grab a coffee—it's working hard for you! ☕
- Verify and Test: Once done, eject and reinsert the USB. You'll be prompted for your password. Enter it, and voilà—your files are accessible only to you.
Congratulations! You've just mastered how to setup Windows 11 BitLocker on external USB. Your data is now fortified against prying eyes.
![BitLocker encryption progress screen on Windows 11 for external USB drive]()
Common Issues and Troubleshooting for BitLocker on External USB
Even the best setups hit snags. Here's how to tackle frequent hurdles with secure external drive encryption in Windows 11:
| Issue |
Solution |
| BitLocker Option Not Available |
Ensure you're on Windows 11 Pro or higher. If on Home, consider upgrading or using third-party tools like VeraCrypt (but BitLocker is superior for native integration). |
| Encryption Fails Mid-Process |
Check for drive errors with CHKDSK (run "chkdsk X: /f" in Command Prompt, replacing X with your drive letter). Restart and try again. |
| Forgot Password? |
Use your recovery key to unlock via "More options" in the BitLocker prompt. For future-proofing, enable TPM if your PC supports it for hardware-based security. |
| Slow Performance Post-Encryption |
Normal for large drives. Use a USB 3.0+ port for faster speeds. Windows 11's latest optimizations minimize this. |
If issues persist, visit Microsoft's support page for detailed BitLocker troubleshooting. These tips should keep your USB drive encryption running smoothly.
Best Practices to Maximize Your BitLocker Security
Setting up is just the start. To keep your external USB truly secure with Windows 11 security features, follow these pro tips:
- Regular Backups: Encrypting doesn't back up data. Use OneDrive or an external backup drive for redundancy.
- Update Windows 11: Always install the latest patches for enhanced BitLocker protections against emerging threats.
- Multi-Factor Unlock: Pair your password with a PIN or biometric login for added layers.
- Avoid Public PCs: Only unlock on trusted devices to prevent keylogging risks.
- Monitor Drive Health: Use tools like CrystalDiskInfo to ensure your USB isn't failing, as corrupted drives can lock you out.
Implementing these will make your setup bulletproof. Feel the peace of mind knowing your data is safe—it's like giving your files a personal bodyguard! 🛡️
![Locked BitLocker external USB drive with recovery key prompt on Windows 11]()
Turning Off BitLocker: When and How
Sometimes, you might need to decrypt. To turn off BitLocker on external USB, right-click the drive in File Explorer, select "Manage BitLocker," and choose "Turn off BitLocker." Confirm and wait for decryption—it's the reverse of setup. Only do this if you're sure, as it removes protection. Pro tip: Decrypt before sharing the drive with non-Windows systems.
Final Thoughts: Secure Your World with BitLocker Today
There you have it—a complete, no-fluff guide on how to setup Windows 11 BitLocker on external USB. By following these steps, you're not just encrypting data; you're taking control of your digital privacy. Whether for work files, personal photos, or backups, BitLocker ensures they're yours alone. If you found this helpful, experiment with it now and share your success in the comments below. Stay secure, and happy computing! 👏
For more Windows 11 tips, explore our guides on advanced security features. Your data deserves the best protection—don't wait!