Clear the ownCloud Apache .htaccess Warning Safely
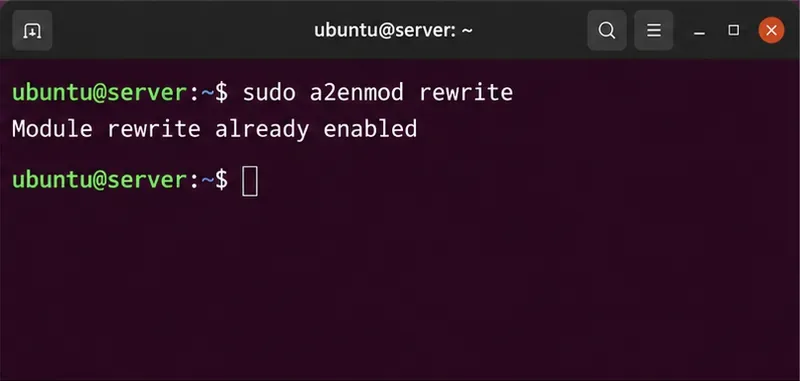
Set AllowOverride All only for ownCloud’s web root, validate the active Apache vhost, and reload safely to restore .htaccess rules.
PowerPoint has a useful zoom effect. Here are some tips on how to use the Zoom effect in PowerPoint .

PowerPoint offers many ways to make presentations more interesting, including the Zoom tool because it is attractive and realistic. Let's explore this feature and how to use the Zoom effect in PowerPoint projects to quickly transition between slides, draw attention to important sections, and more.
What is the Zoom tool in PowerPoint?
As the name suggests, PowerPoint's Zoom allows you to edit parts of your presentation while the slideshow is running. You may need to reopen the desired slide or keep the presentation scale small.
PowerPoint has three formats for the Zoom effect: Summary , Section , and Slide . Depending on your options and additional settings, you can make your project impressive and interactive.
How to use Zoom in PowerPoint
On PowerPoint, go to Insert , you will find the Zoom button in the Links section . If you click that arrow, you will see 3 formats, opening up more options after setup.
Use Summary Zoom
After you have created some slides, select Summary Zoom to open a new window. Here, you select the slide you want to zoom to highlight milestones in the presentation, whether sections have actually been added to it or not.
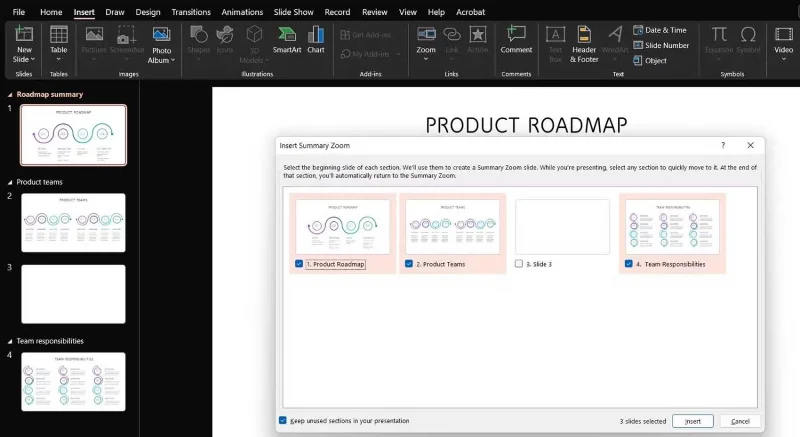
With the selection checked, press the Insert button , a new slide will appear in the Summary Section and contain the entire presentation behind the milestones you choose.
Basically, the content that appears after each slide will appear in the slideshow, but you can choose to minimize that section, move to another slide, and come back later to look through the slides.
That is the special feature of Summary Zoom. It replaces your slideshow, placing it on a slide instead. Here, you can easily jump in and out of the sections you need.
Finally, if you select the Zoom feature on the summary slide, its toolbar will open and give you options specific to that format, also available in the Zoom menu when you right-click on it.
Use Section Zoom
This effect takes you to a section of your presentation from a specific slide. You put a simple layout of a complex presentation on a slide, and can reference it to other stages within the slideshow.
Select a slide, go to the Zoom menu and click Section Zoom. You'll have the same window as before, so you can select the section to go to.
Once completed, PowerPoint will insert the zoom effect into the slide as another slide, a page that begins the section you selected. It also shows the number of additional slides in the container.
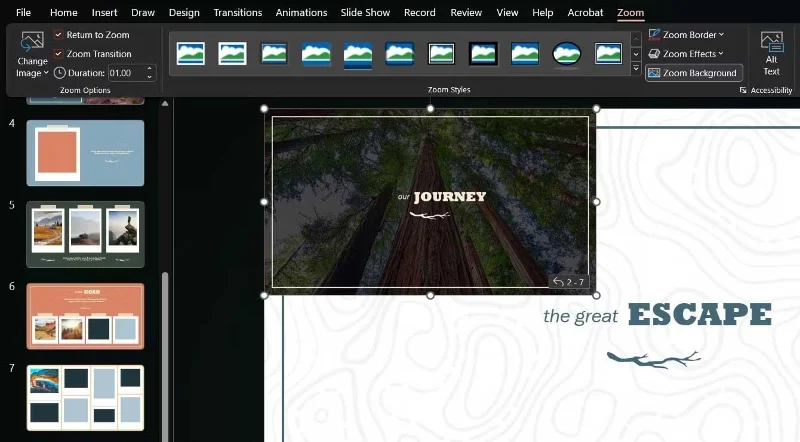
You can resize and move the Zoom feature around, as well as choose a better image for it from the Zoom toolbar or the feature's right-click menu.
Use Slide Zoom
If your presentation doesn't have sections, but you want to go somewhere, try Slide Zoom. When setting it up, you simply select one or more slides you want to zoom in during your presentation.
Like Section Zoom , this feature will reside on a slide you select and will activate when you click on it, at which point you can cycle through the slides or return to the feature's main slide.

Remember that you can return to your PowerPoint presentation by clicking the arrow icons on each slide or using the keyboard arrows. In addition, you can change the image of each Zoom Slide to add content to the presentation using the same button as before.
Above is how to use the Zoom feature in PowerPoint . Hope the article is useful to you.
Set AllowOverride All only for ownCloud’s web root, validate the active Apache vhost, and reload safely to restore .htaccess rules.
Enable ownCloud’s Enterprise Auditing app, route admin_audit events to a protected log file, and confirm that real user actions are being recorded.
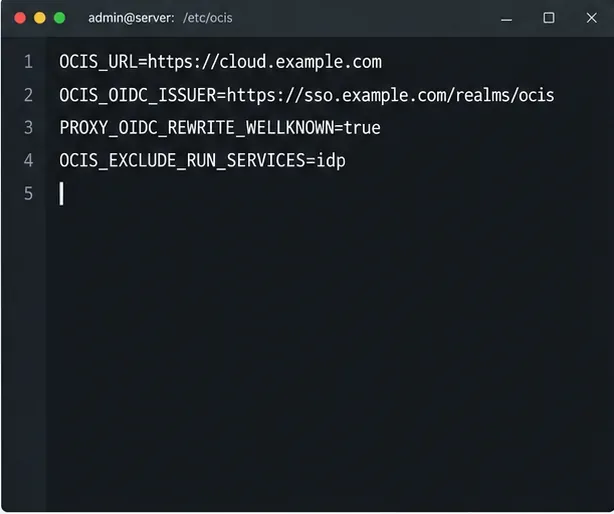
Align Keycloak’s realm issuer, web client, and user claims to let ownCloud Infinite Scale sign users in reliably across the web and mobile clients.
Transfer owned files and outgoing shares with ownCloud’s occ command, understand what stays behind, and verify access before deleting the old account.
Learn when ownCloud 10 database indexes need attention, how to apply supported schema updates safely, and when query tuning or a database change is the better fix.
Connect a Windows or Samba network share to ownCloud through External Storage, verify credentials, and troubleshoot inaccessible folders safely.
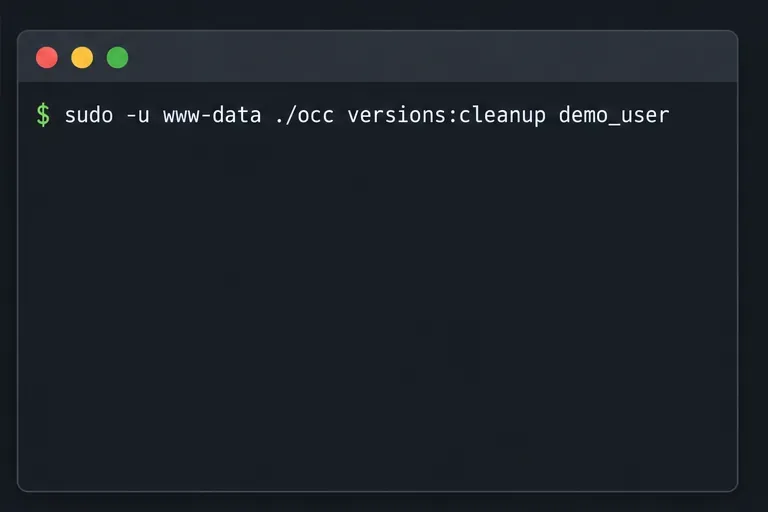
Remove every stored ownCloud Server Classic file version for one account or all users, and distinguish a full purge from retention-based expiry.
Trace an ownCloud mobile connection refusal by checking the server URL, phone network, HTTPS endpoint, and server logs in the right order.
Replace on-demand job runs with a systemd timer that runs ownCloud’s supported occ system:cron command every 15 minutes.
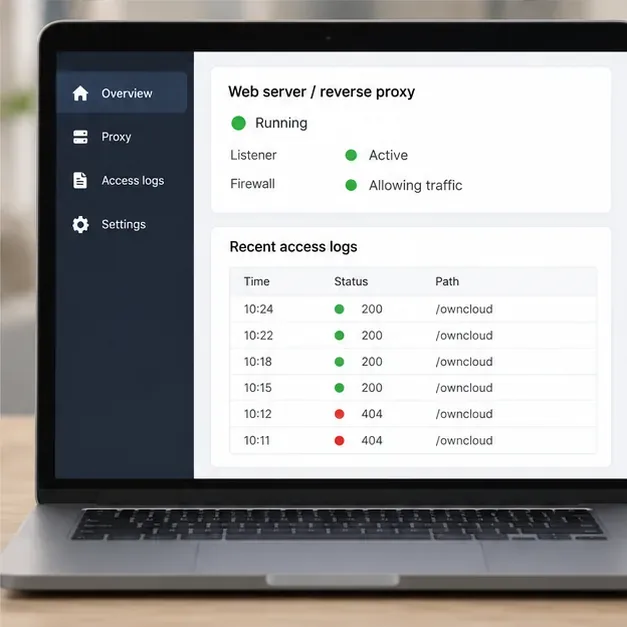
Trace the WebDAV request through Apache, Nginx, or a reverse proxy, then confirm ownCloud sync works with an authenticated PROPFIND test.