You want to cut some pieces of music in a long music file, and then merge them into music for festivals, birthdays, parties, weddings or any other purpose. MP3 Splitter & Joiner will be the perfect choice for you!
MP3 Splitter & Joiner will help split, merge several MP3 files into one large file extremely quickly and simply. First, you need to follow the article below to install MP3 Splitter & Joiner:
How to install MP3 Splitter & Joiner to cut and join music
Step 1: Download the MP3 Splitter & Joiner to your computer, then extract the file using 7-Zip or WinRAR . Then, double click the setup file to install MP3 Splitter & Joiner.
MP3 Splitter & Joiner
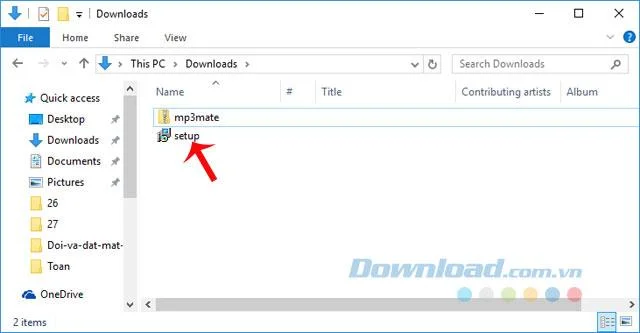
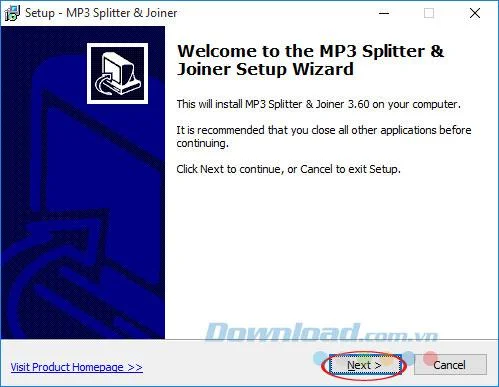
Step 2: Setup - MP3 Splitter & Joiner window appears, click Next to move to the next step.

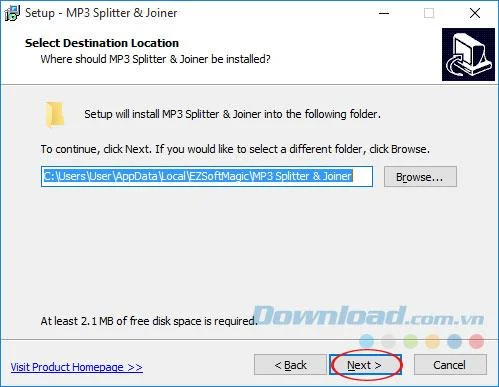
Step 3: If you want to select the MP3 Splitter & Joiner storage folder again, click Browse , then navigate to the desired storage location. Then click Next. MP3 Splitter & Joiner is also quite light, only 2.1 MB so you do not need to worry.

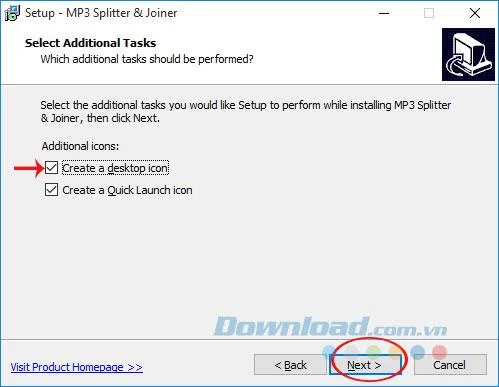
Step 4: Integrate selected in the Create a desktop icon, the Create a Quick Launch icon if you want, and click Next.

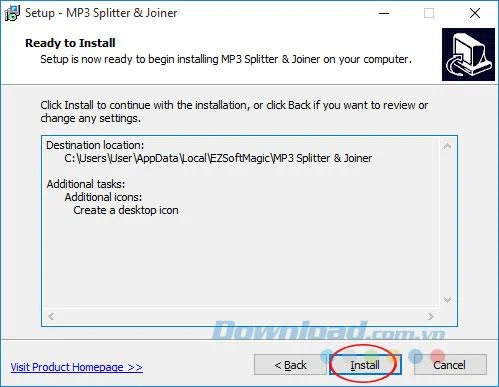
Step 5: Click Install to install MP3 Splitter & Joiner on the computer.

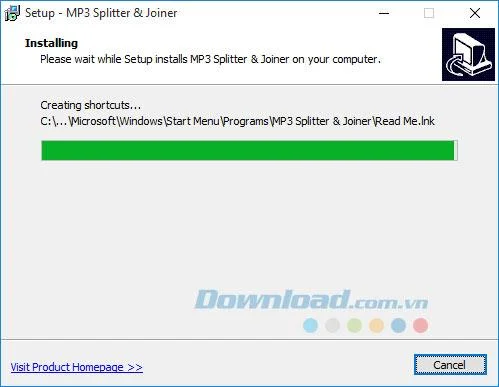
Step 6: The installation process of MP3 Splitter & Joiner takes place very quickly, you just need to wait a bit.

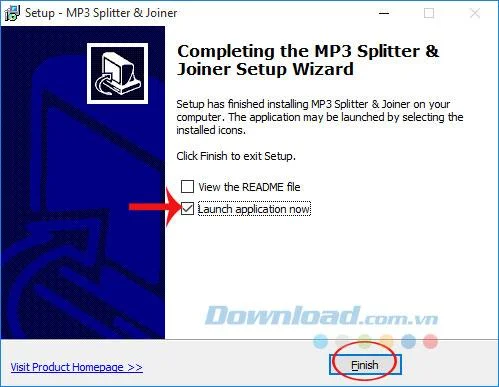
Step 7: When installing MP3 Splitter & Joiner successfully, if you want to launch the software right after installation, select Launch application now , then click Finish.

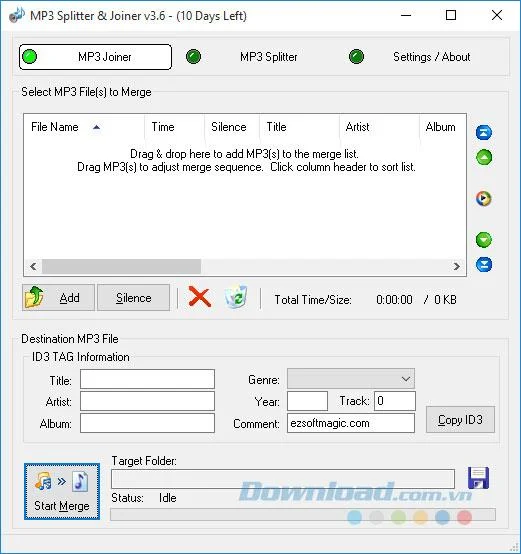
Step 8: The main interface MP3 Splitter & Joiner appears, you can comfortably cut MP3 music, join MP3 music extremely simply and quickly. MP3 Splitter & Joiner is only available for a 10 day free trial, after which you have to pay to continue the experience.

Video installation guide MP3 Splitter & Joiner to cut and join music
With just a few simple steps , you can freely cut MP3 music as you like. I wish you successful implementation!