By default, the notification display time on Windows 11 is only about 5 seconds and disappears. In case you find the notification viewing time is too short and want to extend it, it's also simple. Just change a few available settings in the system and you can adjust the Windows 11 notification display time to your liking. Below are instructions for adjusting the Windows 11 notification display time.
How to adjust Windows 11 notification display time via Settings
Step 1:
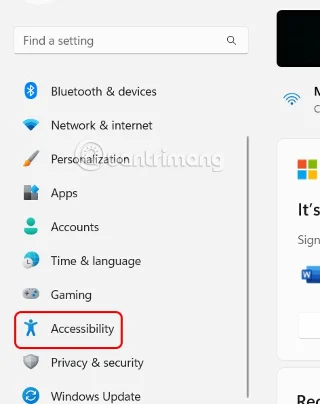
Users press the Windows + I key combination to open Settings, then click Accessibility in the list on the left of the interface.
Step 2:
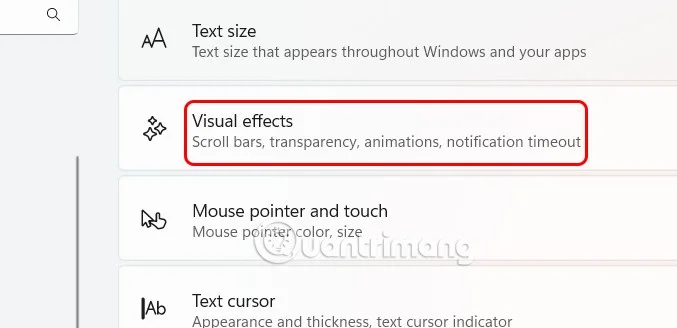
Look at the interface next to it and click on Visual effects to adjust the effects on your computer.

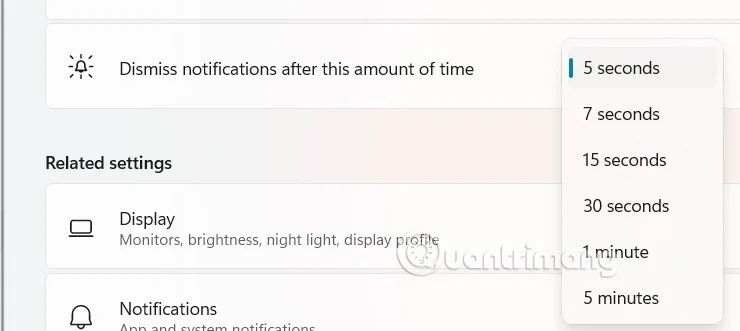
At this point, the user will see the customizations, you scroll down to the Dismiss notifications after this amount of time setting to adjust the notification display time on Windows.
You choose the time you want to display notifications on Windows 11.

Increase Windows 11 notification display time via Control Panel
Step 1:
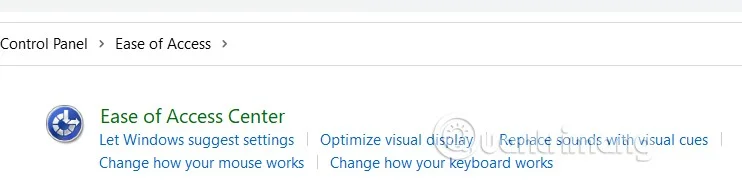
Open Control Panel on your computer, then click Ease of Access > Ease of Access Center .

Step 2:
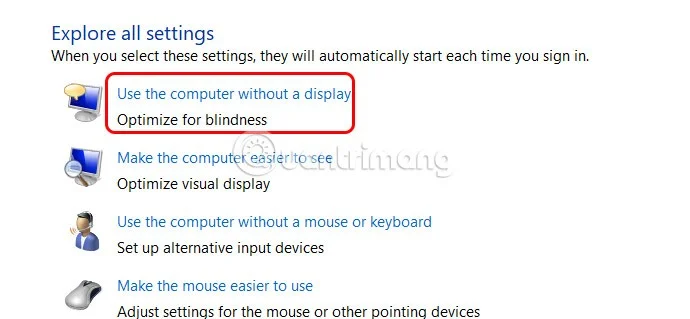
In this new interface, the user clicks on the setting Use the computer without a display .

Step 3:
Scroll down to Adjust time limits and flashing visuals and adjust the time to display notifications on your computer.

Change Windows 11 notification display time via Registry Editor
Step 1:
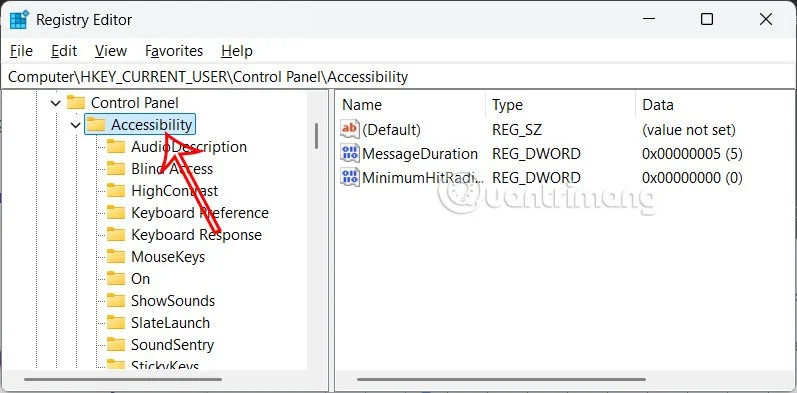
Open Windows Registry Editor on your computer, then access the path below.
HKEY_CURRENT_USER\Control Panel\Accessibility

Step 2:
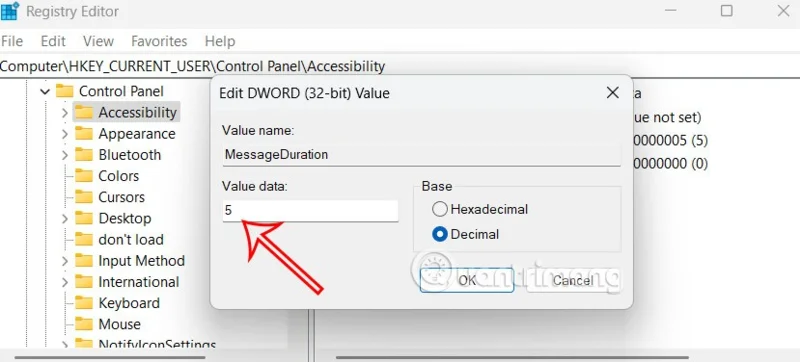
Double-click the MessageDuration value to edit the notification display time on Windows 11.
Click Decimal and enter the time you want the notification to appear on Windows 11. The default is 5 seconds and the maximum is 300 seconds which is equivalent to 5 minutes.