Home
» How to
»
Instructions to change Facebook ID, change new Facebook address
Instructions to change Facebook ID, change new Facebook address
Changing your Facebook ID on your phone or computer is very simple, so you can change your Facebook ID to a more memorable or special name. The Facebook ID name or Facebook identifier is in the form facebook.com/ID .
After you change your ID, Facebook will update your account with a new ID. Here are instructions for changing your Facebook ID on your computer and phone.
How to change Facebook ID on iPhone, Android
Step 1:
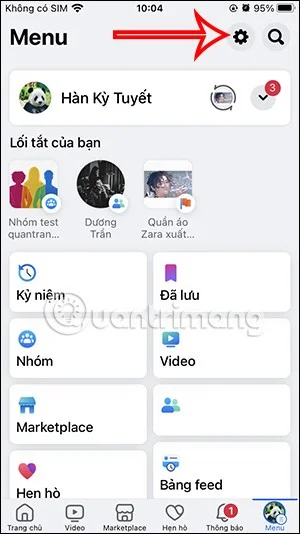
On the Facebook application interface, click on the 3-dash icon below and then click on the gear icon in the upper right corner of the interface to switch to the application settings interface.
Step 2:
Continue in the new interface, click on the Account Center section to access the settings for your account. In the interface as shown, click on your Facebook account name .
Step 3:
Continue to select your Facebook account . At this interface, click on Username to edit your Facebook ID.
Step 4:
At this time, the user will find the interface showing your current Facebook ID. We will fill in the new Facebook ID . Each Facebook ID when you enter will have a notification whether the name is available or not. If available, you will see a green check mark.
Finally click Done to save the new Facebook ID for your Facebook account.
Instructions to change Facebook ID on computer
Step 1:
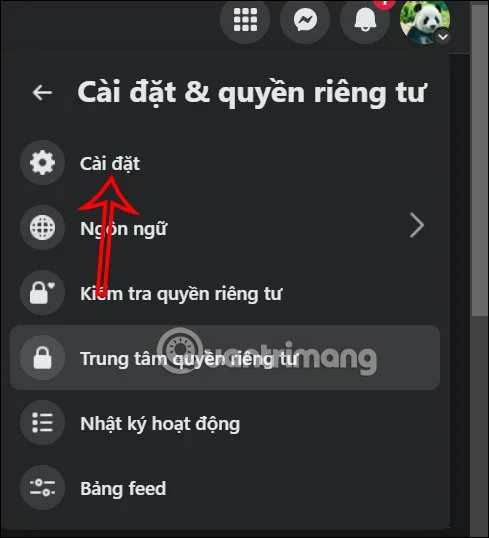
On the Facebook interface on your computer, click on your avatar , select Settings & Privacy , then select Settings in the displayed list.
Step 2:
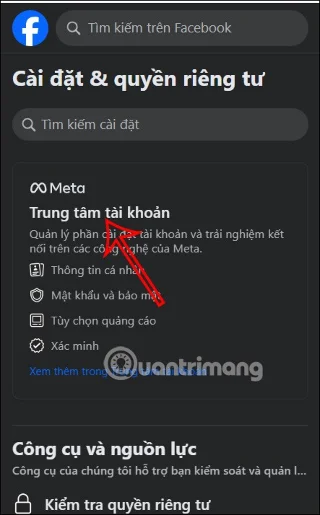
On the left side of the user interface, click on the Account Center item .
Switch to the new interface, the user clicks to select your Facebook account .
Step 3:
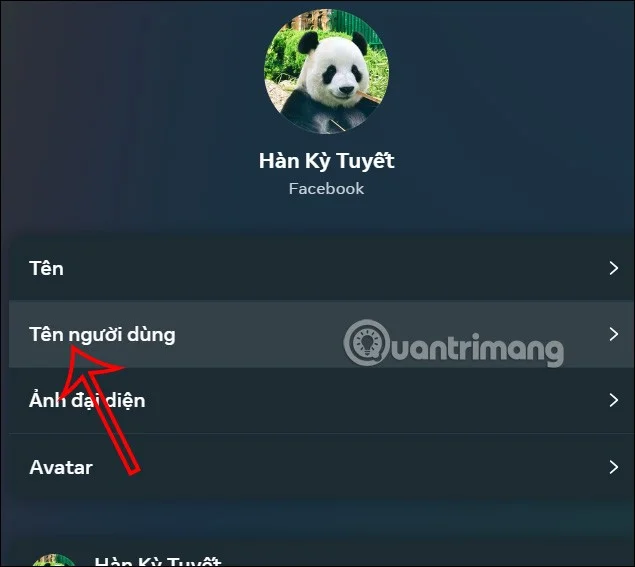
Continue to click on Username to change your Facebook ID on your computer.
You will enter the new ID name in this box, if the name is determined to be available then you click Done below to save the new ID for Facebook.