Dual Boot Pardus and Windows 11 Without Reformatting Windows
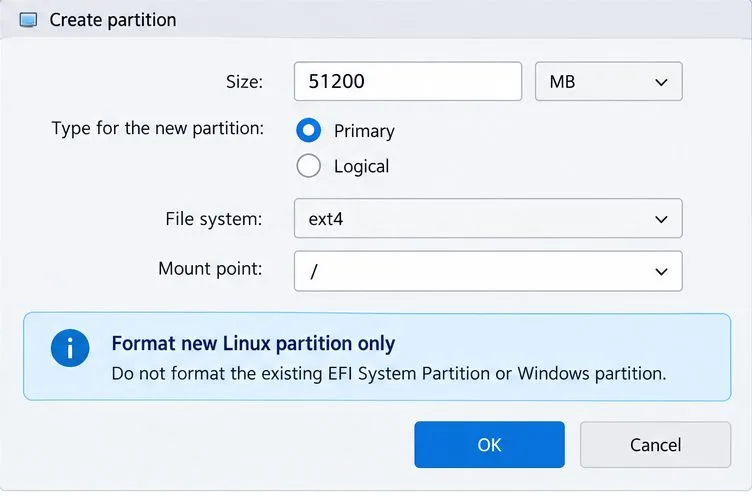
Install Pardus alongside Windows 11 by shrinking the Windows volume, using unallocated space, and preserving the existing EFI System Partition.
Step 1: You access the link https://zalo.me/pc download Zalo to Macbook (Figure 1).
Step 2: At the arrow down to the right of the screen, click on the downloaded Zalo (Figure 2).

Step 3: After clicking, the interface will appear as shown in Figure 3, drag and drop the icon to " Applications ".
Step 4: Double click on the Zalo software (or right click, select Open) (Figure 4), a window appears >> choose Open . Zalo software will be installed immediately.

Step 1: Sign in to Zalo on a Macbook
There are 2 ways you can perform to log into Zalo on a Macbook:


Step 2: After logging into Zalo in one of the two ways above, your phone will have a message " Do you want to log into Zalo on your device? ". Once there, you click " Yes " so that the Macbook can log into your Zalo account.

That's it, contacts will be synced right on the Macbook, you can text, chat with any friend you want!
See also: Use Zalo on PC, login using the activation code Zalo
Install Pardus alongside Windows 11 by shrinking the Windows volume, using unallocated space, and preserving the existing EFI System Partition.
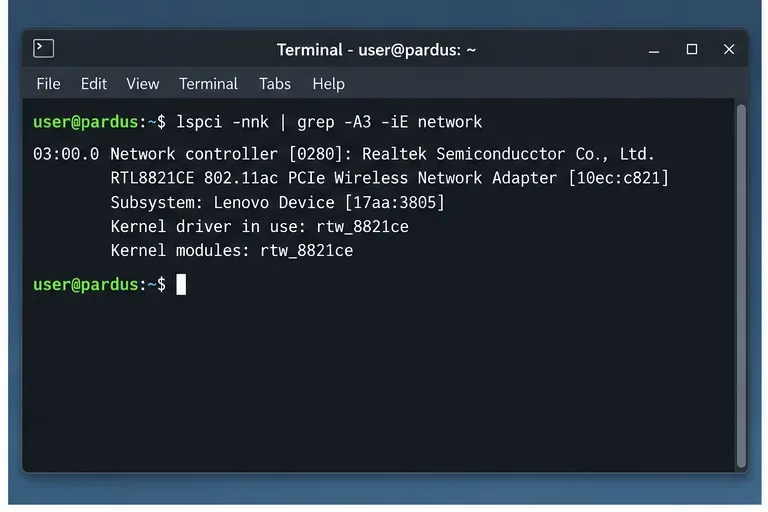
Identify the RTL8821CE, install Pardus-supported Realtek firmware, and verify the driver, Wi-Fi scan, and next troubleshooting step.
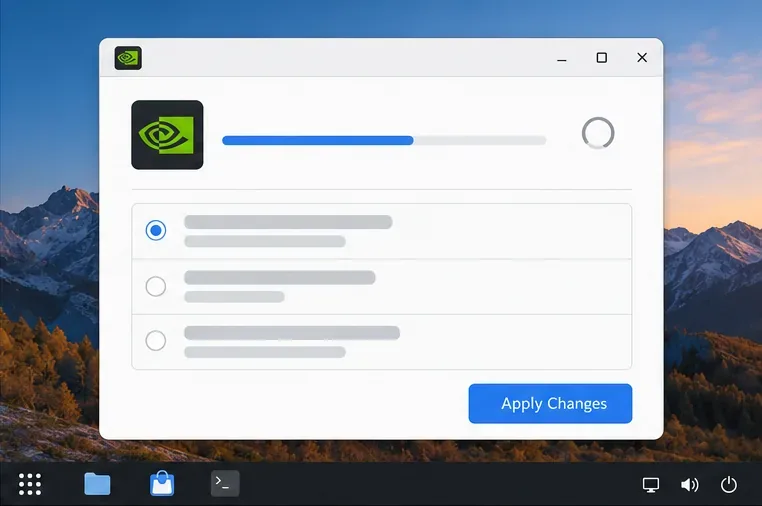
Use Pardus’s hardware-aware installer to enable the right NVIDIA driver, reboot safely, and verify the active kernel module.
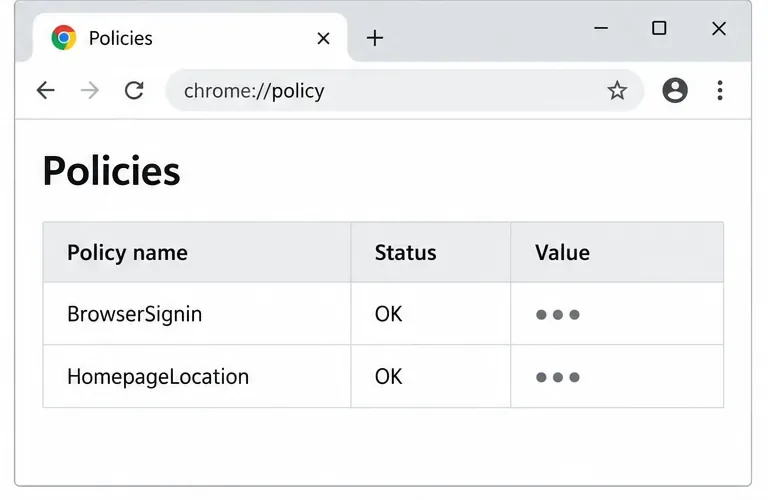
Install the official Chrome package safely on Gooroom OS, check compatibility, preserve device controls, and verify browser policies before use.
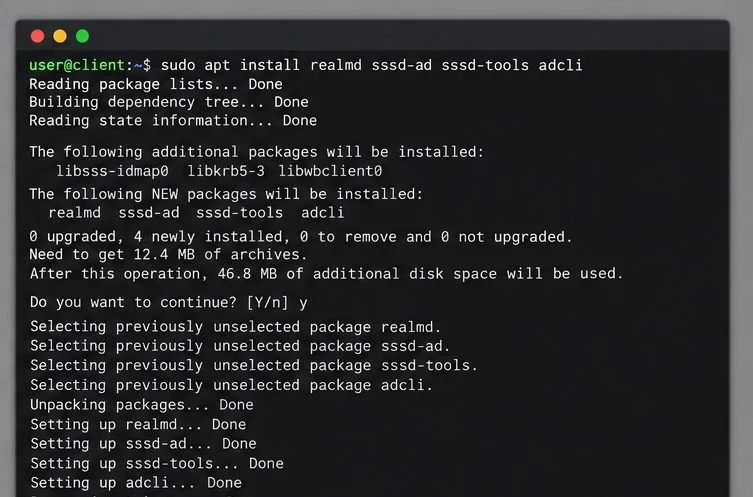
Prepare DNS and time, enroll Pardus with realmd and SSSD, and verify domain membership and user lookup before relying on AD sign-in.
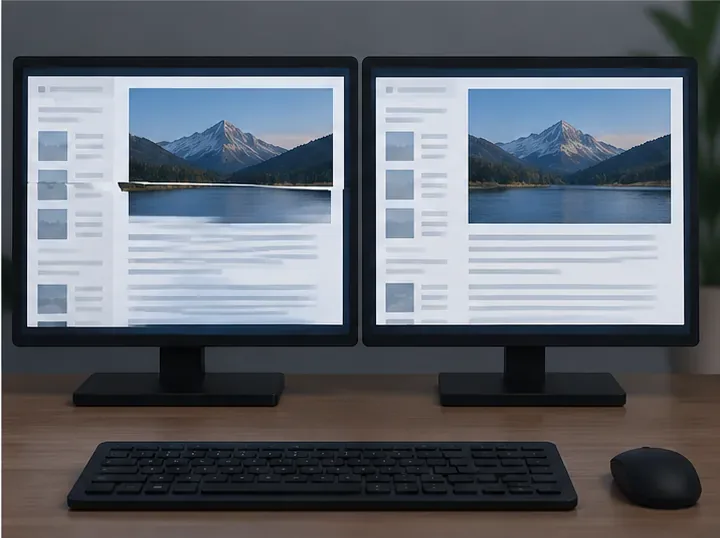
Reduce horizontal tearing in Pardus XFCE by checking your display session, enabling compositor synchronization, and applying Intel’s Xorg TearFree option only when the active driver supports it.
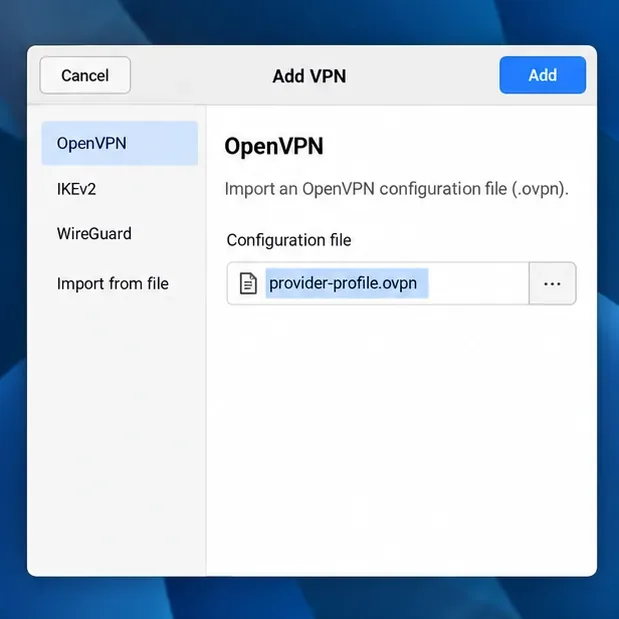
Add an OpenVPN profile to NetworkManager on Pardus, install the right plugin, protect credentials, and verify the VPN is active.
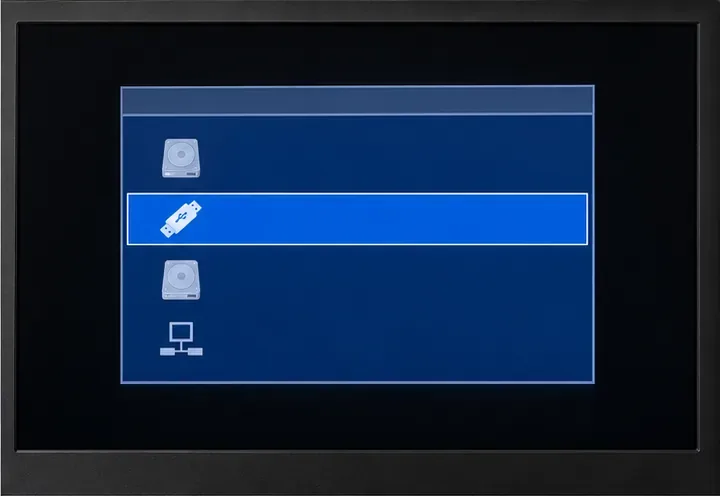
Prepare a bootable USB, check 64-bit hardware compatibility, and install Pardus 23 XFCE while protecting existing files and avoiding common legacy BIOS pitfalls.
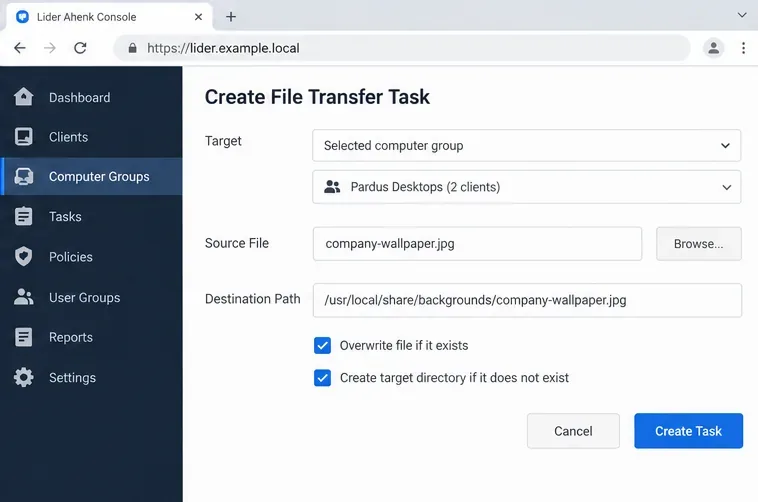
Distribute a custom wallpaper to Pardus clients, configure Xfce or GNOME desktops, and apply Lider Ahenk user policies with safe pilot checks.
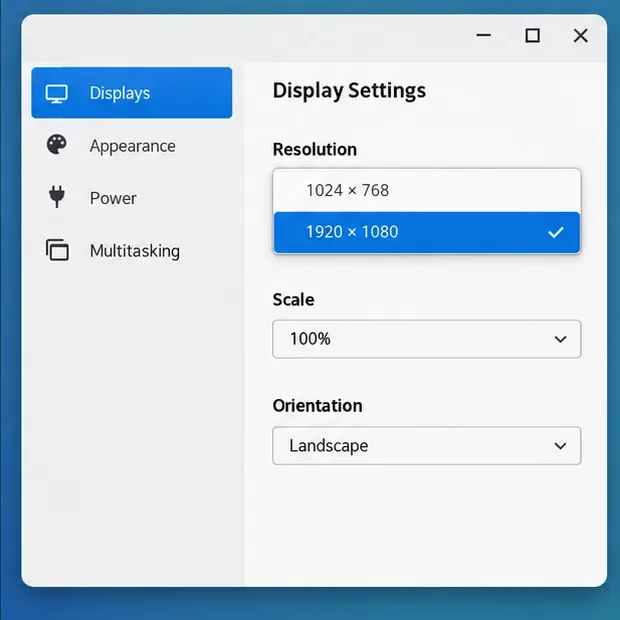
Fix a 1024 × 768 ceiling by checking SPICE, virtual video, the guest channel, and spice-vdagent—with safe checks when Pardus lacks a package candidate.