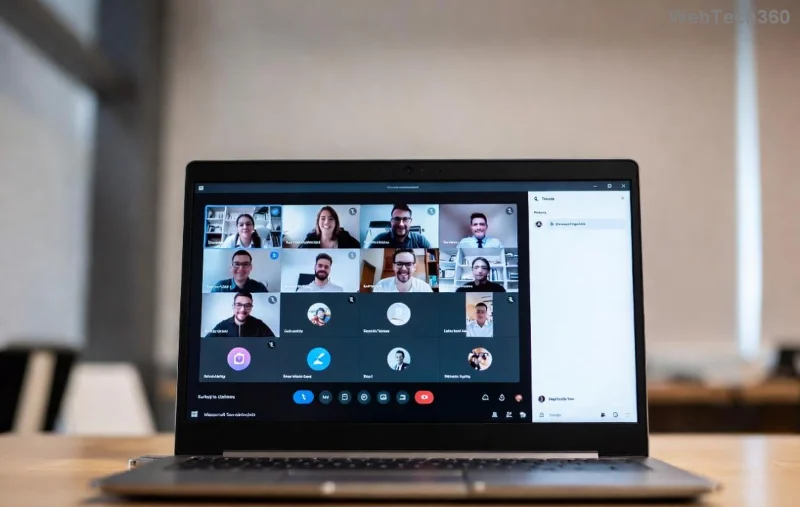
Struggling with Microsoft Teams recording location cluttering your OneDrive or SharePoint? You're not alone! 😊 Teams automatically saves meeting recordings to cloud storage for easy access and sharing. But what if you want to customize that spot? This guide walks you through how to change Microsoft Teams recording location efficiently—whether you're moving files manually or tweaking admin policies. Let's dive in and reclaim your storage! 👆

Understanding Default Microsoft Teams Recording Storage
By design, Microsoft Teams recordings land in fixed cloud locations:
- OneDrive for Business: For 1:1 calls, ad-hoc meetings, or non-channel meetings (stored in the organizer's OneDrive under Recordings folder).
- SharePoint: For channel meetings (in the team's SharePoint site under Recordings).
⭐ Good news: While you can't alter the upload destination directly in Teams settings, you can change Microsoft Teams recording location post-recording by moving files within OneDrive/SharePoint or downloading them locally. Admins have extra powers via policies.
Step-by-Step: Access Your Teams Recordings First
Before changing locations, locate your files. Here's how:
- Open Microsoft Teams app or web version.
- Go to Chat or Channel where the meeting happened.
- Click the meeting in history, then select More options (⋯) > Recordings & transcripts.
- Hit Open in OneDrive or Open in SharePoint to jump to the source.
Pro tip: Recordings expire based on your org's retention policy—act fast! 🚀
How to Change Microsoft Teams Recording Location: User-Level Methods
Ready to relocate? Follow these proven steps for seamless moves.
Method 1: Move Within OneDrive/SharePoint (Easiest for Most Users)
- Navigate to OneDrive or SharePoint.
- Find Recordings folder in Meetings > your team/site.
- Select the video file (MP4), right-click > Move to.
- Choose or create a new folder—like Custom Recordings—and confirm.
Your Teams recording folder is now customized! Share the new link via Teams for collaborators.
![Moving Teams recording in OneDrive interface]()
Method 2: Download and Store Locally or Elsewhere
| Step |
Action |
Why It Helps |
| 1 |
From Teams or OneDrive, click Download. |
Frees cloud space instantly. |
| 2 |
Change your browser/PC download folder via settings (e.g., Chrome: Settings > Downloads). |
Customizes local Teams recording path. |
| 3 |
Upload to Google Drive, Dropbox, or external drive if needed. |
Multi-cloud flexibility! 🌟 |
⚠️ Note: Local storage skips Teams' auto-transcripts and sharing—use cloud moves for teams.
Admin Guide: Organization-Wide Changes to Teams Recording Location
If you're an admin, level up with Teams Admin Center:
- Sign in to Teams Admin Center.
- Go to Meetings > Meeting policies.
- Edit policy > Recording & transcription > Enable cloud recording.
- Under Teams > Teams policies, set storage retention—but location stays OneDrive/SharePoint.
For advanced tweaks, use PowerShell:
Connect-MicrosoftTeams
Set-CsTeamsMeetingPolicy -Identity Global -CloudRecordingEnabled $true
This ensures consistent how to change Microsoft Teams recording location practices. Check Microsoft's official docs for latest cmdlets: Teams Recording Policies.
Best Practices for Managing Teams Recordings
- Organize early: Create dedicated folders like ProjectX-Recordings.
- Automate cleanup: Set retention policies to auto-delete old files.
- Secure shares: Use Specific people links over public ones.
- Monitor storage: OneDrive alerts prevent surprises. 📊
Bonus: Integrate with Stream for better video management—recordings auto-flow there too!
Troubleshooting Common Issues
Encounter errors? Quick fixes:
| Issue |
Solution |
| Can't find recordings |
Check organizer's OneDrive or channel permissions. |
| Move fails |
Ensure no one is viewing; try incognito mode. |
| Storage full |
Purge old files or request quota increase via admin. |
Still stuck? Hit Teams support—resolution is usually swift! 👍
Mastering how to change Microsoft Teams recording location boosts productivity and keeps your workspace tidy. Try these steps today and transform your workflow. Got tips? Share in comments below! 🎉