On Windows 11, apps downloaded from the Microsoft Store receive regular updates to improve performance and introduce new features. While updates are installed automatically, you may want to check the version of an app from time to time to confirm that you have the latest version installed, to verify bug fixes, or to access newly added features. Here's how to check the version of an app installed on Windows 11.
Check app version on Windows 11 from Settings
Step 1:
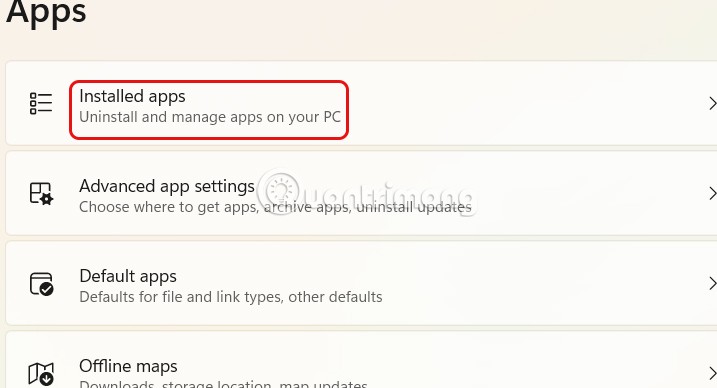
First, press the Windows + I key combination to open Settings, then click on Apps in the list on the left of the interface.
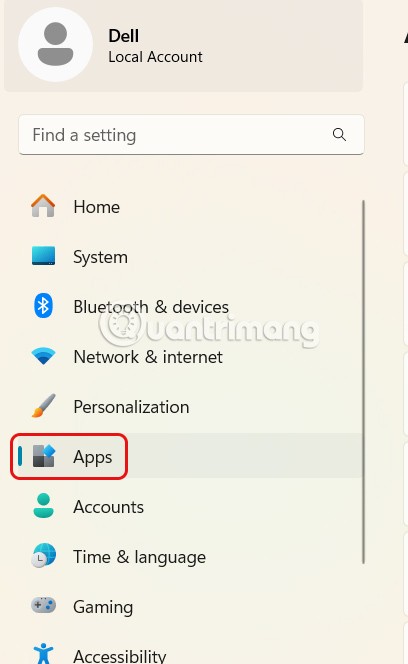
Look at the interface next to you, click on Installed Apps to see the list installed on the computer.
Step 2:
Switch to the interface of the list of applications installed on the computer. Find the application you want to see the version of, then select the 3-dot icon , then click Advanced Options .

Step 3:
Displays information about applications installed on Windows from the Microsoft Store, with the current version information of the application in the Version line as shown below.
Check app version on Windows 11 in Control Panel
Step 1:
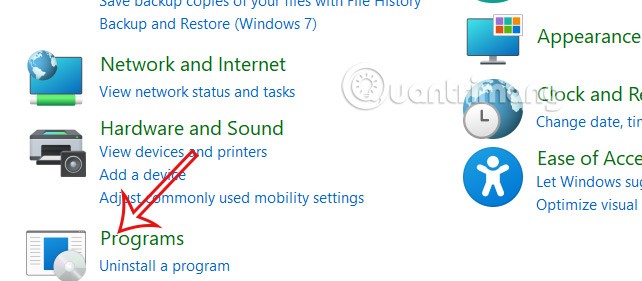
You search for Control Panel in the search bar and then click to access. In the interface as shown, click on Programs .
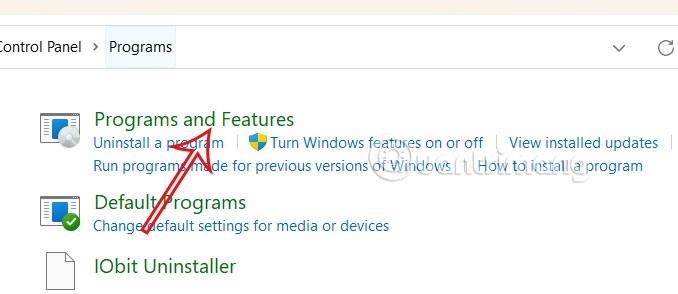
In the next interface, the user clicks on Programs and Features to view the applications installed on the computer.
Step 2:
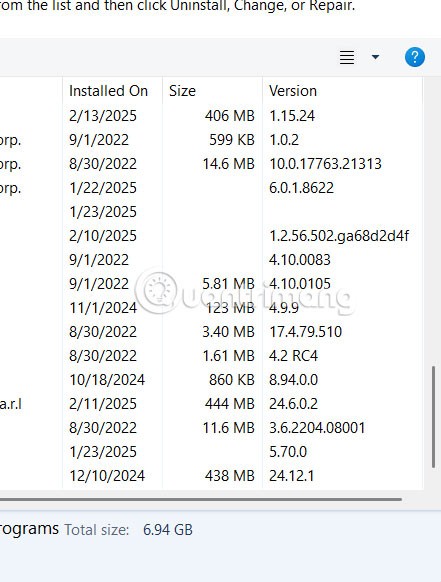
Displays a list of applications installed on your computer. Scroll down to see the version of the application currently installed and running on your computer.
