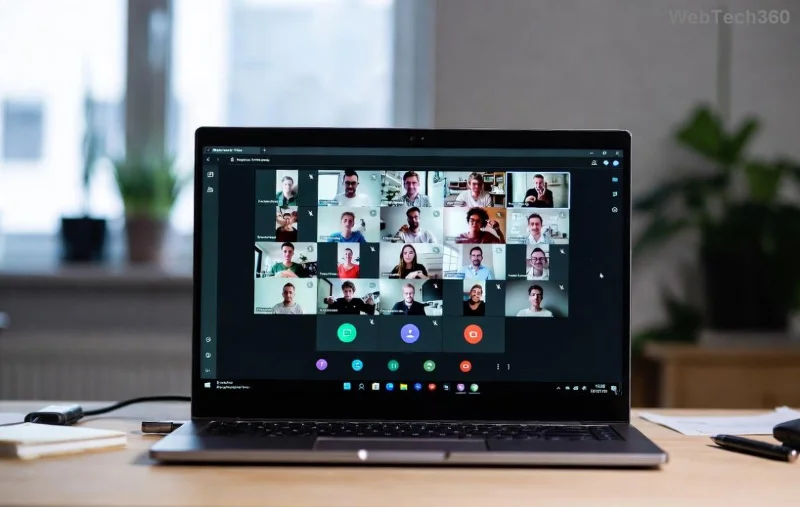
Imagine transforming a monotonous Microsoft Teams meeting into dynamic, focused discussions where every participant shines. That's the magic of breakout rooms in Microsoft Teams meetings. Whether you're a teacher fostering student debates or a manager sparking team brainstorming, mastering how to create breakout rooms elevates your sessions. Ready to dive in? 👉 Let's get started with simple, actionable steps that anyone can follow.
Why Breakout Rooms in Microsoft Teams Are a Game-Changer
Breakout rooms split large groups into smaller, private chats for deeper collaboration. Benefits include:
- Increased participation—no more wallflowers.
- Targeted discussions on subtopics.
- Time-efficient rotations back to the main room. ⭐
Perfect for workshops, classes, or strategy sessions. Now, ensure you're set up for success.
Prerequisites: Who Can Create Breakout Rooms in Microsoft Teams Meetings?
Before jumping in:
- Teams License: Requires Microsoft Teams Premium, Education, or Enterprise with presenter controls enabled.
- Role: Meeting organizer or co-organizer (presenter).
- App Version: Latest desktop, web, or mobile Teams app.
Pro tip: Check settings via Teams admin center if issues arise. 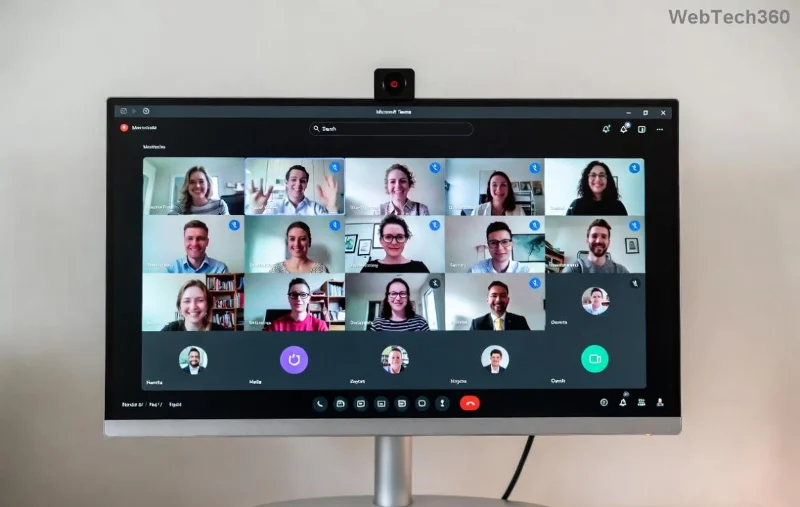
Step-by-Step: How to Create Breakout Rooms During a Live Microsoft Teams Meeting
Live meetings are where breakout rooms Microsoft Teams shine. Follow these exact steps:
- Start Your Meeting: Launch Microsoft Teams, join or schedule, and ensure 5+ participants for best results. ✅
- Access Breakout Rooms: Click More actions (three dots) in the meeting toolbar > Select Breakout rooms.
- Create Rooms:
- Choose Number of rooms (up to 50) or Assign automatically/randomly.
- Click Add room to rename (e.g., "Group A - Sales", "Group B - Marketing").
- Assign Participants: Drag-and-drop attendees or use auto-assign. Edit as needed.
- Open Rooms: Hit Start—watch participants move seamlessly! Participants see a notification and join with one click.
Stuck? Preview assignments before launching. ![Step-by-step screenshot of creating breakout rooms in Teams]()
Pro Move: Pre-Assign Breakout Rooms in Microsoft Teams Meetings Before They Start
For ultimate control, set up in advance:
- In the meeting invite, go to Breakout rooms tab.
- Create and Assign: Same as live—name rooms, drag participants.
- Save. During the meeting, just Open all rooms.
This saves time in high-stakes events. Bonus: Edit anytime pre-meeting.
Managing Your Teams Breakout Rooms: Essential Controls
Keep things smooth with these tools:
| Action |
How-To |
Use Case |
| Recreate |
More actions > Recreate |
Shuffle groups |
| Move/Swap |
Select participant > Move to... |
Fix mismatches |
| Close Rooms |
Close all / Select room |
Reconvene early |
| Countdown Timer |
Set via Breakout rooms pane |
Time-bound discussions |
Participants can request to return early—approve via notifications. Seamless!
Best Practices for Killer Breakout Rooms in Microsoft Teams
Maximize impact:
- Clear Instructions: Share agenda in chat before opening rooms.
- Room Size: 4-6 people ideal for interaction. ⭐
- Timers & Roles: Assign leaders; use 10-15 min sessions.
- Debrief: Poll or share key takeaways upon return.
- Troubleshoot: If rooms don't appear, verify license at Microsoft Support.
Want more? Experiment with recurring meetings for ongoing teams.
Frequently Asked Questions About Creating Breakout Rooms in Microsoft Teams Meetings
Q: Can guests use breakout rooms?
A: Yes, if enabled by organizer.
Q: Mobile support?
A: Join via app, but manage from desktop.
Q: Limit on rooms?
A: Up to 50, with 200 participants max per room.
Got more? Dive deeper in official docs.
Mastering how to create breakout rooms in Microsoft Teams meetings isn't just a feature—it's your secret to unforgettable sessions. Implement today and watch engagement soar. What's your first breakout topic? Share below! 👏