How to install and activate Microsoft Office 365

Microsoft Office 365 is an essential software for office work. WebTech360 will guide you on how to install and activate Microsoft Office 365!

To install and activate Microsoft Office 365, you need to make sure your computer is connected to a stable internet.

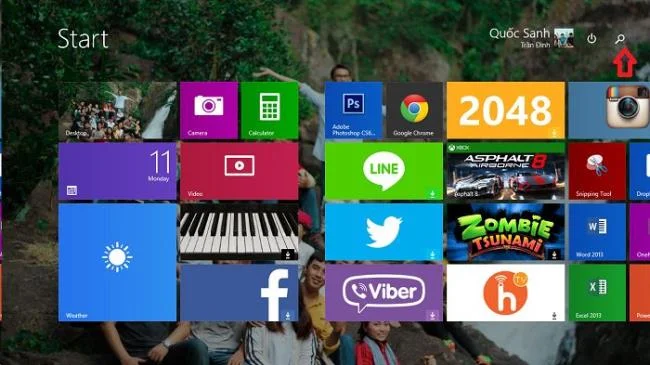
First, open the Search box in the Live Tile interface by pressing the Windows key.

How to install and activate Microsoft Office 365
 Press the Windows key

Continue to press the magnifying glass icon in the upper right corner of the screen.

How to install and activate Microsoft Office 365
Click the magnifying glass icon
How to install and activate Microsoft Office 365
Computer Live Tile interface

Or you can also open the Search box right on the desktop of the machine by hovering your mouse in the upper right corner of the screen and moving the mouse down and clicking the Search magnifying glass icon.

How to install and activate Microsoft Office 365
Hover the mouse over the upper right corner and scroll down to show the toolbar

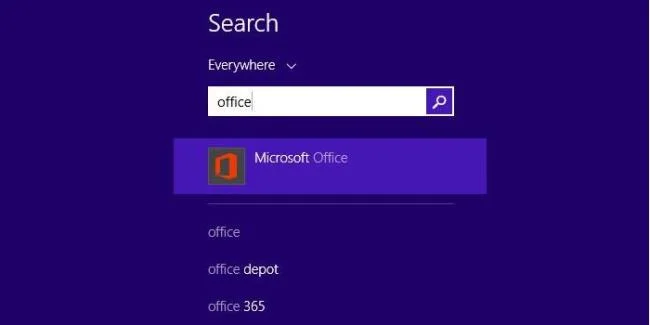
Next, you type in the search term " Office ".

How to install and activate Microsoft Office 365
Enter the search keyword "Office" and the Microsoft Office application appears

Immediately, a dialog box will appear Microsoft Office applications available on the machine, you click this application to start installing Microsoft Office 365.

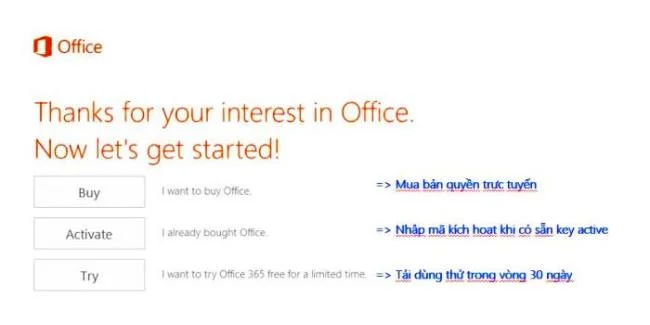
Then, the application window appears and offers 3 installation options including Buying license ( Buy ), Activate the application ( Activate ) and Free Trial within 30 days ( Try ).

How to install and activate Microsoft Office 365
3 options to start installation

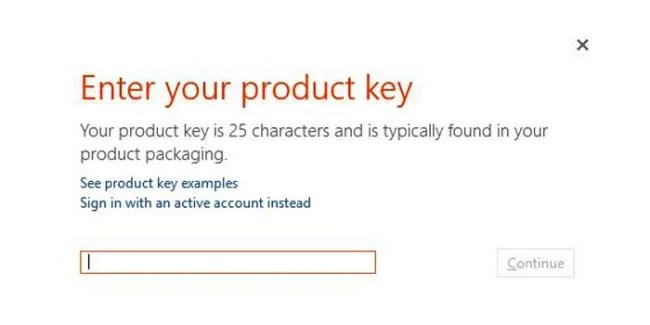
Select the second line ( Activate ) and enter the activation code for the 25-character Office 365 application.

How to install and activate Microsoft Office 365
Entering 25 characters of the application license activation code

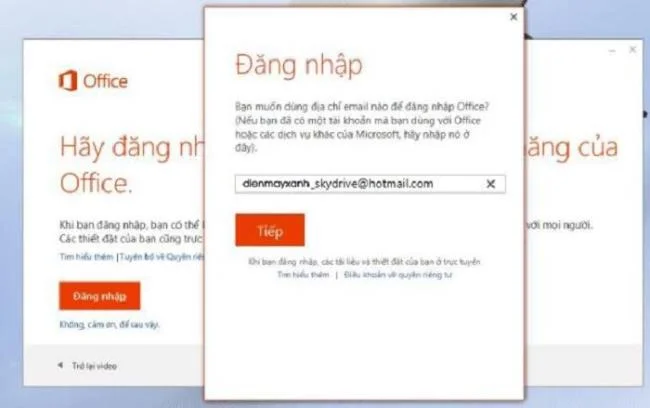
After you finish entering the activation code and click Continue , the window to login to your Microsoft account will appear.

How to install and activate Microsoft Office 365
Screen sign in to your Microsoft account

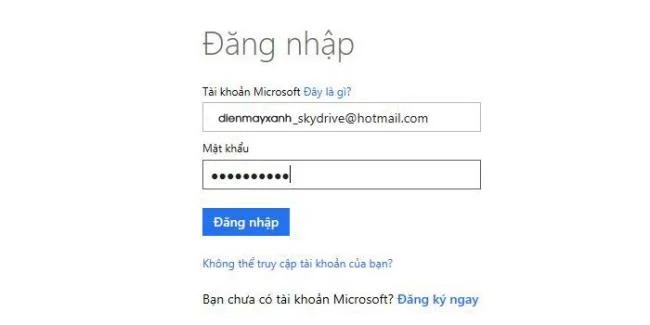
Select the Login button ( log in ) to take advantage of the online storage feature of Microsoft developers.

How to install and activate Microsoft Office 365
Enter your Microsoft account email and password, then tap Sign in

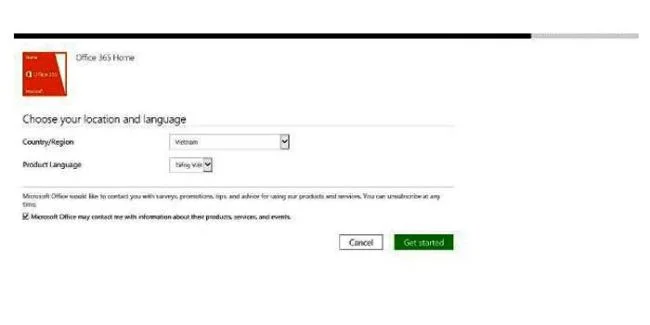
After successfully logging in to your Microsoft account, select the region in the Country / Region and language box in the Product Language box and click the Get started button .

How to install and activate Microsoft Office 365
Window to select Region and Language

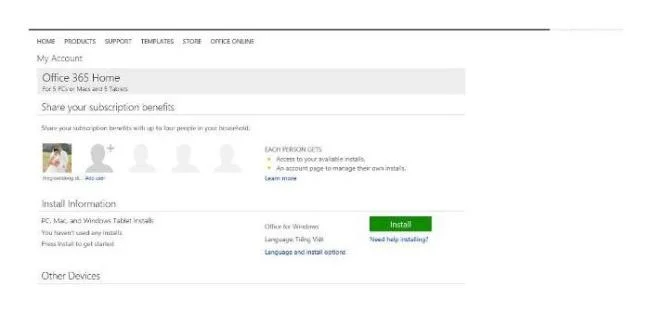
Next, click the Install button to begin the installation.

How to install and activate Microsoft Office 365
Click Install to proceed with the installation

The installation begins with an orange background displaying the Office logo.

How to install and activate Microsoft Office 365
Software logo

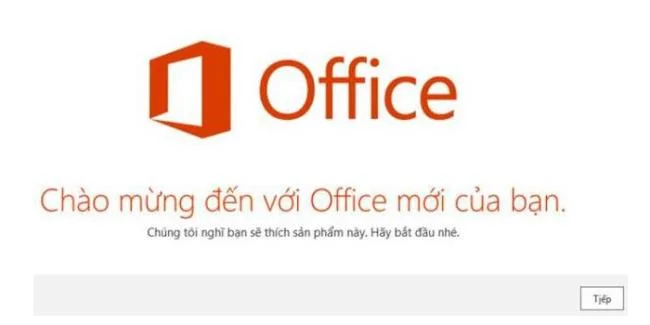
After the installation is completed, the welcome screen appears.

How to install and activate Microsoft Office 365
Application's welcome screen

Next, you enter the email address of your Microsoft account.

How to install and activate Microsoft Office 365
Account login screen for cloud storage

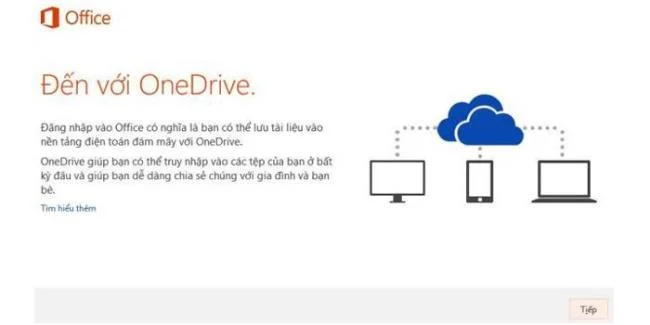
Right after that is the screen introducing OneDrive cloud storage features.

How to install and activate Microsoft Office 365
Introducing the OneDrive cloud storage feature

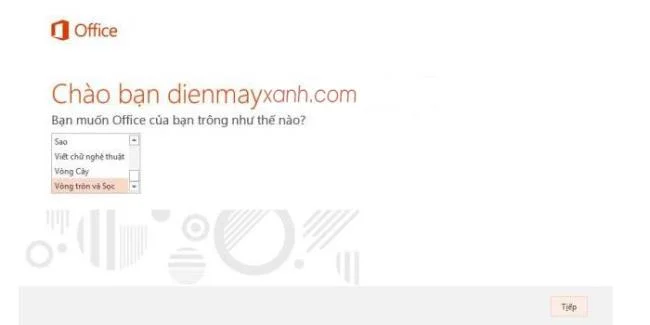
Continuing, the screen to select the interface for the application appears, there are many types of interfaces for you to choose from. Once done, click the Next button to complete the installation.

How to install and activate Microsoft Office 365
Proceed to choose the interface for the application

Click the Let's see button to follow the video that Microsoft created to help users better understand the features of Microsoft Office 365 and its benefits.

How to install and activate Microsoft Office 365
Select Watch to follow an introduction video of the app's features and benefits

Hopefully, with the above simple steps, you can install and activate Microsoft Office 365 by yourself!


WebTech360

Leave a Comment

Sync Active Directory Users with ONLYOFFICE DocSpace via LDAP

Sync Active Directory Users with ONLYOFFICE DocSpace via LDAP

Connect ONLYOFFICE DocSpace to Active Directory or OpenLDAP, import users and groups safely, map account fields, and schedule reliable synchronization.

Change ONLYOFFICE Workspace’s Default Storage Location

Change ONLYOFFICE Workspace’s Default Storage Location

Move portal data from Disk Default to a supported cloud storage provider, or relocate Docker data safely by changing its host volume mapping.

Completely Remove ONLYOFFICE Document Server from Linux

Completely Remove ONLYOFFICE Document Server from Linux

Identify whether Document Server uses a Linux package or Docker, remove only its components, and check remaining data without deleting shared services by mistake.

Stop ONLYOFFICE Co-Editing Lag by Finding the Bottleneck

Stop ONLYOFFICE Co-Editing Lag by Finding the Bottleneck

Trace slow collaborative editing to Docker resource pressure, proxy connections, or document load, then choose the fix that matches your measurements.

Add Fonts to ONLYOFFICE Document Server: Docker vs Linux

Add Fonts to ONLYOFFICE Document Server: Docker vs Linux

Install custom fonts in ONLYOFFICE Document Server, compare persistent Docker mounts with direct copies, rebuild the font list, and verify the result.

Configure HTTPS for ONLYOFFICE Docs in Docker

Configure HTTPS for ONLYOFFICE Docs in Docker

Choose where TLS should terminate, mount a trusted certificate and private key safely, and verify HTTPS access to a Dockerized ONLYOFFICE Docs server.

Connect a PHP App to ONLYOFFICE Docs and Save Edits

Connect a PHP App to ONLYOFFICE Docs and Save Edits

Embed the ONLYOFFICE editor in your PHP app, sign its configuration with JWT, and save edited files through a secure callback.

Keep ONLYOFFICE Spell Check on the Language You Choose

Keep ONLYOFFICE Spell Check on the Language You Choose

Set the proofing language for the whole document or selected text, confirm spell checking is active, and identify when a server dictionary is missing.

Keep Track Changes On When a Document Reopens

Keep Track Changes On When a Document Reopens

Enable persistent Track Changes for everyone in one ONLYOFFICE document, verify edits are recorded, and understand the limits of this setting.

Trace the Upstream to Clear ONLYOFFICE’s Nginx 502

Trace the Upstream to Clear ONLYOFFICE’s Nginx 502

Find whether Nginx, Docker networking, or an internal ONLYOFFICE service is returning 502, then verify the corrected upstream and health check.