Ever missed a key moment in a Microsoft Teams meeting? Whether it's a vital client discussion, team training, or brainstorming session, knowing how to record a Microsoft Teams meeting ensures nothing slips away. This guide walks you through every step with crystal-clear instructions, so you can focus on what matters. Let's dive in and make Teams recording a breeze!
Quick Prerequisites for Recording a Microsoft Teams Meeting
Before hitting record, check these essentials to avoid hiccups:
- Permissions: Only meeting organizers or co-organizers with recording rights can start. Admins control this in the Teams admin center.
- License: Requires a Microsoft 365 subscription (Business or Enterprise). Free users can't record.
- Storage: Recordings save to OneDrive (organizers) or SharePoint (channels)—ensure space.
- Device: Works on desktop, web, or mobile (iOS/Android apps in latest versions).
✅ Pro Tip: Test your mic and camera first via Teams settings for flawless Teams meeting recording.
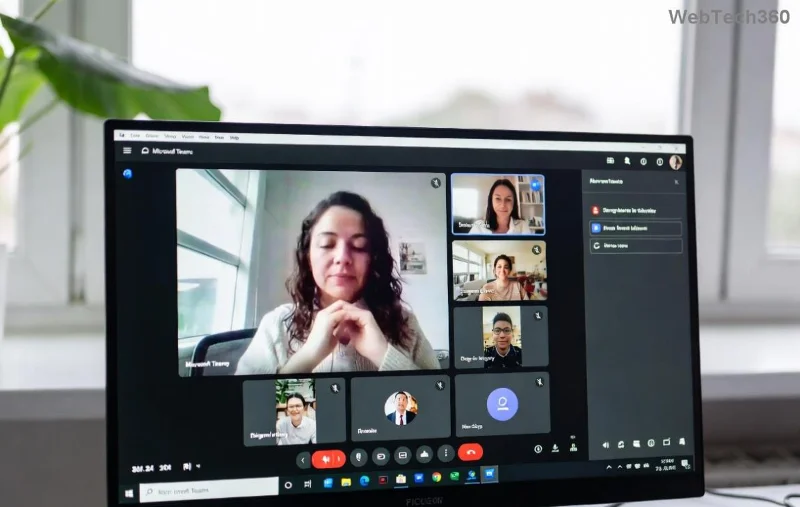
Step-by-Step: How to Record a Microsoft Teams Meeting as Organizer
Ready? Follow these numbered steps for seamless Microsoft Teams recording. It's quicker than you think!
- Join or Start the Meeting: Open Teams, go to Calendar, and launch your scheduled meeting or click "Meet now." 1️⃣
- Access More Actions: Once in the meeting, click the three dots (More actions) in the toolbar.
- Select Start Recording: Choose "Start recording" from the menu. Teams notifies all participants—a red REC dot appears top-right. ⭐
- Choose What to Record: Opt for full meeting, presenter only, or window (latest updates enhance flexibility).
- Confirm and Record: Teams begins cloud recording automatically. Share your screen if needed!
That's it! Your Teams recording captures video, audio, shared screens, and reactions.
How to Record a Microsoft Teams Meeting as a Participant
Not the organizer? Request permission first:
- Ask the organizer to grant recording rights or make you co-organizer.
- Follow the same steps above once approved.
- Alternative: Use local recording on desktop (More actions > Start recording locally)—saves to your device, no cloud needed.
![Step-by-step screenshot of starting recording in Microsoft Teams]()
How to Stop and Access Your Teams Meeting Recording
Ending is simple:
- Click More actions > Stop recording.
- Teams processes the file (5-10x meeting length). Notify ends after processing.
- Find It:
- Organizer: OneDrive > Recordings folder.
- Channel: SharePoint > Recordings.
- Teams Chat: File tab > Recordings.
- Share via link—recipients need Teams or Microsoft 365 access.
| Recording Type |
Storage |
Sharing |
Best For |
| Cloud Recording |
OneDrive/SharePoint |
Easy links, auto-transcripts |
Teams & collaboration |
| Local Recording |
Your device |
Manual upload |
Offline, privacy-focused |
📱 Mobile Users: Tap three dots > Start recording (limited to cloud).
![Accessing and sharing Teams meeting recordings in OneDrive]()
Top Tips for Perfect Microsoft Teams Recording 👏
- Announce Recording: Always inform participants for consent and better engagement.
- Enable Transcripts: Turn on live captions—auto-generates searchable text (Admin > Meetings > Recording & transcription).
- Optimize Quality: Use wired internet, close apps, select HD video.
- Compliance: Check org policies; some regions require explicit consent.
- Edit Post-Record: Trim in Stream or Clipchamp (integrated tools).
Stuck? Common fixes:
- Can't record? Verify license/permissions.
- No audio? Check mute settings. 😕
- Recording missing? Search OneDrive recycle bin.
For official details, visit Microsoft's Teams Recording Guide.
FAQ: How to Record a Microsoft Teams Meeting
Can guests record Teams meetings?
No, guests lack permissions. Organizers must start it.
What's the Teams recording time limit?
Up to 4 hours per session in current versions.
Does recording a Microsoft Teams meeting capture chat?
Yes, alongside video/audio.
Mastered it? Now capture every breakthrough moment effortlessly. Share your tips in the comments—what's your go-to Teams recording hack? 🚀