Keep Writer Revisions Visible When Exporting to DOCX
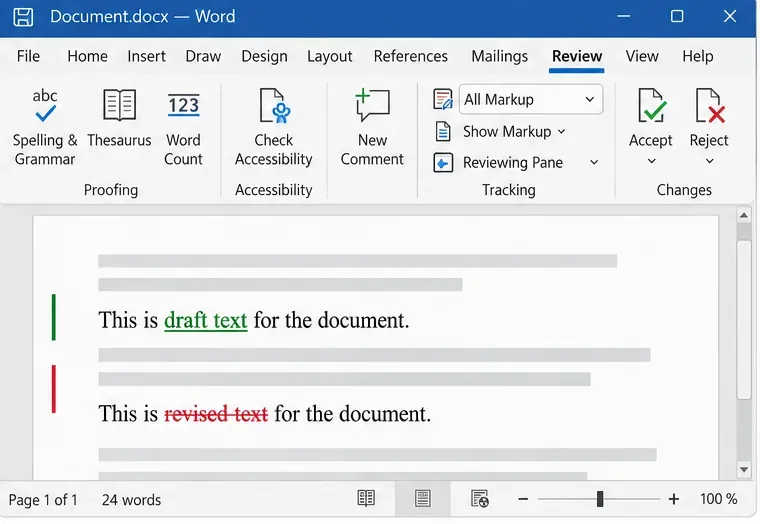
Track edits in Writer, preserve an editable ODT source, and check the exported DOCX in Word before sharing it.
In the previous article, we showed you how to create a bit.ly account . After creating an account, people can login bit.ly to start using this service and shorten the link. The way to use bit.ly is quite simple, we just need to paste the original link then the system will automatically help you shorten the link.
Shortening the link will make it easier for people to remember the path with the shortened number of characters, especially suitable in cases where the path is limited to 14-15 characters. This job is extremely suitable for those who specialize in sharing on Facebook , Instagram , Twitter to SEO articles. Even if you are dealing with a breach, it will not affect the website. Below we will show you how to use bit.ly to shorten links.
Step 1:
Visit Bit.ly by following the download link above or go to the direct link: bit.ly or bitly.com .

The main interface of bit.ly
Step 2:
At the main interface of bit.ly paste the long link you want to shorten in the Paste a link to shorten it -> Shorten box .

Paste the link you want to shorten to bit.ly page
Soon we will see the shortened path appears with the domain name bit.ly and the code has a very short sequence of numbers and letters. Click Copy to copy the shortened path.

Link after shortened on Bit.ly
In addition to using more features and shortening links in your own way, please log in bit.ly.
Above we have shown you how to shorten the link on bit.ly. Hopefully this approach will be easy for everyone and bring the most effective results when using short links from bit.ly.
Track edits in Writer, preserve an editable ODT source, and check the exported DOCX in Word before sharing it.
Follow SUSE’s SP7 procedure to enable FIPS mode, reboot safely, verify the active policy, and check whether your compliance requirement calls for validated modules.
Compare YaST and cryptsetup for a new encrypted SLES data volume, choose LUKS1 or LUKS2, and verify unlock and mount behavior safely.
Create, refine, and verify a least-privilege AppArmor profile on SLES 15 SP7, with a clear note on SLES 16’s SELinux default.
Set up RMT on SLES 15, mirror entitled repositories, and verify HTTPS registration and package access from a test client.
Connect SLES 15 to AD with YaST’s SSSD-based logon management, then verify directory lookup, domain login, and Kerberos tickets.
Set up the right Live Patching path for SLES 16.0 or 15 SP7, apply eligible kernel fixes, and confirm what is active without confusing it with a reboot-required kernel update.
Load a custom SLES 15 kernel module without disabling Secure Boot. Match the running kernel, sign the .ko file, enroll a MOK key, and verify loading.
SLES 15 SP5 can migrate online to SP6, but each node must reboot. Use a tested rolling upgrade or blue-green cutover to keep workloads reachable.
Use SUSE’s supported STIG profile to scan SLES 15, test remediation, review remaining findings, and retain assessment evidence.








