With the following article, WebTech360 will join you to learn about how to use Samsung air conditioner remote in the most effective way.
Table of buttons of Samsung air conditioner remote
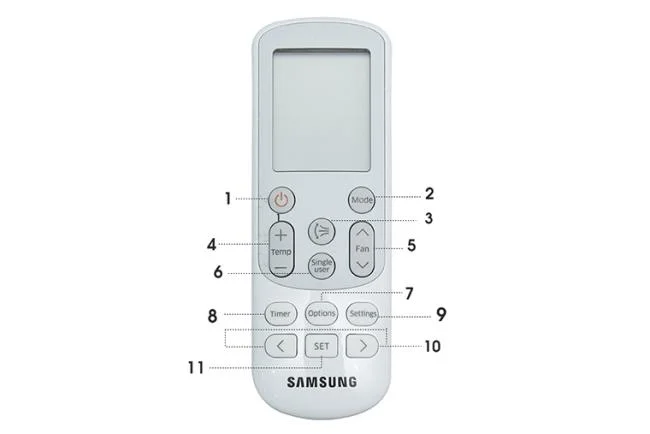
Control of Samsung air conditioners
1. Power button: Turn on and off the air conditioner.
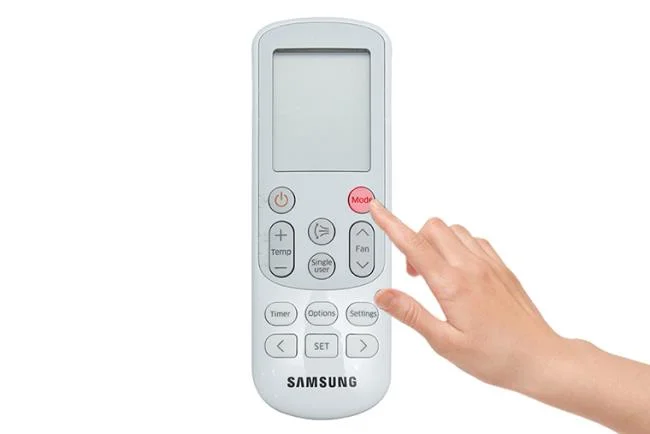
2. Mode (Mode button): Set 1 of 5 modes: Automatic mode, cooling mode, Dry cooling mode, fan mode, heating mode of the machine.
3. Longitudinal wind: Activate / Disconnect the flap automatic swing up and down mode
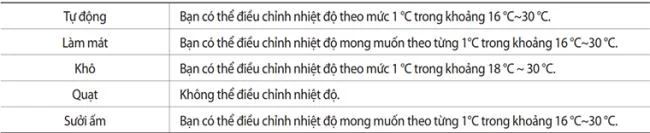
4. Temp (Temperature button): Increase or decrease the temperature as you like.

The temperature table corresponds to the machine mode
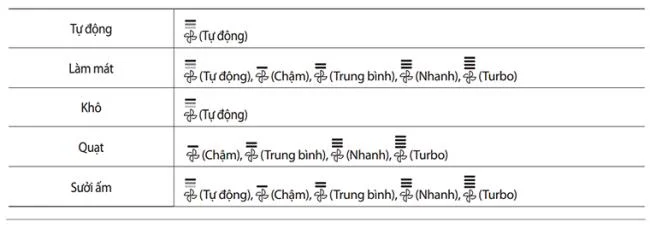
5. Fan (Fan button): Adjust airflow at 5 different speeds: Auto / Slow / Medium / Fast / Turbo.

The fan level table corresponds to the machine mode
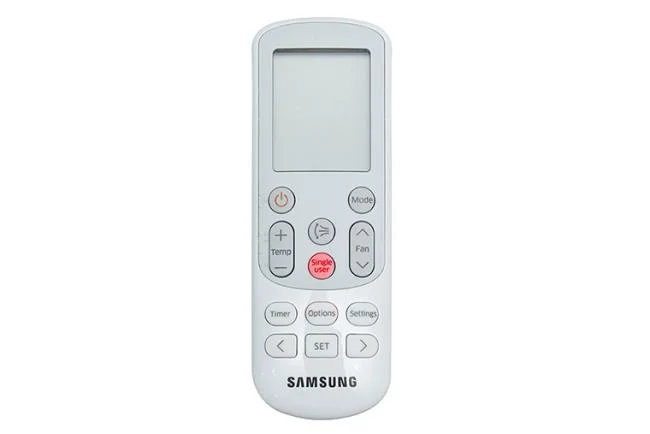
6. Single user: Turns on / off single user mode to minimize the amount of electricity used when the air conditioner is running in cooling mode.
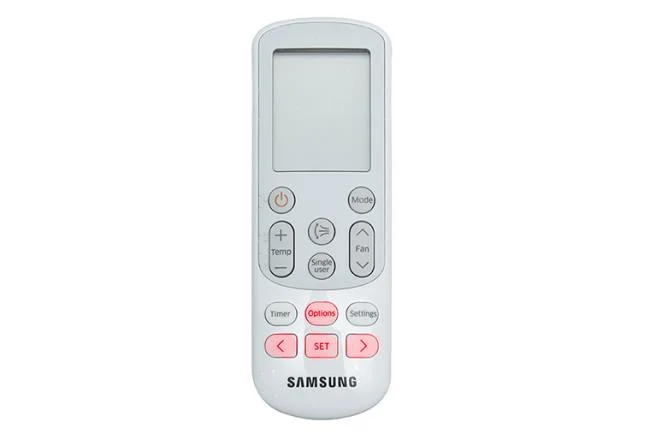
7. Options: Select an option during machine operation to open modes such as Fast, Comfort.
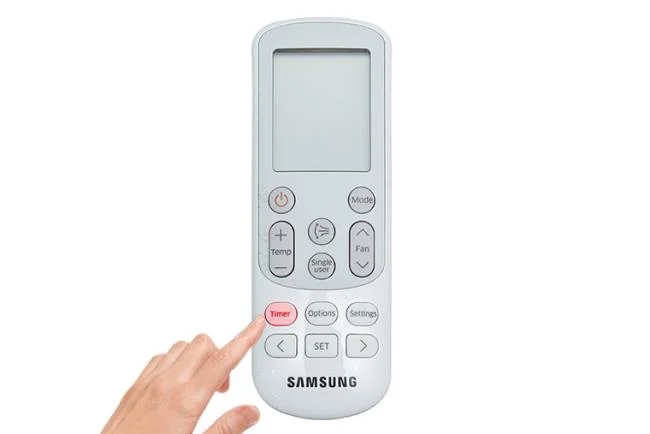
8. Timer: Optional timer
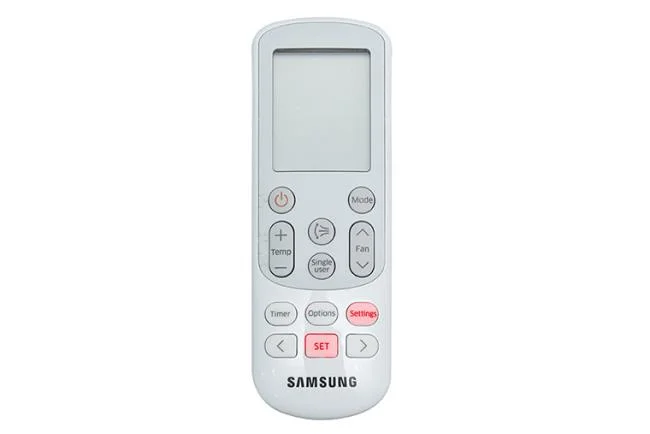
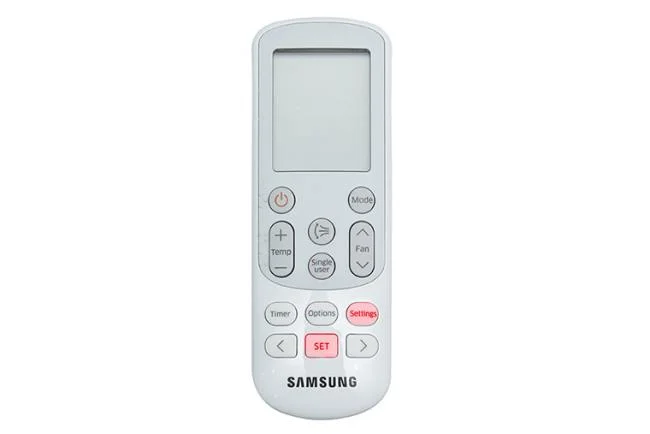
9. Settings: Set the mode of the machine.
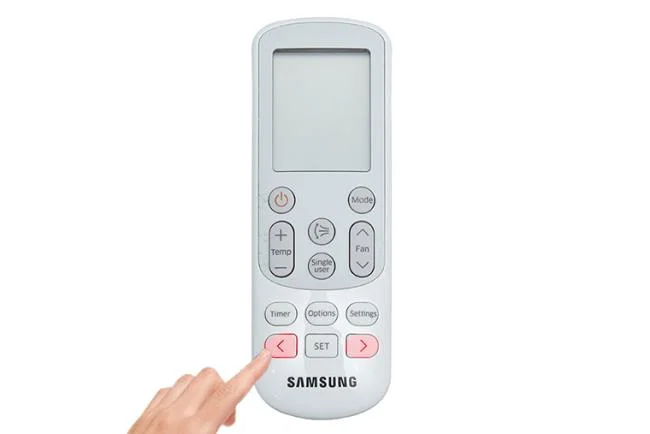
10. Direction <>: Move to the Timer. Option or set to choose from.
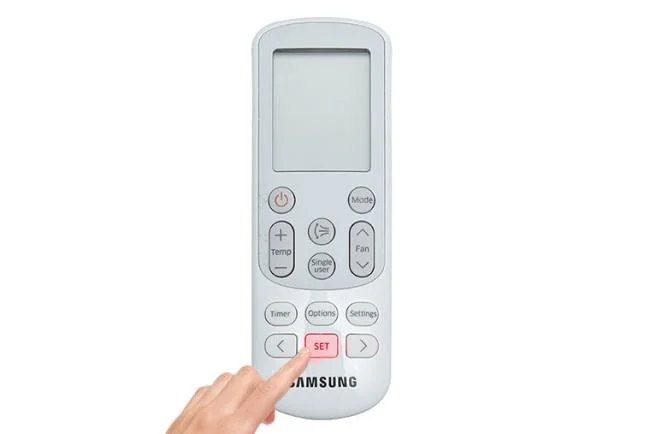
11. SET: Set / Cancels the selected options or settings.
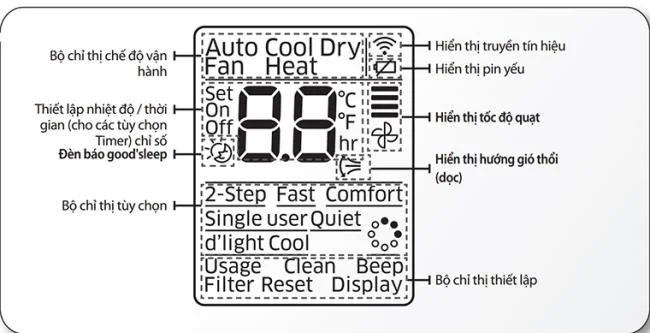
The display screen of the air conditioner remote

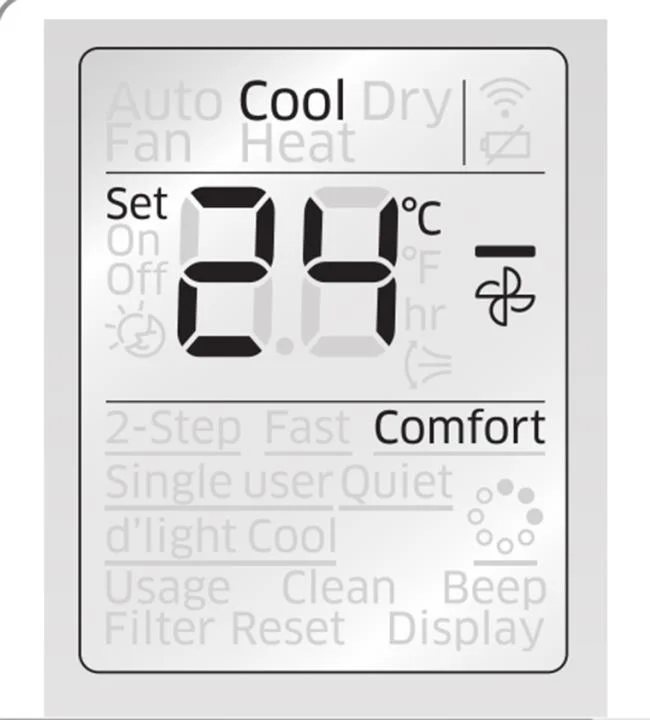
The display screen of samsung air conditioner remote
1. Basic mode of the machine.
The machine features can be selected using the Mode button and displayed in “Operation mode indicator” on the display screen of the remote.

Mode button
Auto mode (Auto): The machine will automatically set the temperature and fan speed according to the room temperature using the preset room temperature sensor.
Cool mode: The air conditioner will air-condition and cool your room. You can adjust the temperature and fan speed to feel more comfortable in hot weather.
If the outside temperature is higher than the selected room temperature, it may take a long time for the indoor temperature to reach the desired coolness.
Dry cooling mode: The machine will suck the moisture out of your room, returning you fresh and dry air. To activate the Dry mode, set the temperature on the remote lower than room temperature.
Fan mode (Fan): The machine both cools and the fan is reversed, making it more ventilated in the room.
Heat mode (Heat): The machine not only has the function of air conditioning but also the function of heating and cooling.
+ The fan of the machine may not work for 3 ~ 5 minutes at the start to prevent cold air from coming in. The machine's heating capacity may decrease when the outside temperature is too low.
2. Good's Sleep mode
Help you have a comfortable sleep. Only applicable for 2 modes: Cool / Heat.

Press the Timer button to adjust the mode
There are 3 modes in the program Good's Sleep :
Fall Sleep: The device will gradually lower the temperature, helping you to easily fall asleep
+ Sound Sleep: Helps the body relax and slowly increase the temperature.
+ Wake up: You will wake up in a comfortable and comfortable atmosphere.

Then we use 2 buttons "<>" to adjust the timer
You can adjust the timer as you like. The default time for Good's Sleep mode is 8 hours.

Press SET to complete the setup
Note: To CANCEL mode Good's Sleep you perform the operation as open, and adjust the timing of the "0.0"
3. 2-step cooling function
A 2-step cooling function will set the machine to cool the room quickly to reach the setting when the room temperature is higher than the set temperature. After cooling, the unit will re-regulate the room temperature, causing air circulation.

Steps to set up 2-step cooling mode
Step 1: Press the Option button
Step 2: Press the “<> button” until the 2-Step (2-step) indicator light appears on the optional indicator screen.
Step 3: Press the SET button to start the operation
Note: Function only works in cooling mode (Cool)
4. Comfort function
You will have an extremely comfortable atmosphere if you use this function. Air conditioning will re-condition the inside of the room in the most comfortable manner

The screen displays the word Comfort
The Comfort function setting steps are the same as for the 2-step quick cooling function. Particularly in step 2: Press until the indicator light shows "Comfort".
Function works only in Cool mode. You can also adjust temperature, but fan speed cannot be adjusted.
5. Functions one person (Single User)
This function will only cool where there is body activity. Help reduce electricity consumption by concentrating on cooling only in certain areas, not cooling the whole room.

Steps to adjust the cooling function for one person
Press the Single user button. The screen light will show the word Single user. To deactivate the function, press the Single user button again.
Function only works when the camera is in Cool mode.
6. Automatic cleaning function
The automatic cleaning function will minimize humidity inside the indoor unit. The function will bring you a fresh airflow.

Automatic cleaning function setting
Step 1: Press the Setting button until the “Clean” indicator light starts to light up.
Step 2: Press the SET button to set the Auto Clean function
+ After 3 seconds when setting the function, the "Clean" indicator light will disappear and the "Timer" light will light up. The cleaning function of the machine will be activated when the machine stops working.
The automatic cleaning function's operating time may differ depending on the operating mode used
Auto, Cool, Dry: 30 minutes
Auto, Heat, Fan mode: 15 minutes.
7. Beep settings
Mute "Beep beep" of the device

Set Beep mute mode
Step 1: Press the button Setting until the light shows the word "Beep"
Step 2: Press SET to complete the setup. After 3 seconds of setting, the indicator light on the display will disappear and the function starts working.
To reopen the Beep sound you act like mute Beep
WebTech360 believes that, with the above sharing, you can use your air-conditioner more efficiently and economically. You will have a relaxing and comfortable working space with the usefulness that Samsung air conditioners bring.
WebTech360