Adding characters on ScratchJR in addition to the cat, the default character available on ScratchJR, students will add other characters to appear on the ScratchJR stage. Then students know how to write a program with multiple characters on ScratchJR, combine characters or separate characters when executing commands. Below are instructions for adding characters on ScratchJR.
How to add characters on ScratchJR
Step 1:
At the Home interface, click on the program you saved earlier. Next, click on the plus icon on the left to add another character to the current program with the cat.

Step 2:
Now you will see that there are many characters to choose from to use for the program.
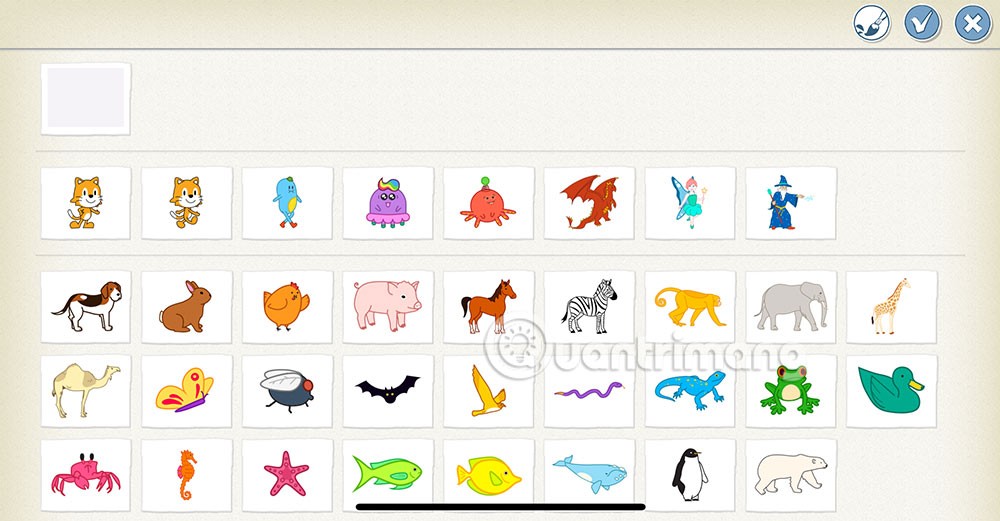
Swipe up and down to find the character you want to add to your existing program. Tap the character you want to add and then tap the v to save .
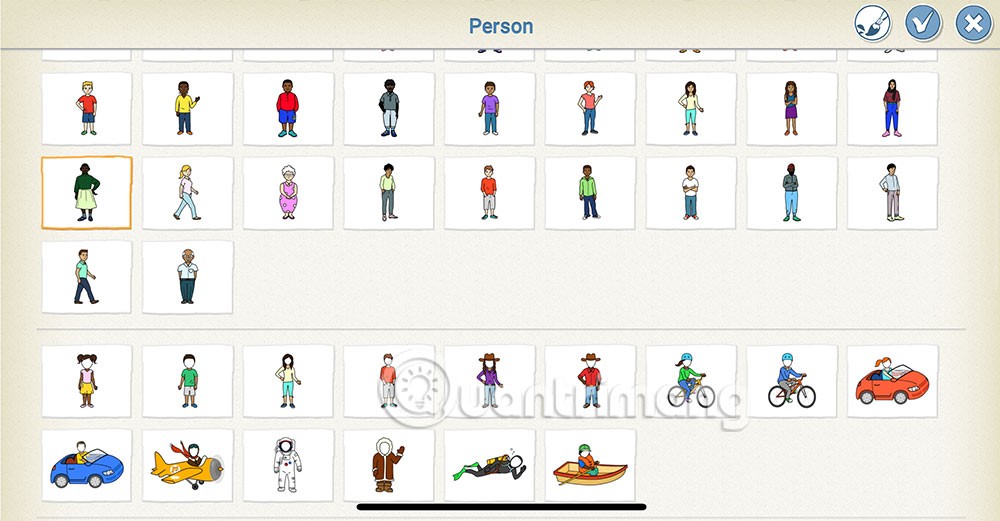
Step 3:
As a result you will see the added character in ScratchJR. Below is the program frame where you can enter new commands for this character.
In case you don't like this character, just hold down on the newly added character as shown, then click on the red x to delete . Then the newly added character will disappear to select another character. But please note, if you have added commands, deleting the character will delete the added commands.
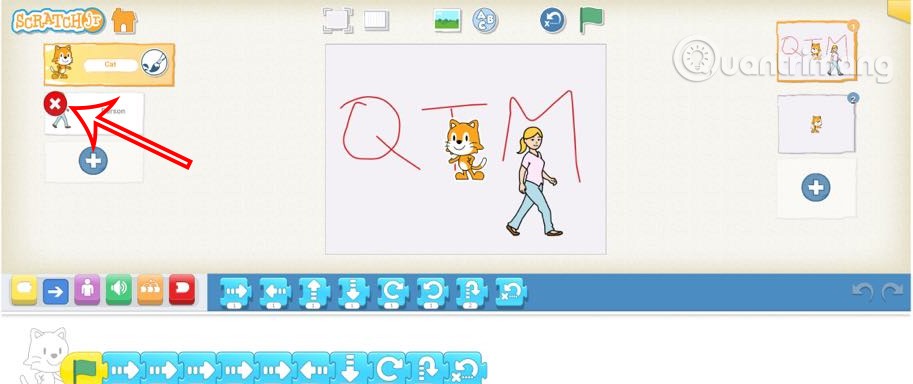
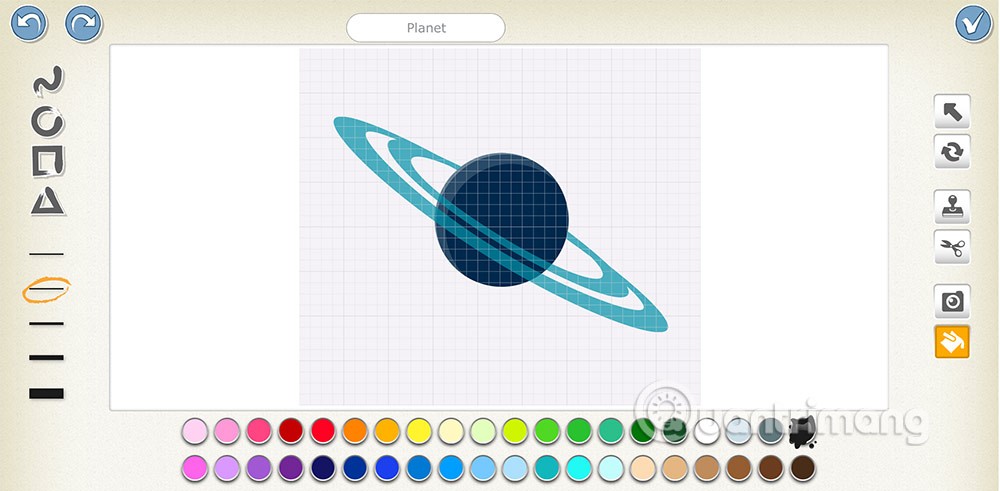
You can also change the appearance of your character by clicking on the pen icon .
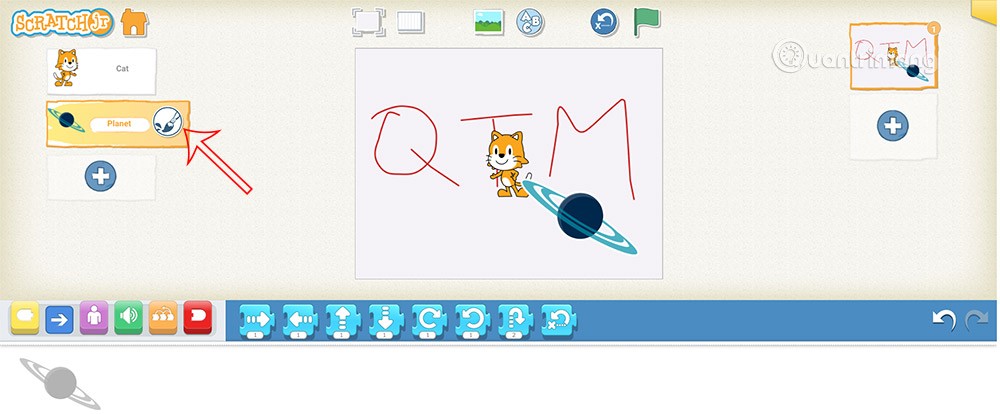
Display interface to change character as you like.
Step 4:
Back in the program on ScratchJR, click on the newly added character to add commands. First we click on the colored command block at the top.
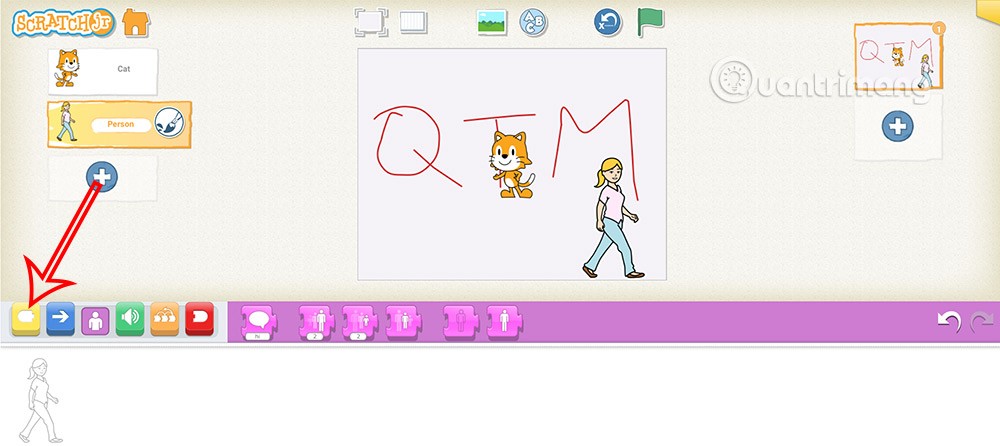
Then you add the green flag command to run the program. Next click on the pink command group for the big and small appearance of the character.
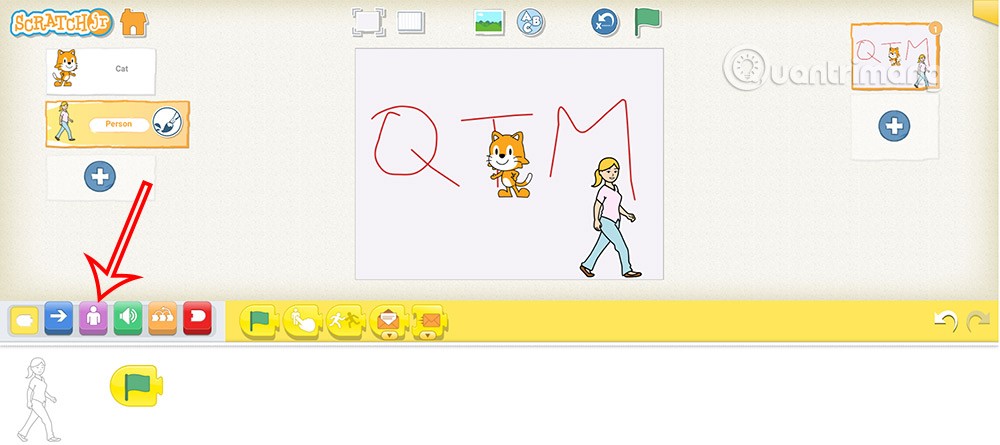
Step 5:
Click on the first pink command and you have the option to change the greeting text for the character .

Then you enter new content for the character.
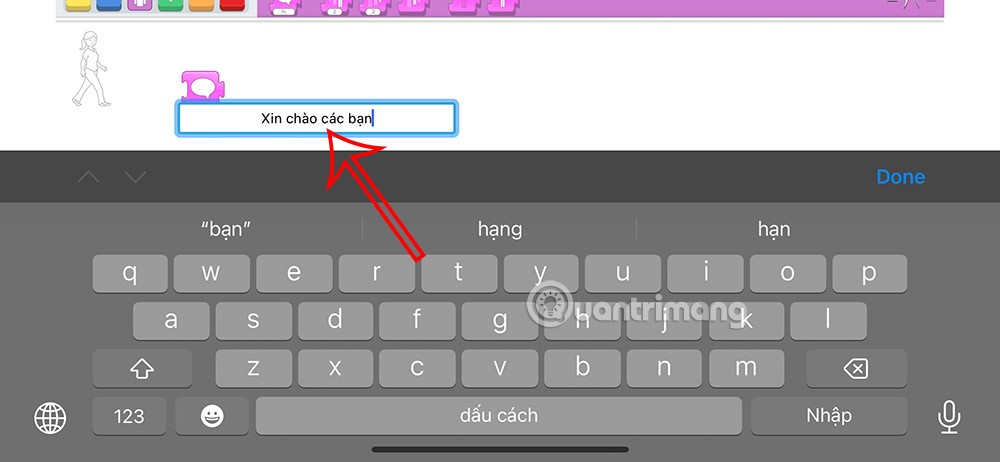
Step 6:
Now you continue adding another command block behind the greeting command block as usual, with the purple appearance command block.
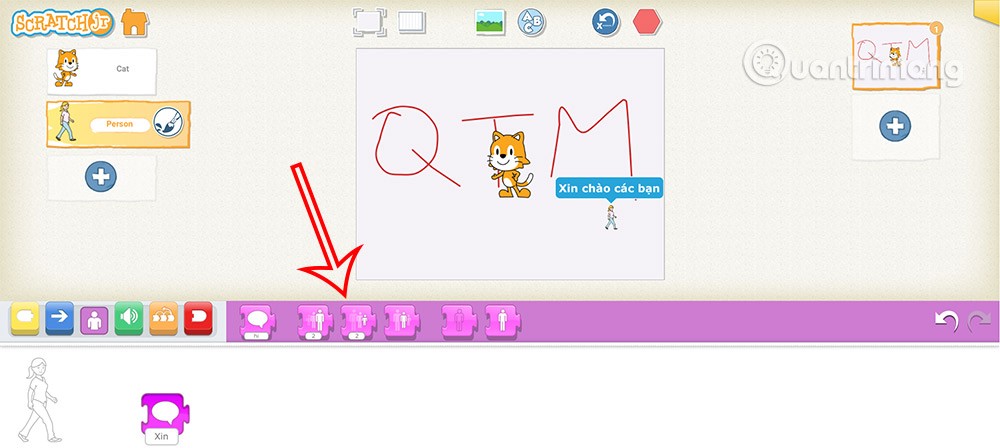
We can combine the move command with the appearance command depending on the character's programming requirements.
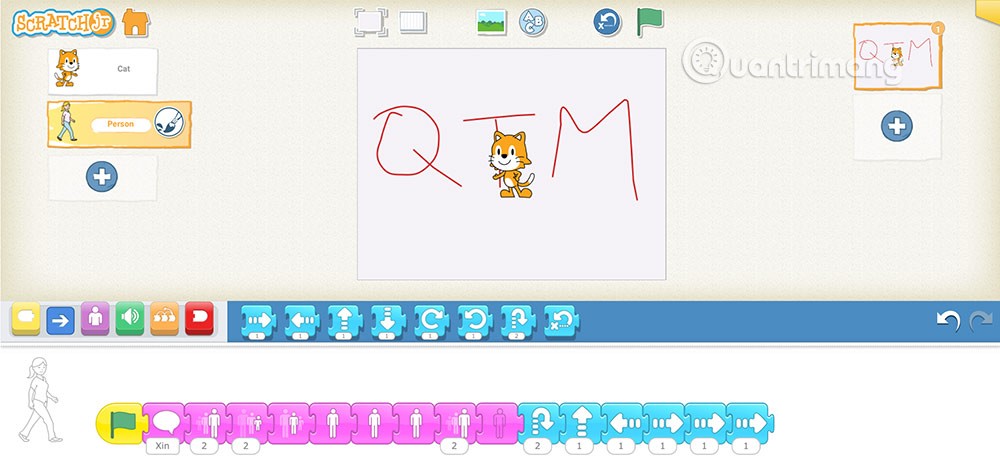
You just need to click on the first command in the second character's program frame and the program will be executed.
Step 7:
You can save this new program, by clicking on the yellow block in the top right corner.
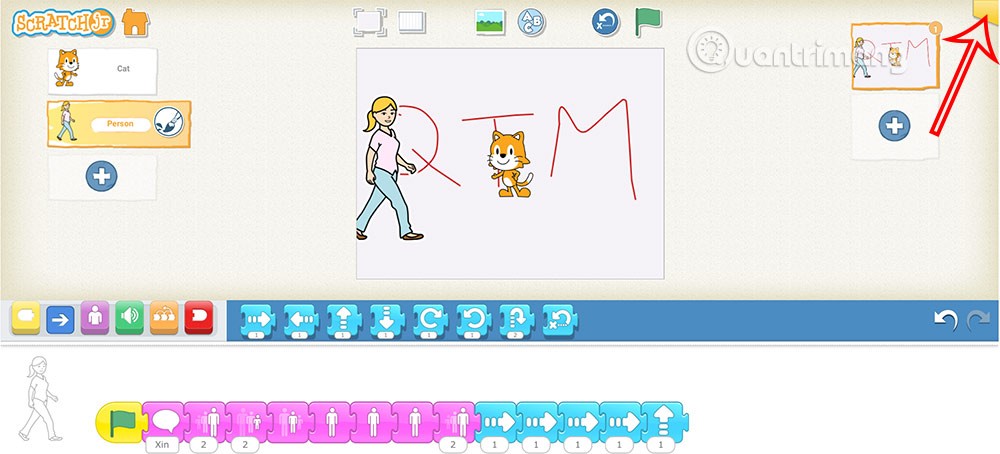
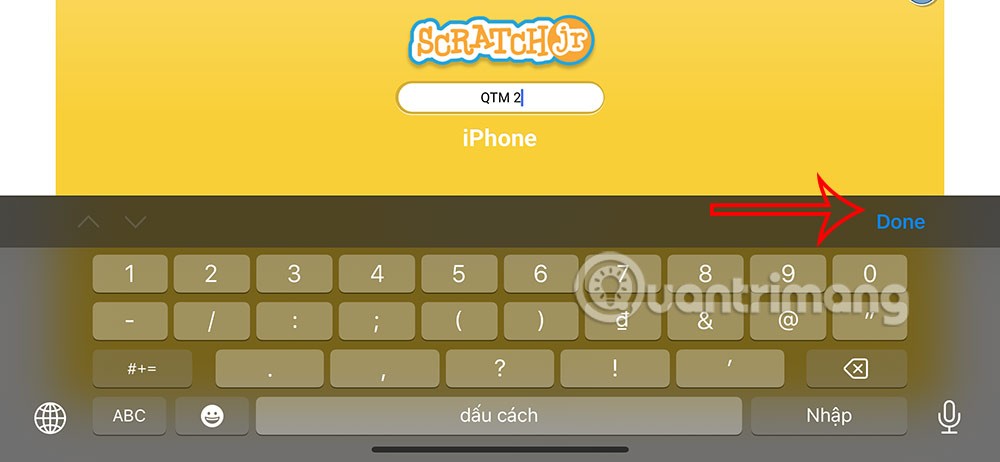
Enter a name for the program and then click Done to save the name.
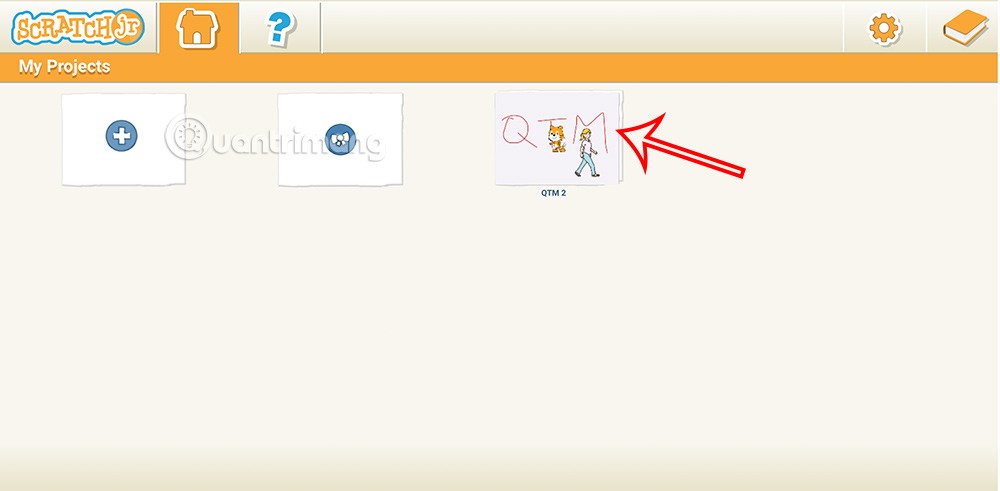
The result when you return to Home you will see the program you have newly saved.
Step 8:
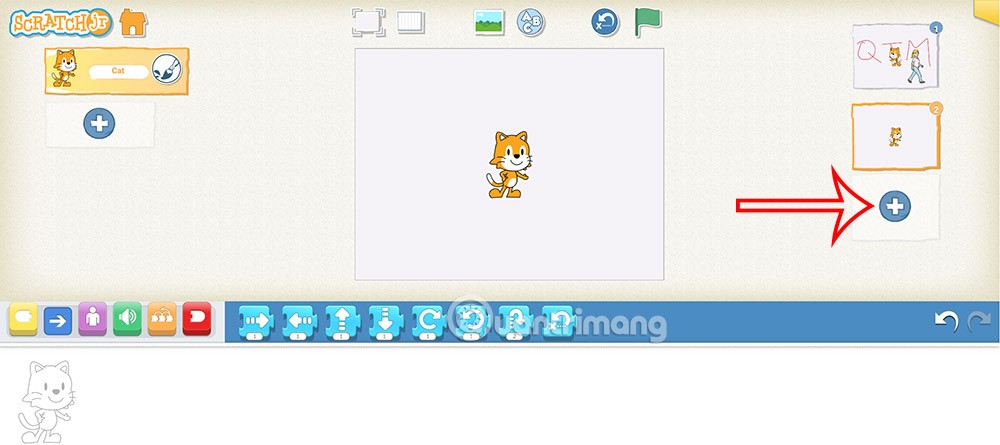
In case you want to create a new stage in the created program, click on the plus sign on the right side of the interface to create a completely new stage.
