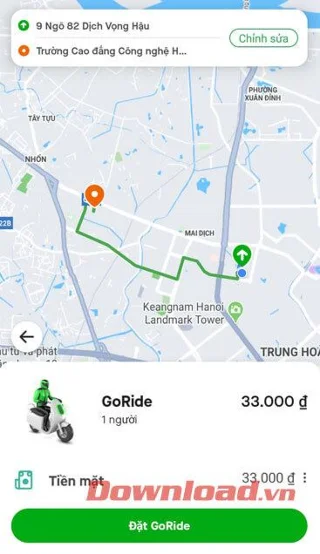
Gojek is the replacement ride-hailing application for GoViet in Vietnam from July 20, 2020. This application will continue to provide two-wheeled vehicle-hailing service under the name GoRide, replacing GoViet's GoBike. Other services include: GoFood food delivery service, GoPay e-wallet payment service and GoSend delivery service.
To help everyone easily book a car on this application, today we would like to introduce an article on how to install and book a car on Gojek , please refer to it.
Instructions for installing Gojek application on your phone
The following are the steps to install the Gojek application on Android, you can also do the same for iOS or click the download button below.
Step 1: Open the Google Play app store on your phone.
Step 2: Type the keyword Gojek and press search.
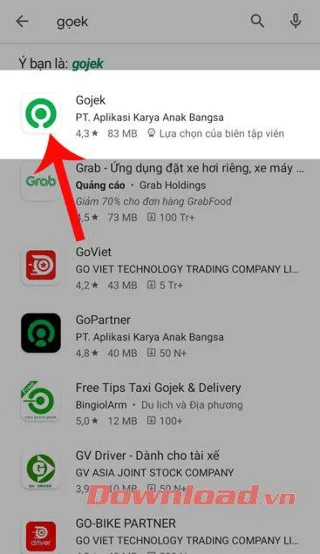
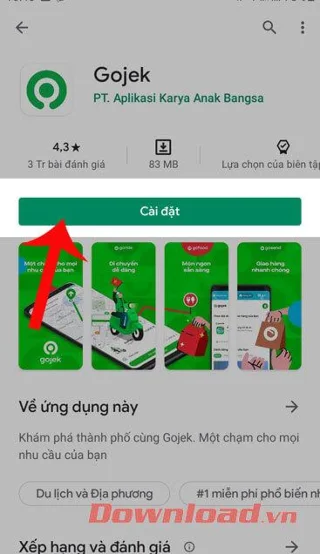
Step 3: Click the Install button.
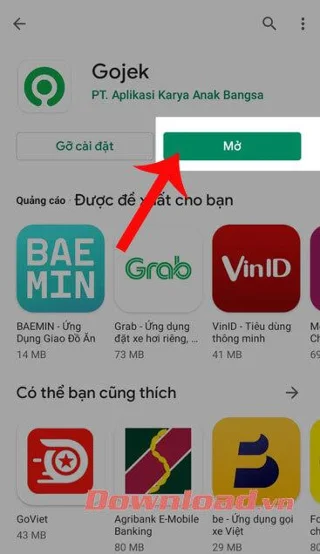
Step 4: Wait a moment for the application to download to your phone, then press the Open button to start using.


Instructions for registering a Gojek account
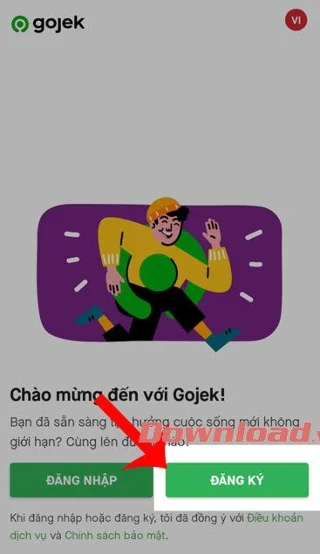
Step 1: At the application interface, click the Register button .
Step 2: Enter your information: Full name, email address, phone number, referral code (can be omitted) , then press the Continue button .


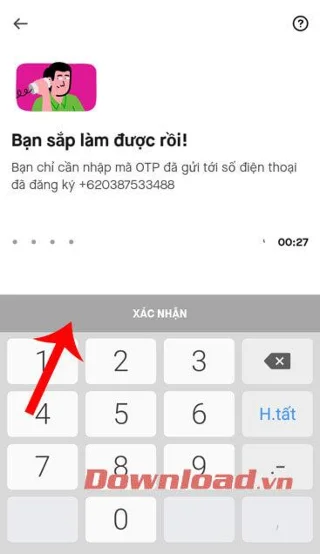
Step 3: Enter the confirmation code (This code will be sent to your phone message), then touch the Confirm button at the bottom of the screen.
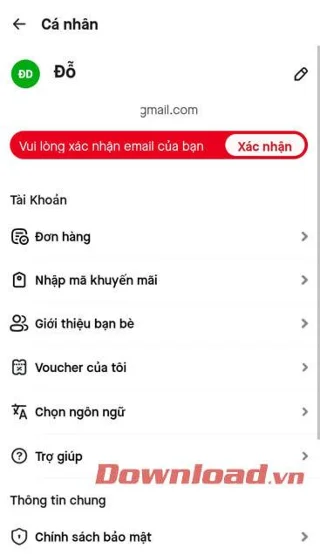
Step 4: The account has been successfully registered.


Instructions for calling a car on Gojek
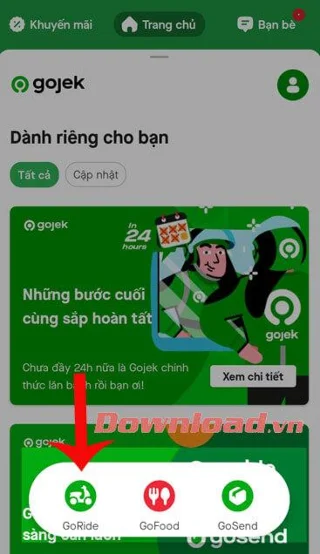
Step 1: At the main interface of the application, click on GoRide to call a ride. In addition, you can also choose other items such as:
- GoFood: order food.
- GoSend: call delivery.
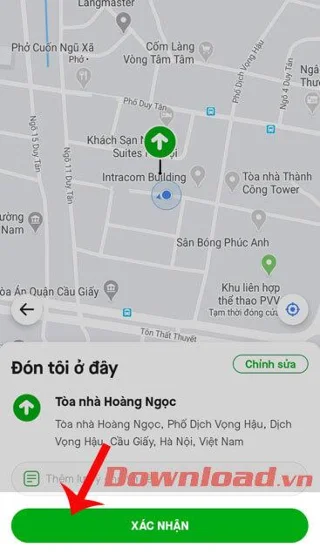
Step 2: Enter the address you want to go to.


Step 3: Tap the Confirm button .
Step 4: Finally, click the Book GoRide button , and you can call the ride.


Hopefully, with the steps to install, account and book a Gojek car, everyone will choose a driver to help us have safe trips.
Wishing you success!