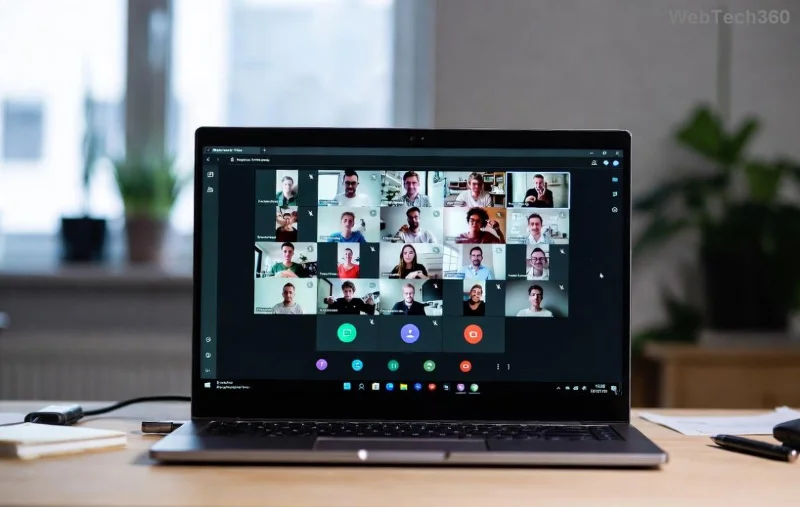
Ever sat through an important Microsoft Teams meeting only to realize you can't easily save the recording? 😩 Don't worry! Whether it's a training session, webinar, or team update recorded by someone else, downloading Microsoft Teams videos recorded by others is simpler than you think. This guide delivers precise, up-to-date steps to grab those files legally and quickly—keeping your workflow smooth and stress-free. Let's dive in! ✅
Why Download Microsoft Teams Recorded Videos?
- Offline access for travel or spotty internet.
- Archiving key insights without relying on shared links.
- Editing or repurposing content for reports and presentations.
Pro tip: Always ensure you have permission from the recorder to avoid policy issues. Now, onto the steps!
Prerequisites Before Downloading Microsoft Teams Videos
- Teams Access: Be signed into Microsoft Teams (desktop app, web, or mobile) with view permissions.
- Link or Channel Access: Get the meeting invite, chat link, or channel where the recording lives.
- Browser Ready: Use Chrome, Edge, or Firefox for best results.

Step-by-Step: Downloading Microsoft Teams Videos Recorded by Others
Step 1: Locate the Recording in Teams 🎯
Open Microsoft Teams and navigate to the chat, channel, or meeting recap where the video was shared.
- Go to the Teams Calendar or Chat tab.
- Find the meeting event—recordings auto-appear in the recap if you're invited.
- Click the recording thumbnail labeled "Recording" or "Stream."
⚠️ If it's a channel meeting, check the Files tab in the channel.
Step 2: Open in Microsoft Stream or Browser Player 📱
Recordings are hosted on Microsoft Stream (now integrated into Teams) or OneDrive/SharePoint.
- Click Play on the video.
- Select the three dots (...) menu > Open in Stream or Download if available.
- For non-owners: Copy the video link and paste into a browser at stream.microsoft.com.
This unlocks full controls for downloading Microsoft Teams videos!
![Stream video download options in Microsoft Teams]()
Step 3: Download the Video File 💾
- In Stream: Click Download (cloud icon) > Choose quality (up to 1080p).
- From OneDrive: If shared via Files, right-click > Download.
- Teams Desktop: More options (...) > Save as or Download.
Your file saves as MP4—perfect for any device! 🎉
![Final download confirmation for Teams recording]()
Alternative Methods for Tricky Scenarios
Method 1: OneDrive/SharePoint Direct Access
For channel recordings:
| Step | Action |
|---|
| 1 | Channel > Files tab > Locate .mp4 |
| 2 | Right-click > Download |
| 3 | Sync to local via OneDrive app |
Method 2: Request from Owner (Safest Bet) 👥
Ask the recorder to:
- Share a direct download link.
- Upload to OneDrive and grant edit access.
Method 3: Browser Developer Tools (Advanced Users Only) 🔧
⚠️ Use ethically:
- Play video in browser.
- F12 > Network tab > Filter "mp4" > Right-click largest file > Save as.
Verify permissions first!
Troubleshooting Common Issues 🚧
- No Download Button? Check permissions—contact admin or owner. Microsoft Support has details.
- Low Quality? Select highest resolution in Stream settings.
- Mobile? Use Teams app > Long-press video > Save to device.
- Error 403? Recording expired—request re-share.
Pro Tips to Master Teams Video Downloads ⭐
- Enable auto-download in Teams settings for future ease.
- Use tools like HandBrake to compress large files post-download.
- Organize saves in folders: "Teams_Recordings_YYYY-MM."
- For bulk: Export via Power Automate flows (enterprise feature).
That's it! You've now unlocked the power of downloading Microsoft Teams videos recorded by others like a pro. Save time, stay productive, and never miss a key moment again. Got questions? Drop them in the comments—we're here to help! 👏
Stay tuned for more Teams hacks to supercharge your collaboration game.