Instructions for using Camera360 on Android

Camera360 is one of the hottest photography and photo editing apps currently loved by young people on all three platforms Android, iOS and Windows Phone. It can be said that Camera360 software is powerful enough to take over the popular Instagram app for a while.

Download Camera360 Ultimate for Android

Download Camera360 Ultimate for iOS

Download Camera360 for Windows Phone

You want to own beautiful pictures to share on social networks for friends and loved ones but do not know how to use this Camera360 software like? Rest assured everything will become easier when you refer to the detailed tutorial on how to use Camera360 below:

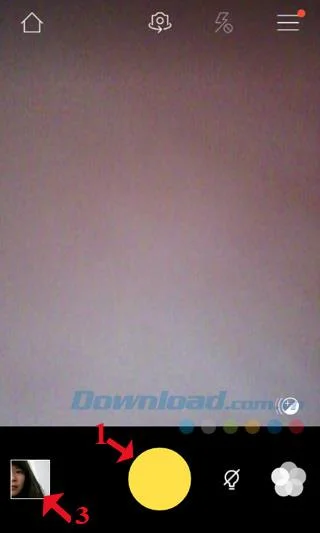
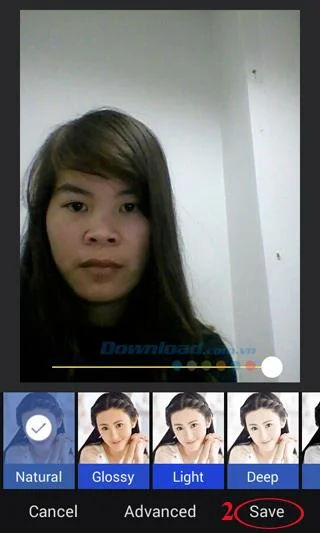
Step 1: Open Camera360 , we will have the interface to prepare to take photos as shown below, please touch the yellow circle button in the middle to take photos. Then, there will appear a window for you to add effects to the photo more vivid, here there are 10 types of effects for you to choose, if you feel like it, then click Save to save that photo. If you want to review the types of pictures taken and edit them, click on the photo gallery in the bottom left corner of the screen.
Instructions for using Camera360 on AndroidInstructions for using Camera360 on Android

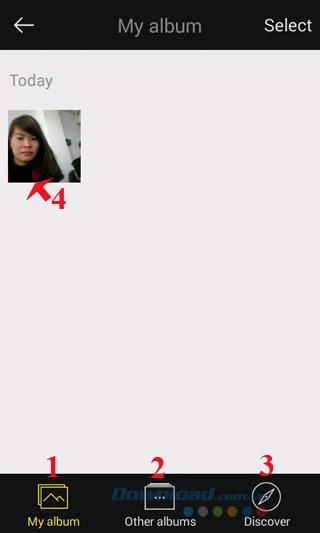
Step 2: The following tabs will appear:

  • My Album: A place to store the photos you take with Camera360.
  • Other Albums: A place to store pictures on your computer.
  • Discover: List photos sent and received, store photos taken on the cloud of Camera360.

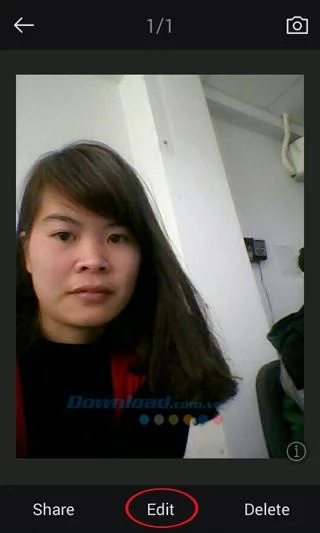
When clicking on a certain photo will appear some of the following options:

Here, we will click on Edit to edit the image.

Instructions for using Camera360 on AndroidInstructions for using Camera360 on Android

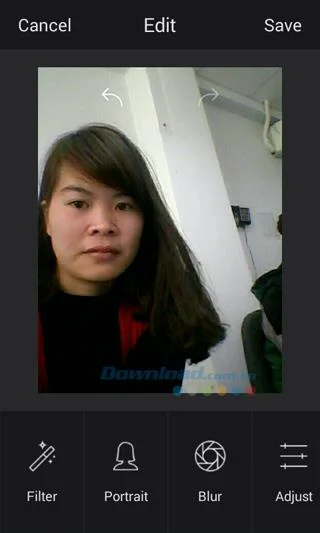
Step 3: The image editing window appears, there will be many options for editing your photos:

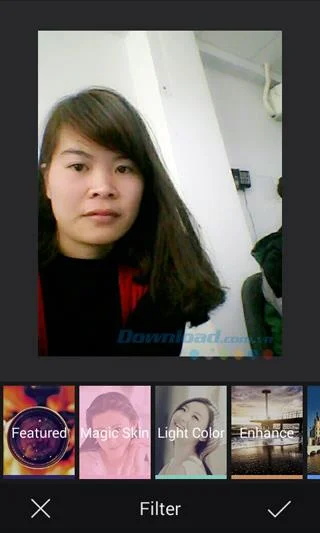
  • Filter: To filter photos, there are many image filters to choose from.

Instructions for using Camera360 on AndroidInstructions for using Camera360 on Android

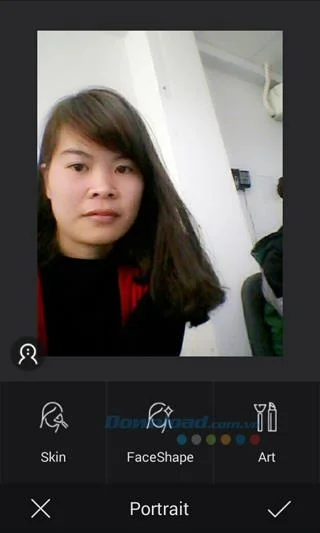
  • Portrait: Selfie editing, skin whitening and smoother editing, or face correction for bigger or slimmer.
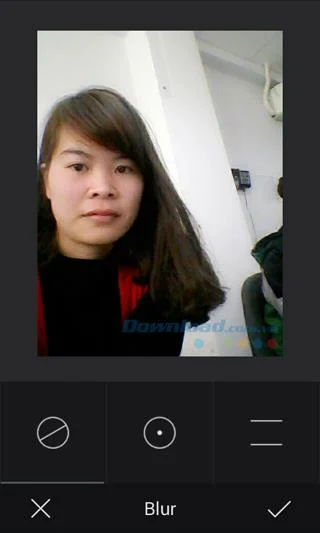
  • Blur: Lets blur your photos, like your photos taken in foggy weather for example. There are 3 customizations in this section: circle blur, blur on bottom and blur left and right. Depending on each case, you adjust accordingly.

Instructions for using Camera360 on AndroidInstructions for using Camera360 on Android

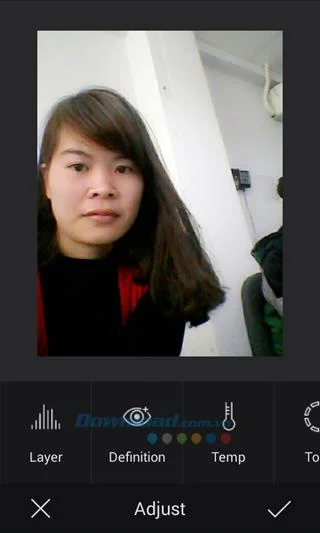
  • Adjust: Lets you adjust your photos more harmoniously by adjusting sharpness, brightness, shadow, saturation ...
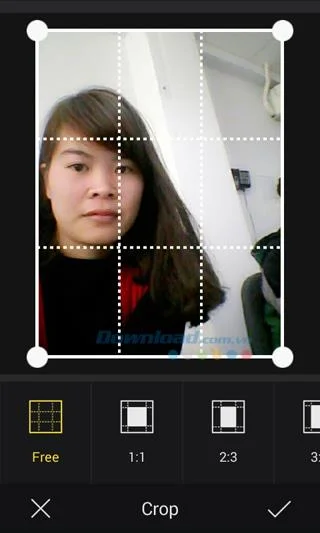
  • Crop: When taking photos it is unavoidable for unwanted excess scenes around, so you can easily cut them off to make the photos look better. Here you can cut comfortably at will or in the ratio of 1: 1, 2: 3, 3: 4, 9:16.

Instructions for using Camera360 on AndroidInstructions for using Camera360 on Android

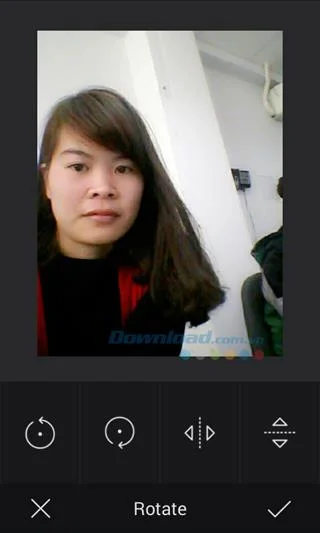
  • Rotate: Rotate the image to view it from a different perspective. Options will help you do that easily. Here you can rotate left, rotate right, reverse the view left and right (like looking in a mirror), reversing up and down (like looking at the water).
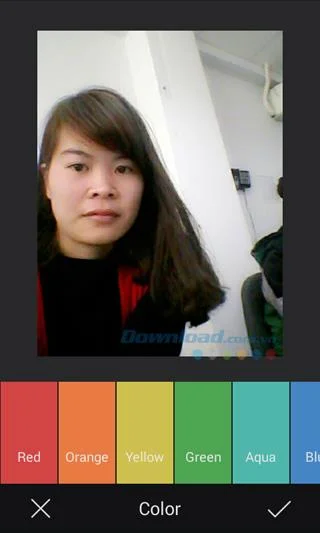
  • Color: Add color to the photo.

Instructions for using Camera360 on AndroidInstructions for using Camera360 on Android

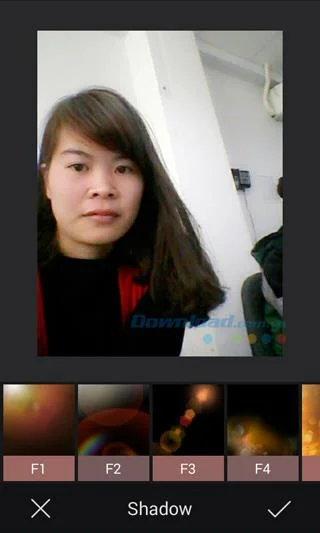
  • Shadow: Add a shadow effect to your photos, here from F1 to F12 for you to choose freely.
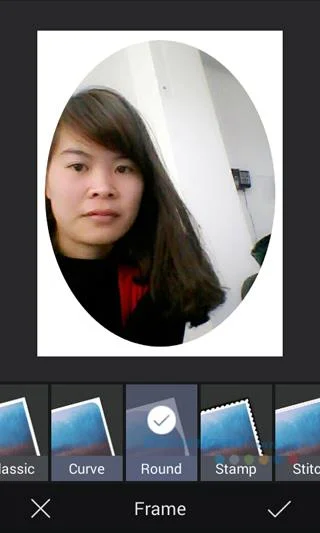
  • Frame: Add frames for a more vivid and eye-catching image, there are 10 types of frames to choose from.

Instructions for using Camera360 on AndroidInstructions for using Camera360 on Android

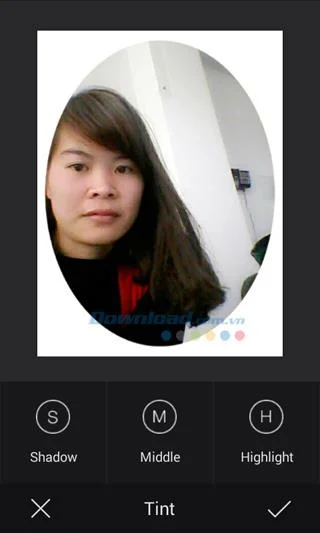
  • Tint: Change the image tone.

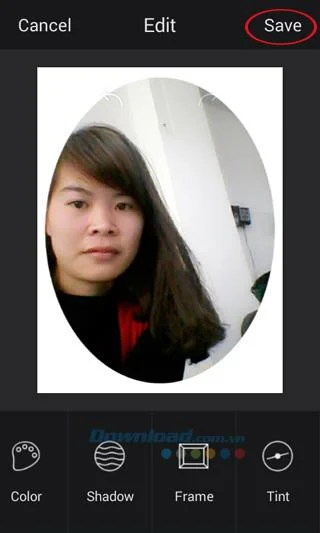
Step 4: After editing is complete, click Save in the top right corner of the screen to save the edited image.

Instructions for using Camera360 on AndroidInstructions for using Camera360 on Android

So now you have beautiful selfies to share with your friends and loved ones. Pretty simple and fast, right? If you want to edit photos and combine funny photo styles, you can refer to the software: LINE Camera for Android .

Video tutorial for using Camera360 for Android
Leave a Comment

Clearer Text in ONLYOFFICE Desktop: Tune Font Hinting on Linux

Clearer Text in ONLYOFFICE Desktop: Tune Font Hinting on Linux

Compare ONLYOFFICE font hinting modes, check zoom and Linux font availability, and verify whether blur is limited to the editor or affects the whole desktop.

Turn a PDF into an Editable DOCX in ONLYOFFICE Desktop

Turn a PDF into an Editable DOCX in ONLYOFFICE Desktop

Convert a PDF locally in ONLYOFFICE Desktop Editors, then review the DOCX for layout changes, scanned pages, and text that needs correction.

Connect ONLYOFFICE Desktop Editors to Your ownCloud Files

Connect ONLYOFFICE Desktop Editors to Your ownCloud Files

Add your ownCloud account to ONLYOFFICE Desktop Editors, understand what the connection enables, and choose between direct access, sync, and browser editing.

Fix ONLYOFFICE Mobile Timeouts by Checking the Server URL

Fix ONLYOFFICE Mobile Timeouts by Checking the Server URL

Use the right portal or WebDAV address, test HTTPS reachability from your phone, and distinguish private-network, TLS, and login problems.

Enable ONLYOFFICE Desktop Plugin Development and Debugging

Enable ONLYOFFICE Desktop Plugin Development and Debugging

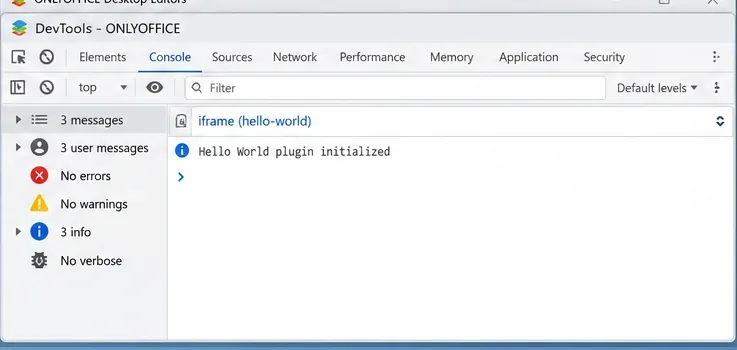
Build and test a custom ONLYOFFICE Desktop Editors plugin, install its .plugin archive, and activate developer tools for debugging.

Run Python in Calc Through LibreOffice’s Macro System

Run Python in Calc Through LibreOffice’s Macro System

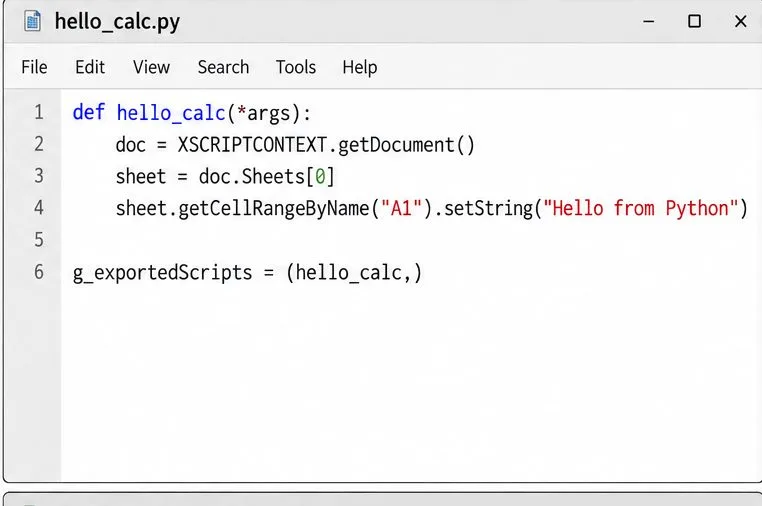
Make a Python function available in Calc, run it against the open spreadsheet, and troubleshoot missing macros or imports without mixing up LibreOffice and system Python.

Protect Selected Writer Text with a Section Password

Protect Selected Writer Text with a Section Password

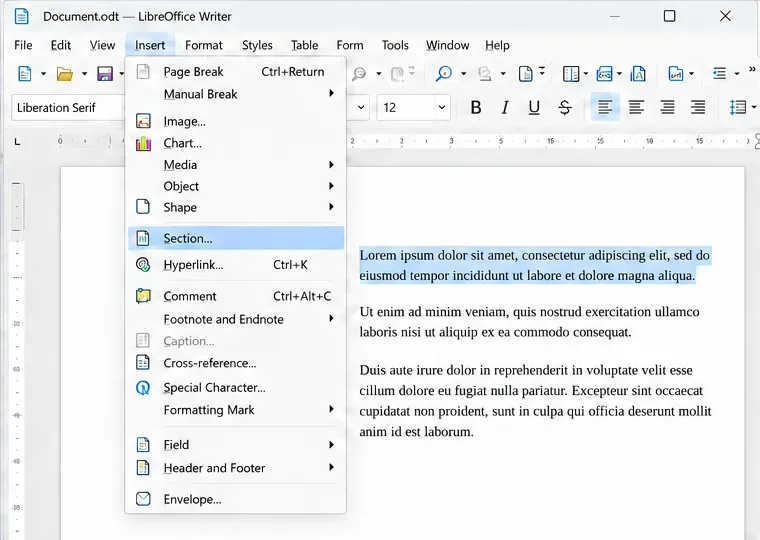
Lock a specific passage against routine edits while keeping the rest of a Writer document usable, and learn when file encryption is the better choice.

Make Spreadsheet Text Readable in LibreOffice Calc Dark Mode

Make Spreadsheet Text Readable in LibreOffice Calc Dark Mode

Fix hard-to-see spreadsheet text by checking the theme, cell font color, fills, and conditional formatting in Calc.

LibreOffice Calc Shows Formulas as Text? Restore the Results

LibreOffice Calc Shows Formulas as Text? Restore the Results

Learn why Calc shows formula text instead of calculated values and fix display mode, Text-formatted cells, apostrophes, or stale results.

Merge Writer Letters with a Logo and Spreadsheet Fields

Merge Writer Letters with a Logo and Spreadsheet Fields

Build a reusable Writer mail merge with Calc recipient data and a shared embedded image, then preview and save the personalized letters.