Install Chrome on Gooroom OS Without Changing Its Policies
Install the official Chrome package safely on Gooroom OS, check compatibility, preserve device controls, and verify browser policies before use.
Snipping Tool is a powerful photo and video capture tool on Windows. However, this tool sometimes has some errors, such as constantly displaying on the screen affecting the use of other tools. Below are some ways to fix the error of Snipping Tool constantly displaying.
Turn off Snipping Tool in Task Manager
A quick way to disable Snipping Tool is to turn it off in Task Manager.
Open Task Manager on your computer, then right-click on Snipping Tool in this list and select End Task to completely close this tool on your computer.
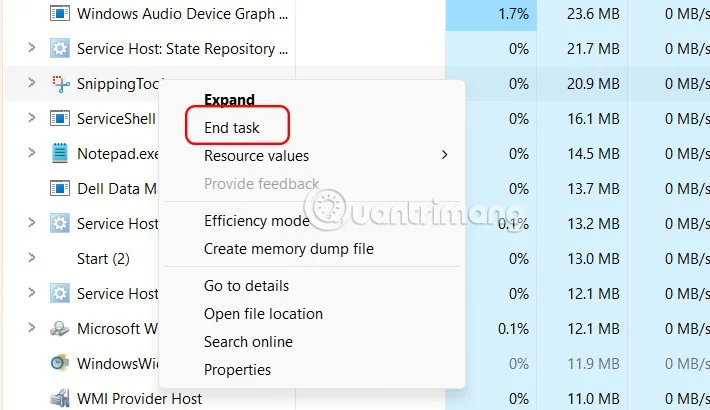
Turn off Snipping Tool shortcut
If Snipping Tool keeps opening every time you press the Print Screen key, then this shortcut may be set in the settings so you can just turn it off.
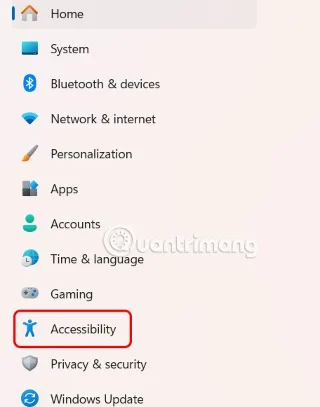
Press Windows + I to open Settings and select Accessibility .
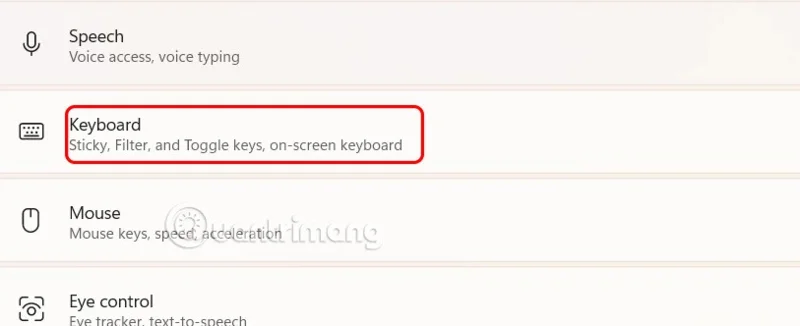
Next, look to the right and click on Keyboard to adjust the shortcut keys on your Windows computer.
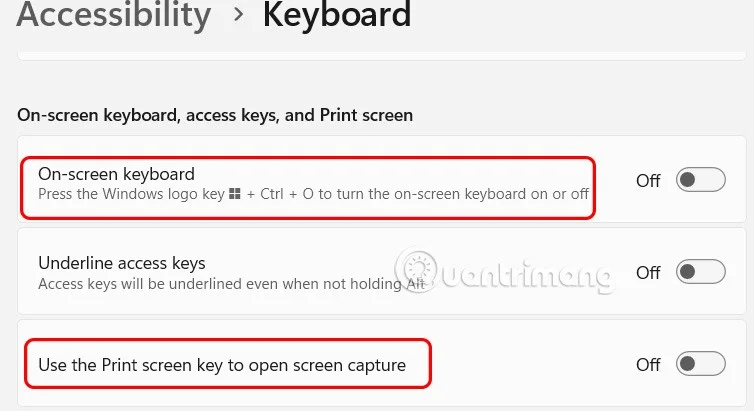
Now you scroll down to On-screen keyboard and Use the Print screen key to open screen capture and then turn it off .
Reset Snipping Tool
If the above doesn't solve the problem, you can try resetting Snipping Tool to factory settings.
Step 1:
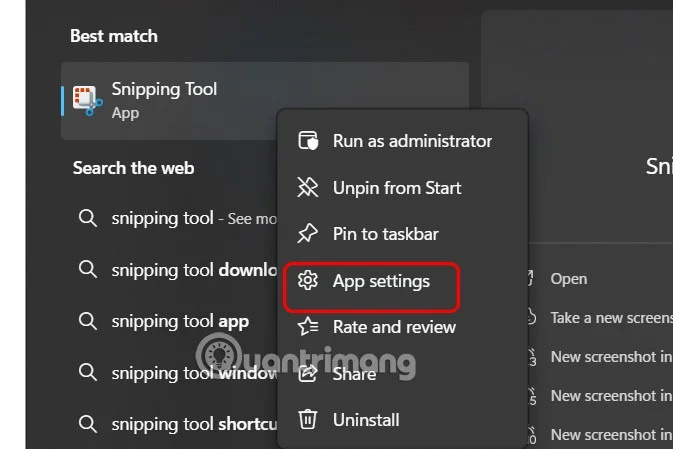
You type Snipping Tool in the search bar and then right-click, select App settings in the displayed list.
Step 2:
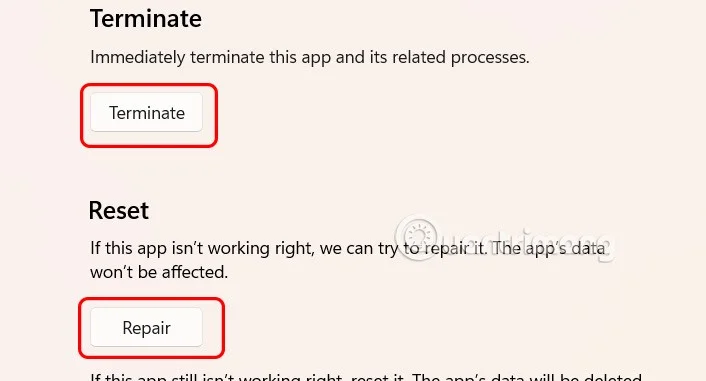
In the new interface that appears, scroll down and click Terminate to stop all activities related to Snipping Tool.
Next click the Repair button to repair the tool.
Step 3:
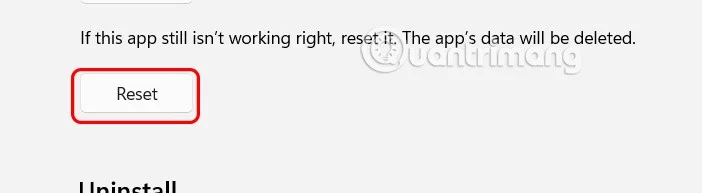
If that doesn't solve the problem, click the Reset button below to clear all app data and start over.
Uninstall Snipping Tool application
If you have tried the above solutions, you can try uninstalling the application and reinstalling it on your computer.
Install the official Chrome package safely on Gooroom OS, check compatibility, preserve device controls, and verify browser policies before use.
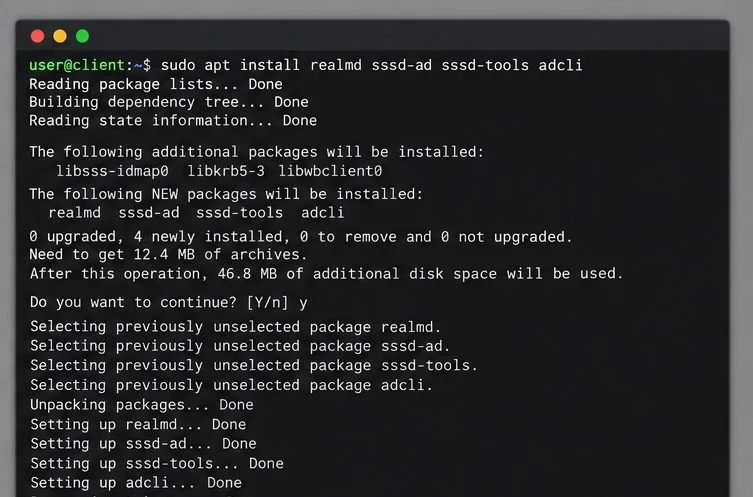
Prepare DNS and time, enroll Pardus with realmd and SSSD, and verify domain membership and user lookup before relying on AD sign-in.
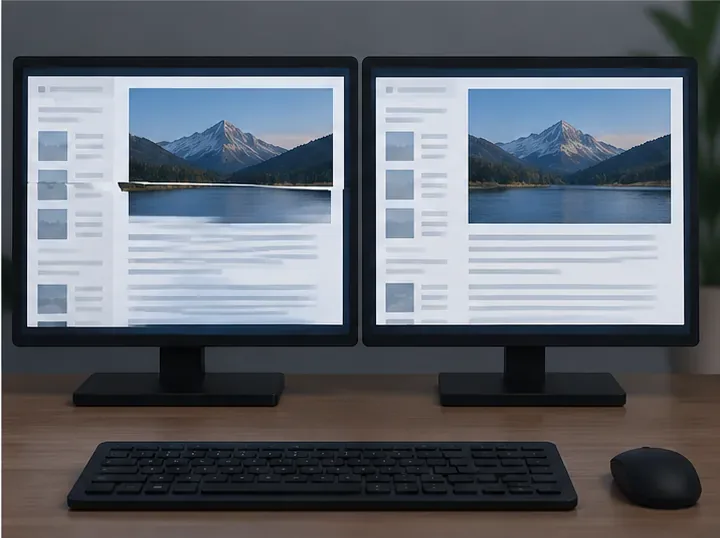
Reduce horizontal tearing in Pardus XFCE by checking your display session, enabling compositor synchronization, and applying Intel’s Xorg TearFree option only when the active driver supports it.
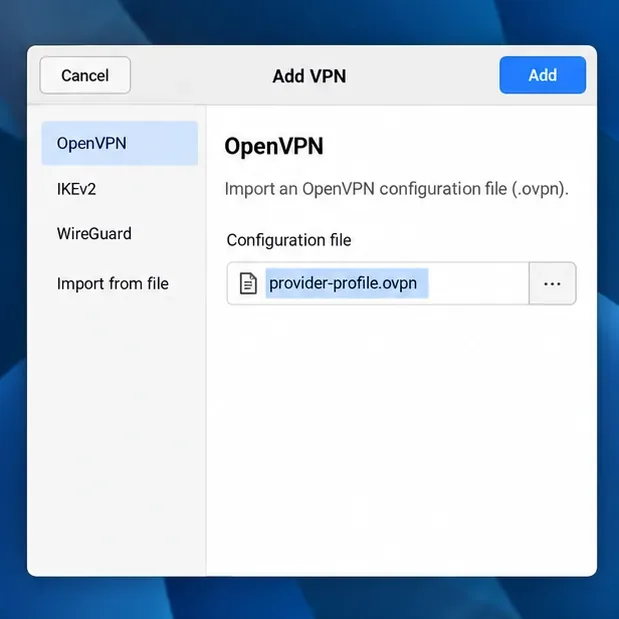
Add an OpenVPN profile to NetworkManager on Pardus, install the right plugin, protect credentials, and verify the VPN is active.
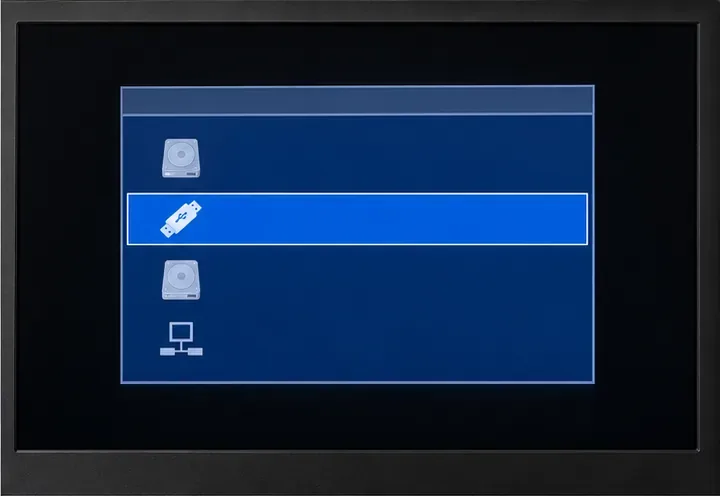
Prepare a bootable USB, check 64-bit hardware compatibility, and install Pardus 23 XFCE while protecting existing files and avoiding common legacy BIOS pitfalls.
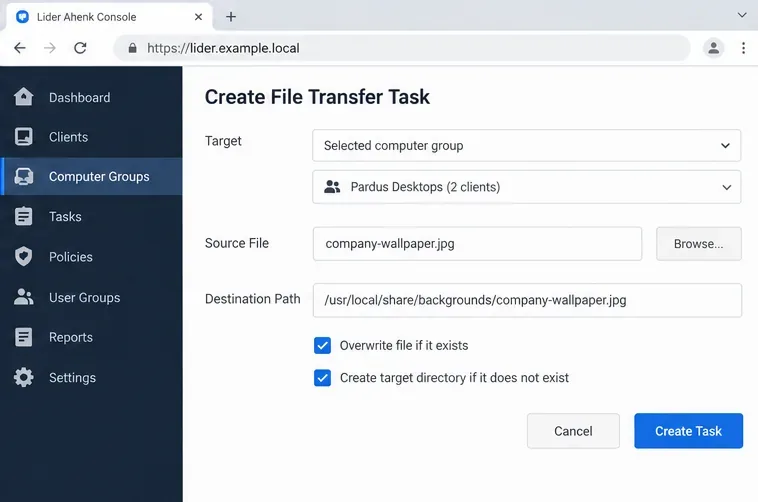
Distribute a custom wallpaper to Pardus clients, configure Xfce or GNOME desktops, and apply Lider Ahenk user policies with safe pilot checks.
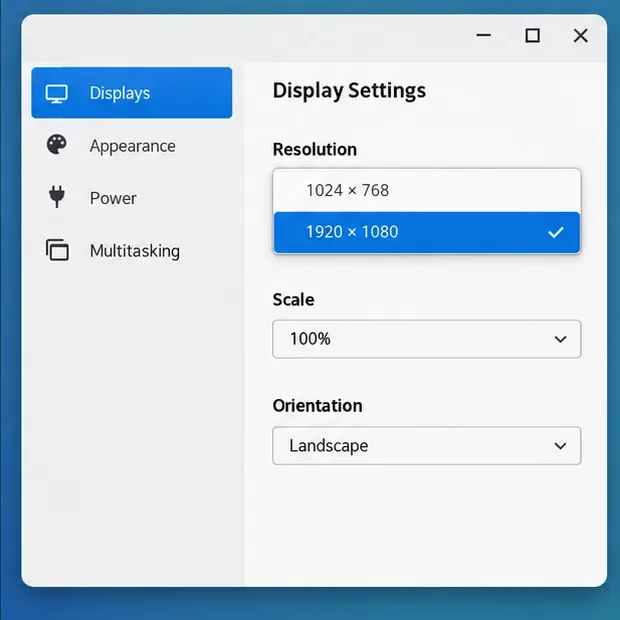
Fix a 1024 × 768 ceiling by checking SPICE, virtual video, the guest channel, and spice-vdagent—with safe checks when Pardus lacks a package candidate.
Set up the Lider server, configure its installer safely, register Ahenk endpoints, and verify a pilot before expanding central management.
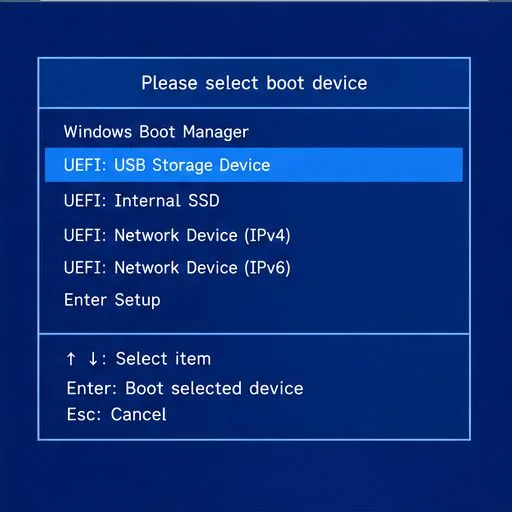
Download the official Pardus 23 desktop ISO, write it safely with Rufus, and boot a Windows PC into a temporary Live session.
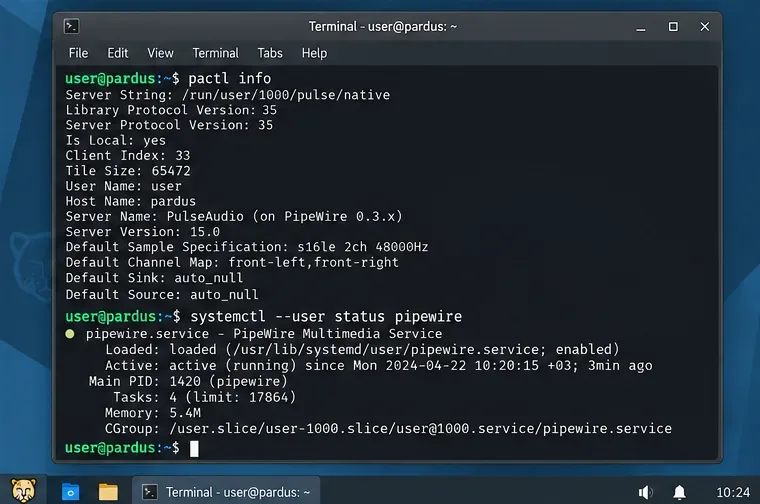
Find out why Pardus 23 cannot detect your sound card, then use targeted ALSA, firmware, and PipeWire or PulseAudio checks to restore playback.