Midjourney isnt free, but why does it still attract so many users?

Even though Midjourney is paid, it is still one of the most popular AI creation tools! Why is that? The answer will be in the following article.
AI art generators like Midjourney can reimagine your photos with different styles, backgrounds, colors, and moods. Follow this guide to create some imaginative self-portraits, seen through the lens of artificial intelligence.
Step 1: Upload reference image
To create an AI self-portrait, you will need to upload a personal image of yourself. This is what will be used to guide the image generation.
The article recommends protecting your privacy by creating private conversations with Midjourney Bot and creating reminders within direct message threads, rather than public channels.
Note : Images you create using a prompt will still appear on the Midjourney website gallery. You can resolve this by subscribing to a Pro or Mega plan and changing your settings to Stealth Mode.
Navigate to any #newbie or #general channel and click on the Midjourney Bot name wherever you see it. Then type Hi into the message box and press Enter to open a direct message window.
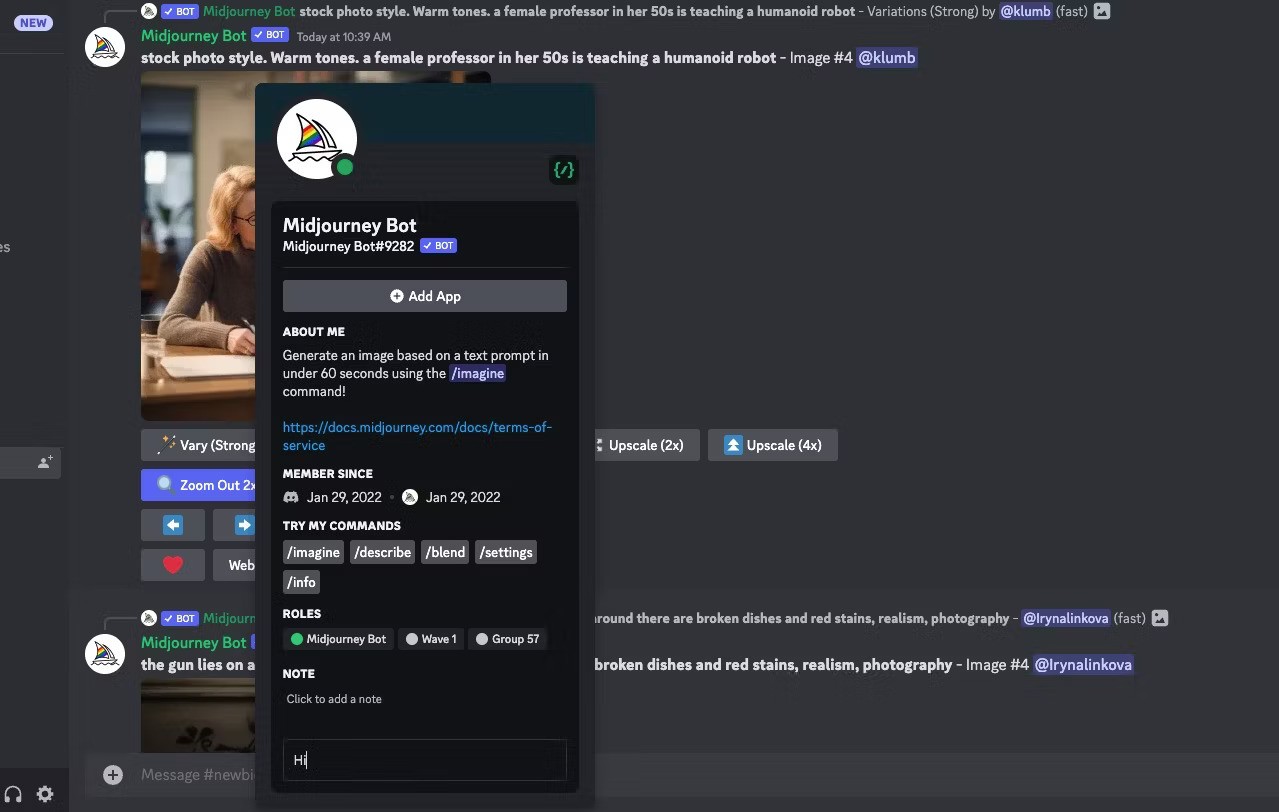
You can drag an image from your computer and drop it into the notification box or click the + icon in the notification box to find and upload an image from your computer.
Once you've selected an image, press Enter on your keyboard to upload it to the chat. Next, right-click on the image and select Copy Link .
This tutorial uses a random AI-generated image of a person from a website called This Person Does Not Exist .

Step 2: Create a reminder using a URL
Now, we can start creating reminders. Here's what the basic template looks like:
/imagine prompt [image URL] [prompt]First, replace the image URL with the image link you copied in the previous step. Then you can start typing the image description.

The first time you paste the link into the message box, it will be very long. But when you press Enter, the link will be shortened and you can use this version for future reminders.
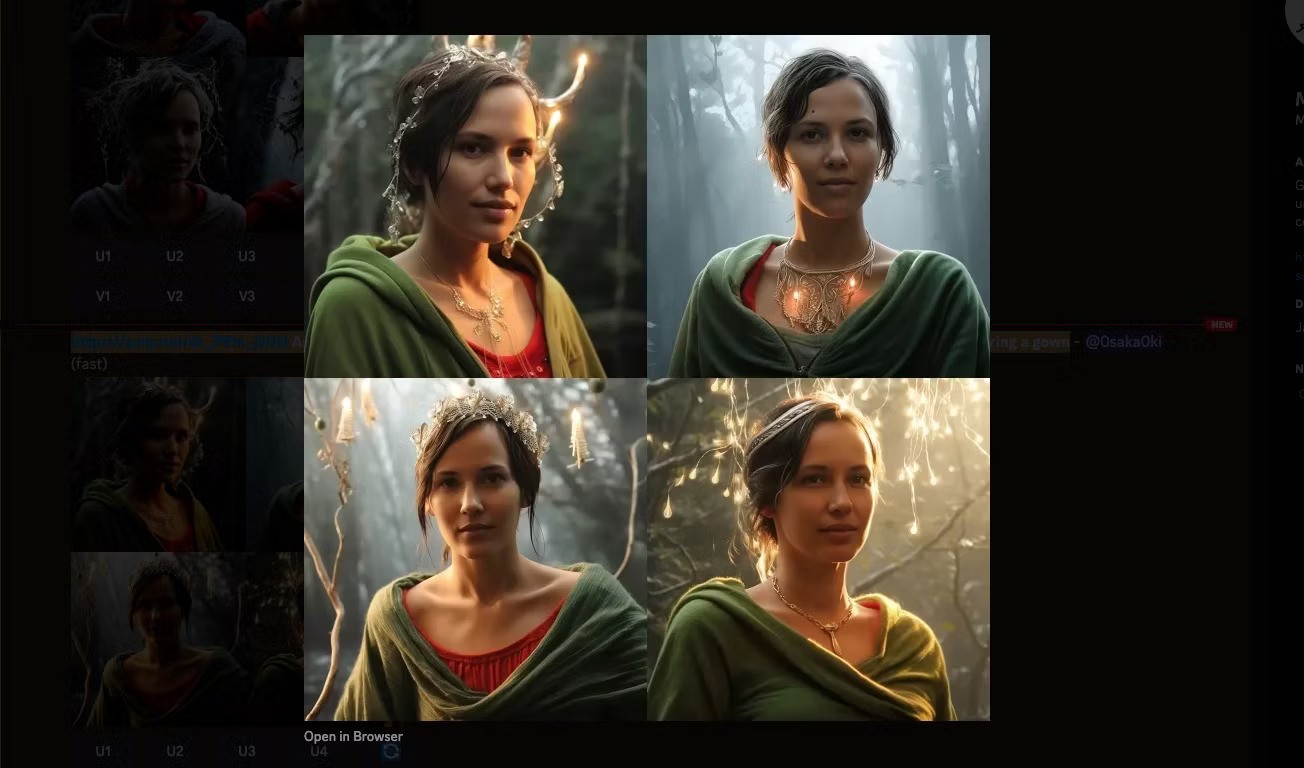
The most basic requirement is to mention a person in your prompt. In this case, examples include “An elven woman,” for example. But beyond that, you can get creative with the setting, art style, mood, objects, etc.
Step 3: Experiment with key parameters
There are 3 parameters worth checking if you want to get better results for your AI portraits. To use them, just add the parameter to the end of your prompt.
The --iw parameter stands for image weight. You can use it to add more emphasis to the reference image or more text description in the final image.
A low image weight, such as --iw 0.5 , means that the text prompt will have a larger influence on the final image.
/imagine prompt https://s.mj.run/4r_P9m_jvDU A woman in a sharp grey suit sitting in an office full of robots, brightly lit, futuristic --iw 0.5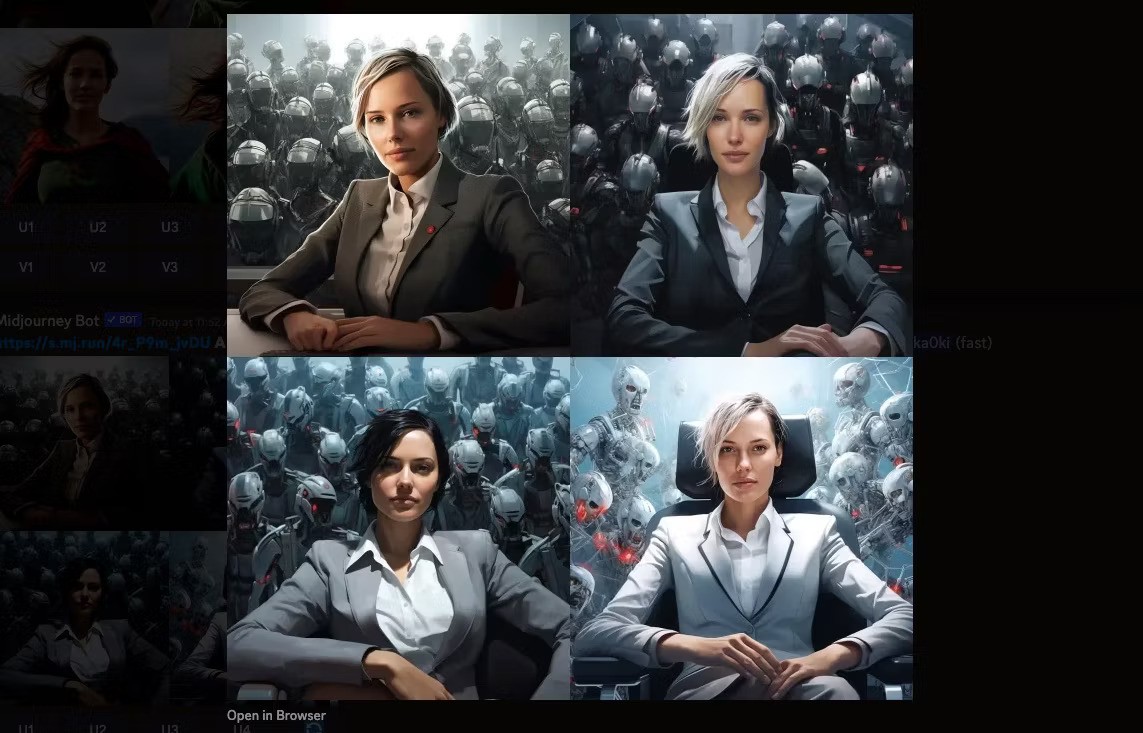
A higher image weight, such as --iw 1.5 , means that the reference image will have a greater impact on the final image.
/imagine prompt https://s.mj.run/4r_P9m_jvDU A woman in a sharp grey suit sitting in an office full of robots, brightly lit, futuristic --iw 1.5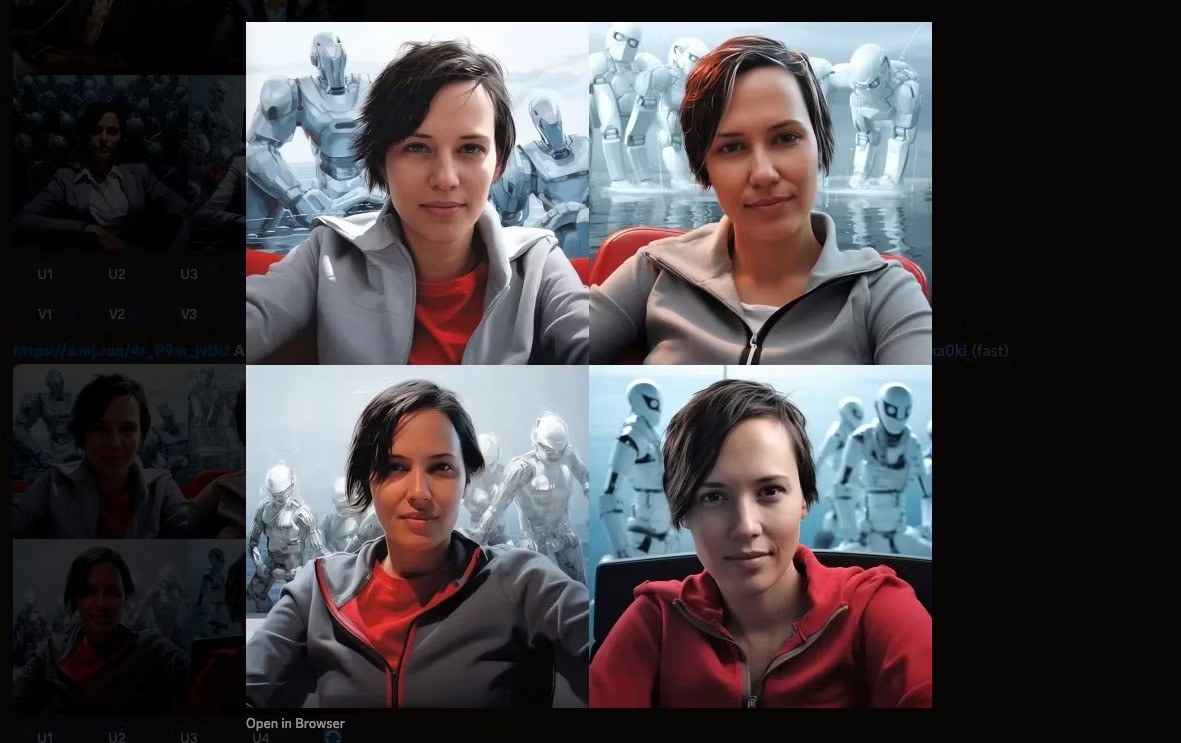
You can set this number anywhere between 0 and 2. By default, it is set to 1 to give equal weight to the image and the prompt.
A lot of “beautification” is applied to Midjourney images, creating impressive images (think Hollywood cinema shots). But the problem is that you end up with images that look unrealistic and even fake. Instead, you want an AI selfie that looks like a real person.
Adding the --style raw parameter can help solve this problem by focusing on the style you specify and eliminating some of the automatic beautification that's going on. The difference in the two sets of images below is subtle but still noticeable.
/imagine prompt https://s.mj.run/4r_P9m_jvDU Oil painting portrait of a woman in a field of green rolling hills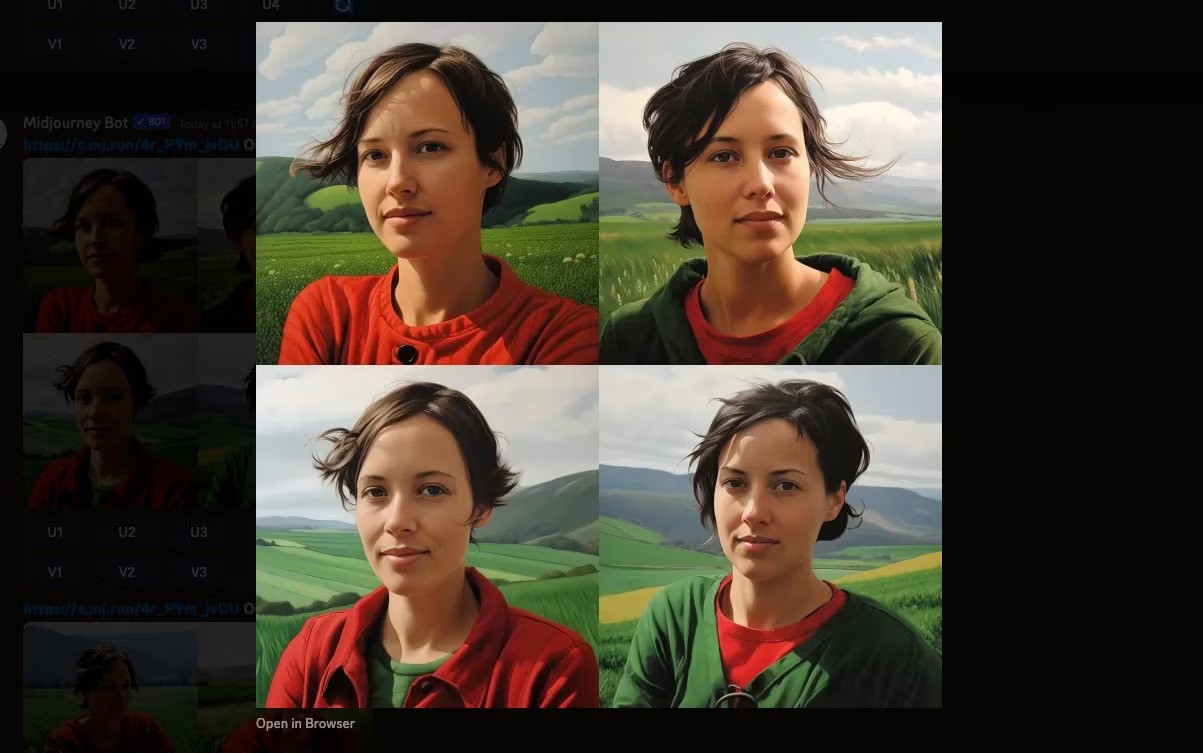
https://s.mj.run/4r_P9m_jvDU Oil painting portrait of a woman in a field of green rolling hills --style raw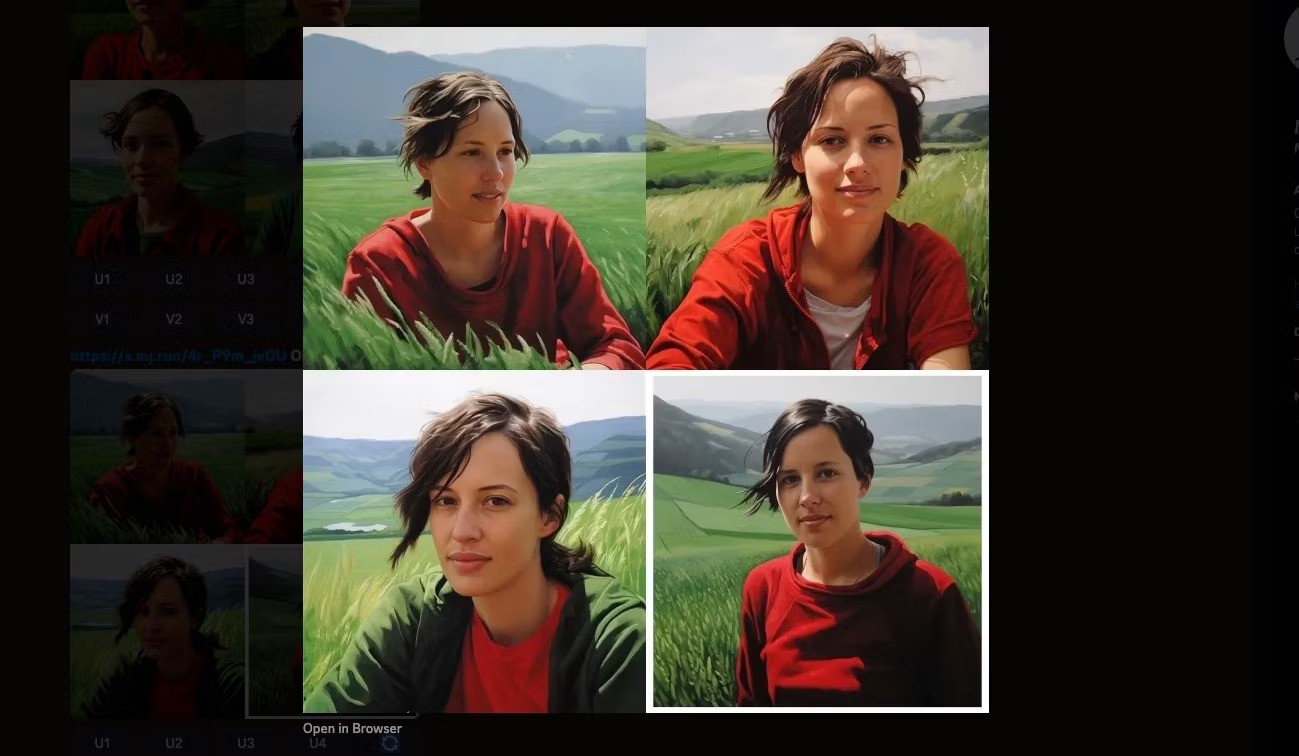
Creating portraits with AI can feel a little weird, seeing yourself transformed through the lens of an AI system. So why not take advantage of the weirdness by adding the --weird parameter ?
According to Midjourney's manual, this "introduces quirky and unusual qualities" to the image. Again, this should help create an AI-generated self-portrait that's less flattering and potentially more unique.
The default weird setting is 0 with a maximum value of 3000, adding a little bit of this value to the prompt will give you more unexpected results.
/imagine prompt https://s.mj.run/4r_P9m_jvDU 3D render model of a woman
/imagine prompt https://s.mj.run/4r_P9m_jvDU 3D render model of a woman --weird 2000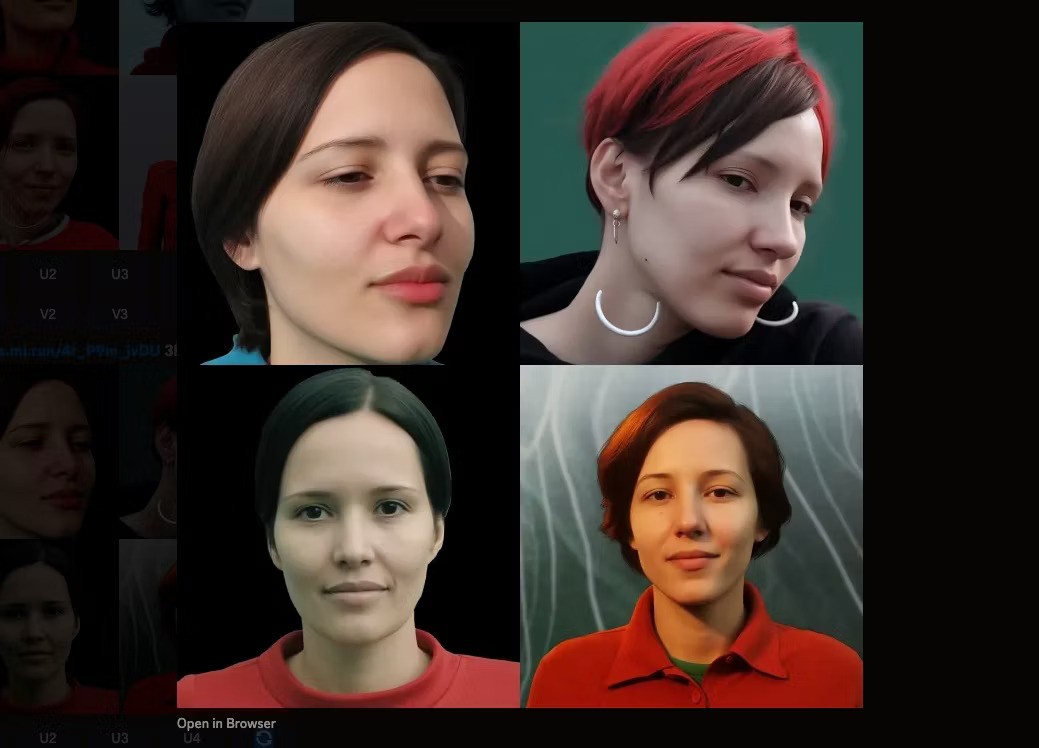
Step 4: Improve image quality
Two areas where you can improve the quality of your images are aspect ratio and image resolution.
Let's start by changing the aspect ratio. The default ratio for Midjourney images is 1:1, which works well for many social platforms where you might want to use your AI portraits.
However, if you want to frame the image in a striking way, try resizing it to the dimensions used in classic portrait photography by adding --ar 2:3 or --ar 4:5 .
Changing the aspect ratio in Midjourney also gives you more options for using your AI artwork for things like desktop wallpapers, print, and social platforms that require different image sizes.
/imagine prompt https://s.mj.run/4r_P9m_jvDU portrait of a woman, photorealistic, neutral background --ar 4:5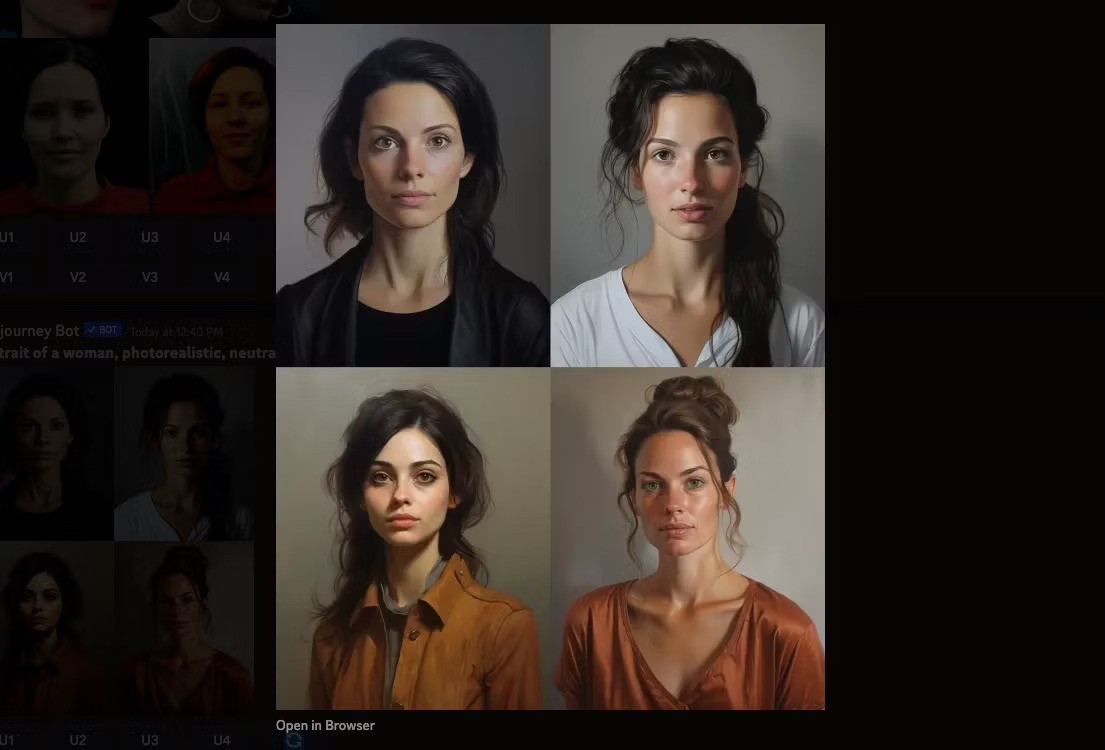
Another worthwhile tweak is to upscale your images to produce the highest resolution possible.
First, select the image you want to work with from the set of 4 images using the buttons labeled U. The top left and right images are labeled U1 and U2 , while the bottom left and right images are labeled U3 and U4 .
The image will reappear in the chat, this time with the option to click Upscale (4x) . Click this button and wait for the final image to finish processing.

Step 5: Download your AI self-portrait
Once you've finished upgrading your image, click on the image to preview it, then click Open in Browser . Right-click on the image and select Save Image As to download it to your computer.
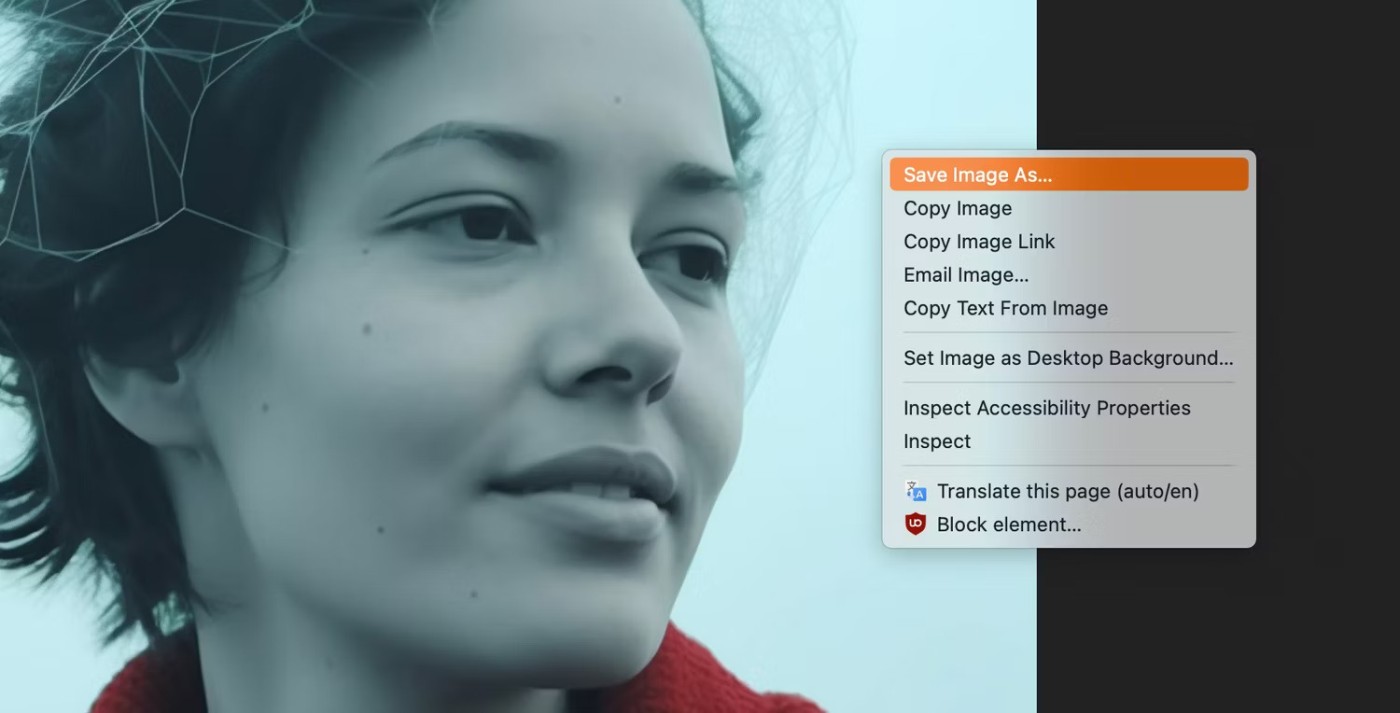
Now that you have an AI portrait, you can change your social media profile picture to something a little more interesting. You can also use the AI self-portrait feature to protect your privacy. By creating a likeness of yourself for your public accounts, you can save your real photos for your close friends and family.
Even though Midjourney is paid, it is still one of the most popular AI creation tools! Why is that? The answer will be in the following article.
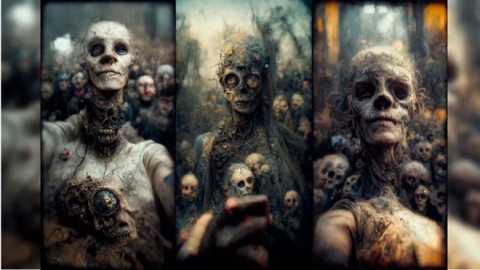
Recently, a user named zx_JB used this AI to create images with the text “last selfie ever taken”. The results were so impressive that this user shared them on Midjourney’s Discord channel.
If Midjourney's price tag doesn't appeal to you, take a look at our list of free alternatives to this tool.
Skip the hard Photoshop tutorials and have fun creating a logo in Midjourney instead. This article will cover the basics you need to know to design a logo, along with the top Midourney tips you need to know.
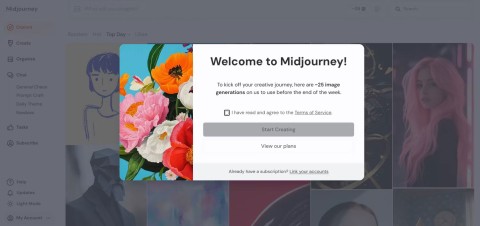
Midjourney is now available to everyone, with the Midjourney website being accessible to anyone, regardless of whether they are a new or returning user.
Master how to assign participants to breakout rooms in Microsoft Teams with this step-by-step guide. Boost meeting engagement, automate assignments, and troubleshoot like a pro for seamless virtual collaboration.
Struggling with Microsoft Teams "Price Error" after the latest pricing update? Discover step-by-step fixes to resolve it quickly, restore seamless collaboration, and avoid subscription headaches. Updated with the newest solutions.
Struggling with Microsoft Teams Background Error Transparency? Discover proven step-by-step fixes for blurry, glitchy virtual backgrounds. Restore perfect transparency in Teams meetings effortlessly. Updated with the latest solutions.
Struggling with Microsoft Teams "Đăng nhập" login error? Discover step-by-step fixes for smooth sign-in. Clear cache, update app, and more – no tech skills needed! Works on Windows, Mac, and web.
Tired of Microsoft Teams Web Error 503 Service Unavailable blocking your meetings? Discover quick, step-by-step fixes to resolve the 503 error fast – no tech skills needed! Clear cache, check status, and get back to collaborating seamlessly.
Stuck with Microsoft Teams Update Error 0x80070002? Discover proven troubleshooting steps to resolve this frustrating issue quickly and get your Teams app updated seamlessly for uninterrupted collaboration.
Tired of Microsoft Teams Error AADSTS50020 blocking your sign-in? Discover step-by-step fixes for user account conflicts, backed by the latest Azure AD solutions. Get back to work fast!
Tired of Microsoft Teams microphone error with no sound? Discover quick, step-by-step fixes for Teams mic not working on Windows, Mac, and more. Restore crystal-clear audio in minutes!
Tired of the Microsoft Teams "Task Management" Error disrupting your workflow? Discover proven fixes like clearing cache, updating Teams, and troubleshooting permissions to get back to seamless collaboration in minutes. Updated with the latest solutions.
Frustrated by the Microsoft Teams 'How to Teams' Help Error? Discover proven, step-by-step solutions to fix it quickly and restore smooth help access. Latest 2026 updates included for seamless teamwork.
Struggling with Microsoft Teams "Room Error" Syncing? This ultimate guide provides step-by-step fixes for Microsoft Teams Room Error Syncing issues, ensuring seamless meetings and quick resolutions. Updated with the latest tips.
Master troubleshooting Microsoft Teams Workflows Power Automate issues with step-by-step fixes for common errors. Get your automations running smoothly – no more frustration! Proven solutions for triggers, permissions, and more.
Struggling with Microsoft Teams "Restart Error" in 2026? Discover proven, step-by-step fixes to resolve the endless restart loop quickly. Clear cache, reset app, and more for seamless collaboration. Get back online fast!
Master how to create breakout rooms in Microsoft Teams before a meeting with this easy guide. Pre-assign participants, boost collaboration, and elevate your virtual sessions effortlessly.
Tired of Microsoft Teams sidebar missing? Get instant fixes for layout errors. Step-by-step guide with latest tips to restore your Teams sidebar fast and frustration-free.
