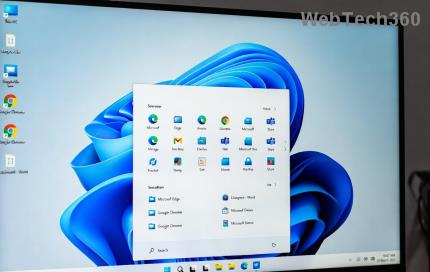
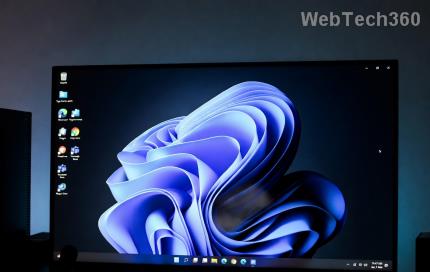
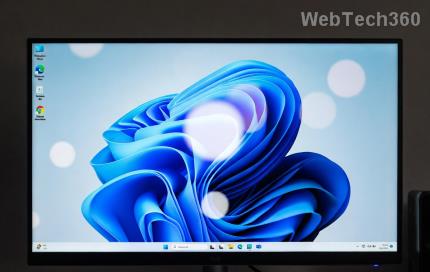
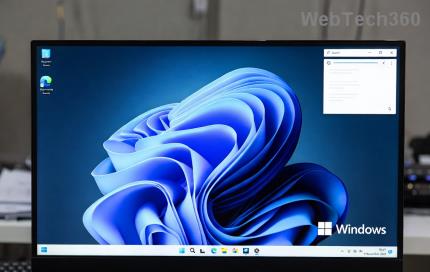
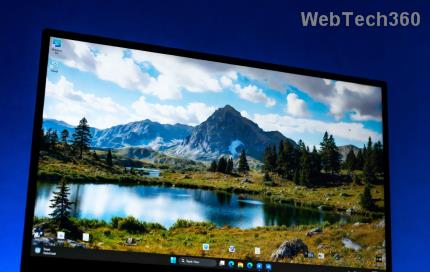
Many Windows users store hundreds of files and folders on the desktop for quick access. However, in the long run, this will make the desktop cluttered and difficult to see. There are many ways to hide all the icons on the Windows desktop to get a clean, distraction-free interface. Here is a guide to hide icons on the Windows 11 desktop.
Hide desktop icons via context menu
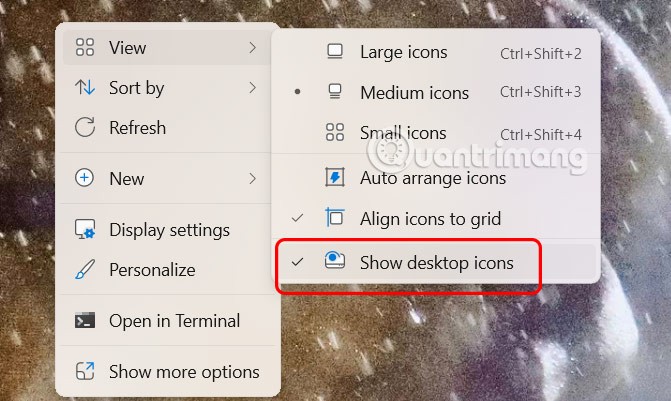
Just right-click on the computer desktop, select View, then select Show desktop icons to hide icons on the computer desktop.
Immediately after that all icons on the computer screen will disappear.
Using display settings on Windows
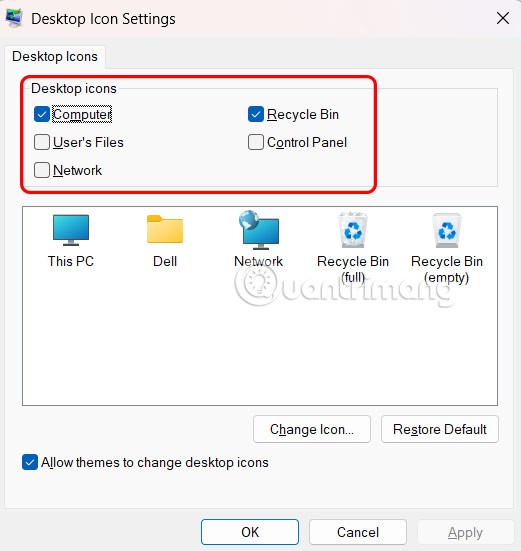
If you want to hide specific system icons like This PC, Recycle Bin or Network, that's also simple.
Step 1:
Open Settings on your computer and click Personalize on the left side of the menu, look to the right and click Themes to adjust.
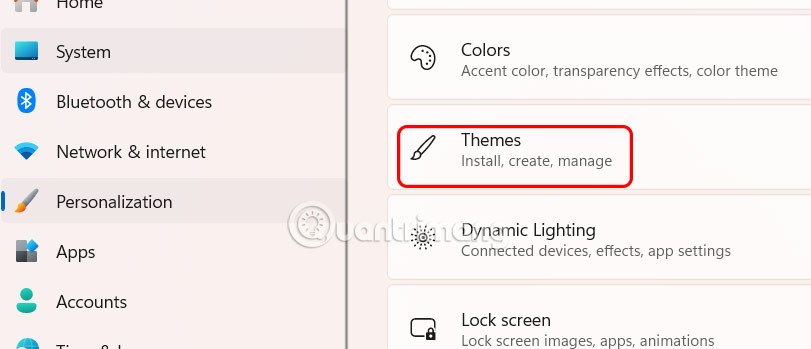
Step 2:
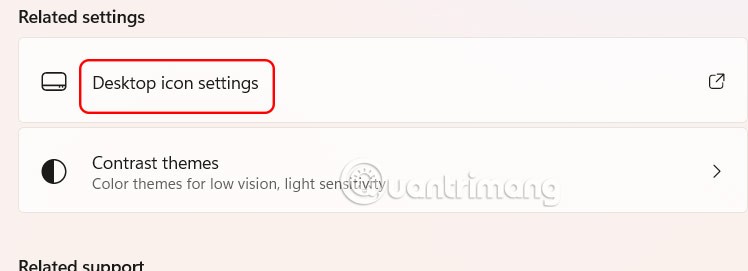
In the next interface, the user clicks on Desktop icon settings .
Now we just need to uncheck the icon we want to hide on the computer screen.
Hide files on Windows 11 desktop
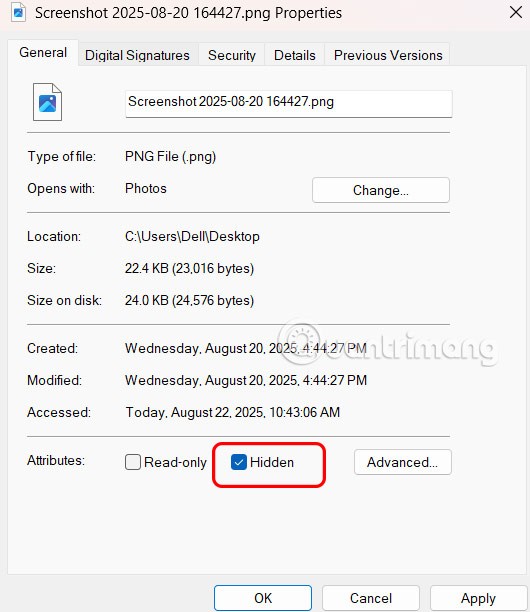
Right -click on the file and select Properties .
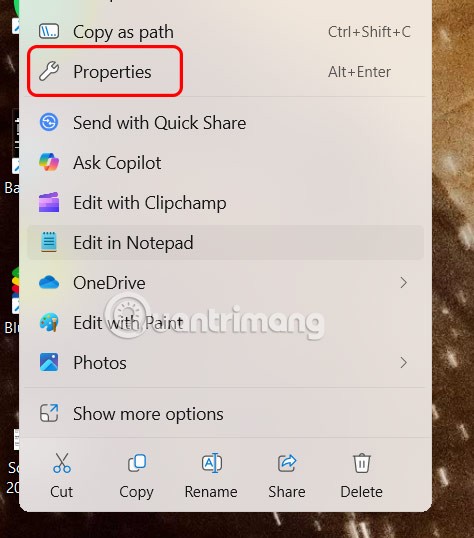
In the new interface that appears, click on the General tab . Then look down at Attributes and select Hidden to hide this file on the computer screen.
To see hidden files, open File Explorer, click View, select Show, and then click Hidden items.
Use Group Policy Editor to hide desktop icons
If you are using Windows 11 Pro, Enterprise, or Student edition, you can use the Local Group Policy Editor application to disable desktop icons.
Step 1:
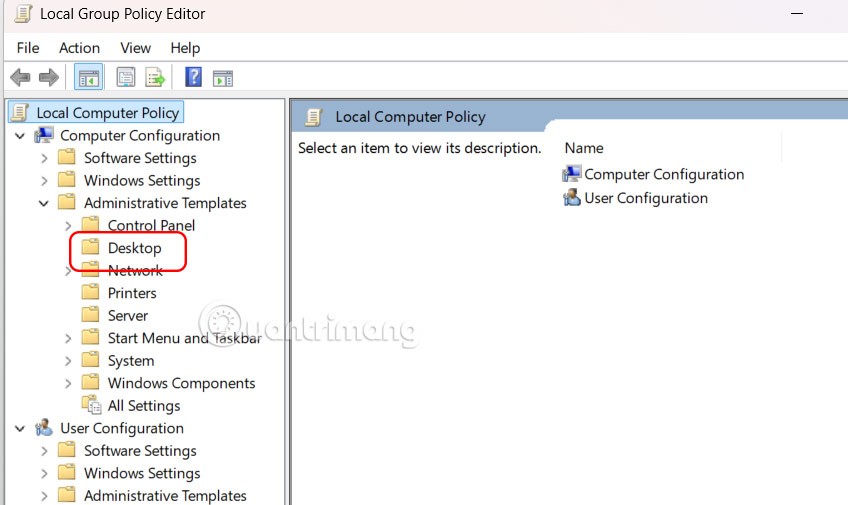
Open the Run dialog box and enter the keyword gpedit.msc to access Local Group Policy Editor. Next, access the path User Configuration > Administrative Templates > Desktop .
Step 2:
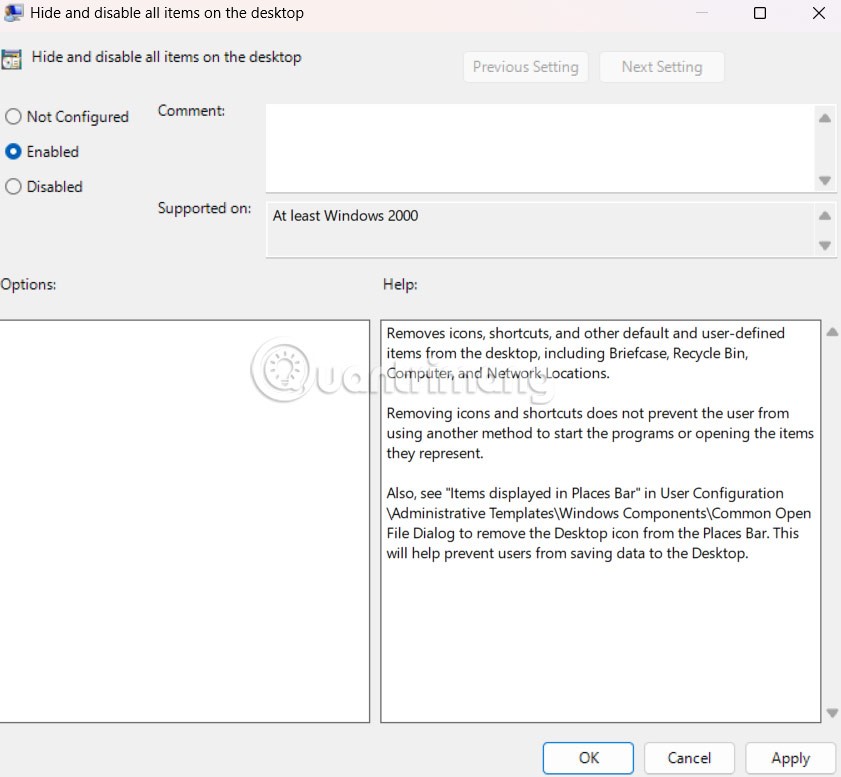
Next, click Hide and disable all items on the desktop to adjust.
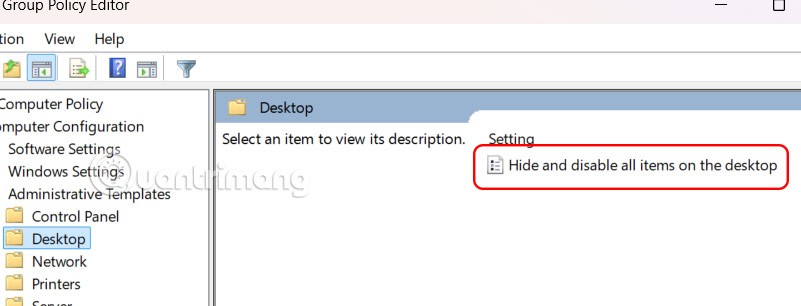
Then click Enabled to enable the feature of hiding icons on the computer screen.
