How to Check Purchase History on Apple App Store

Through your purchase history on the App Store, you will know when you downloaded that app or game, and how much you paid for the paid app.
As you know, Face ID is a great alternative to Touch ID and Apple itself has acknowledged that this biometric security feature of the iPhone is more secure. However, many people will ask the question of how to set up this security feature. In this article, WebTech360 will guide you to set up Face ID on iPhone.
Which iPhones are compatible with Face ID?
Not all iPhones with front-facing cameras support Face ID, so it's important to check if your phone supports the feature. Check out the list of supported iPhones below:
It’s interesting to note that Face ID is now also part of iPadOS. It’s available on the 12.9-inch iPad Pro (3rd generation and later) and the 11-inch iPad Pro (all generations).
Steps to set up Face ID on iPhone
Setting up Face ID on your iPhone is a simple process that adds both security and convenience to your device. Follow the steps below to set it up.
Before you begin, make sure your face is clear, especially your nose and mouth. If you wear glasses or contact lenses, that’s fine, but you should remove your mask. Also, remember that Face ID works best when your iPhone is about an arm’s length away from your face or closer (10 to 20 inches/25 to 50cm).
Now that you’re ready to go, start by launching the Settings app and navigating to Face ID & Passcode . You’ll be prompted to enter your passcode if you’ve set one up.
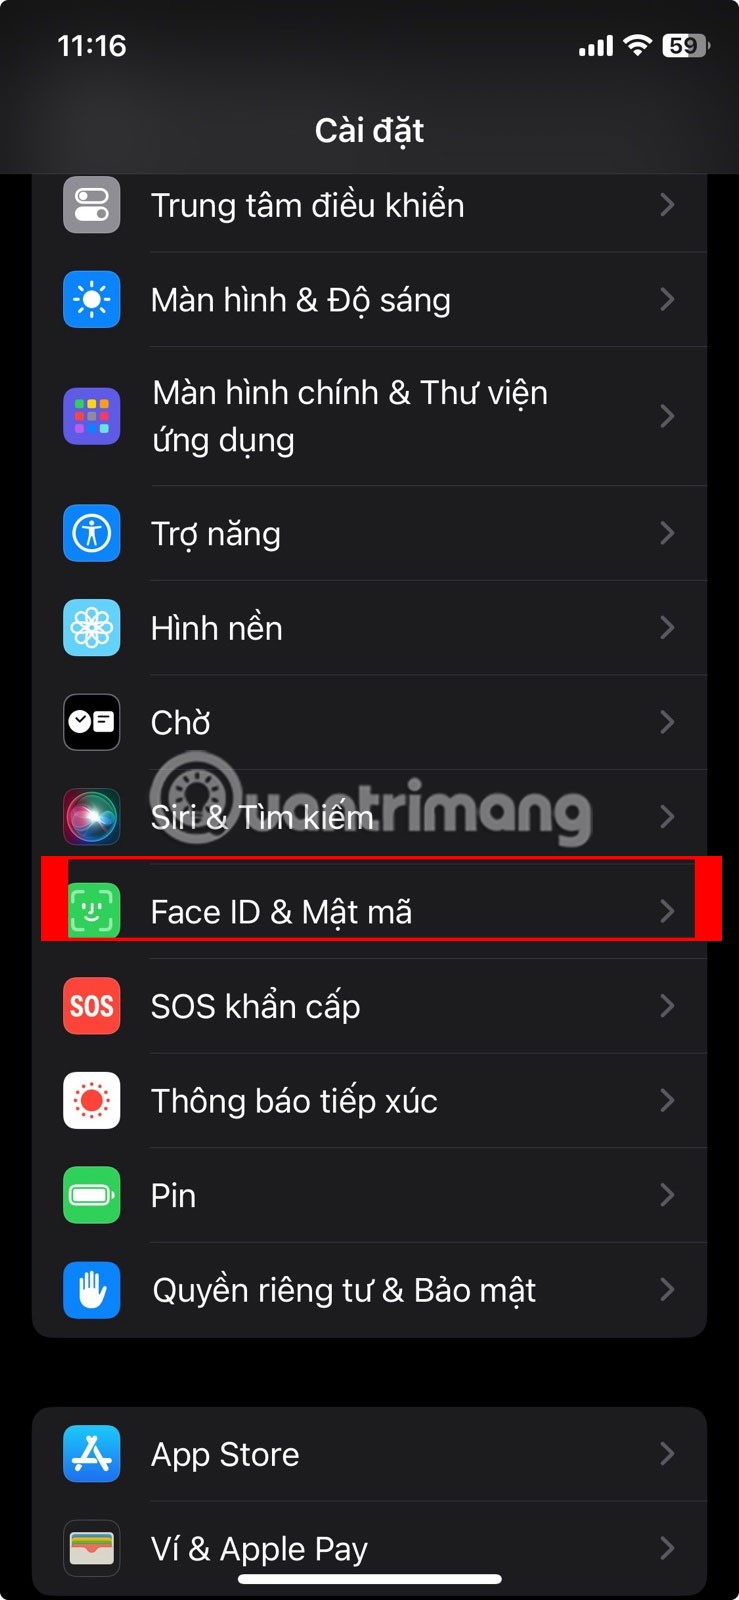
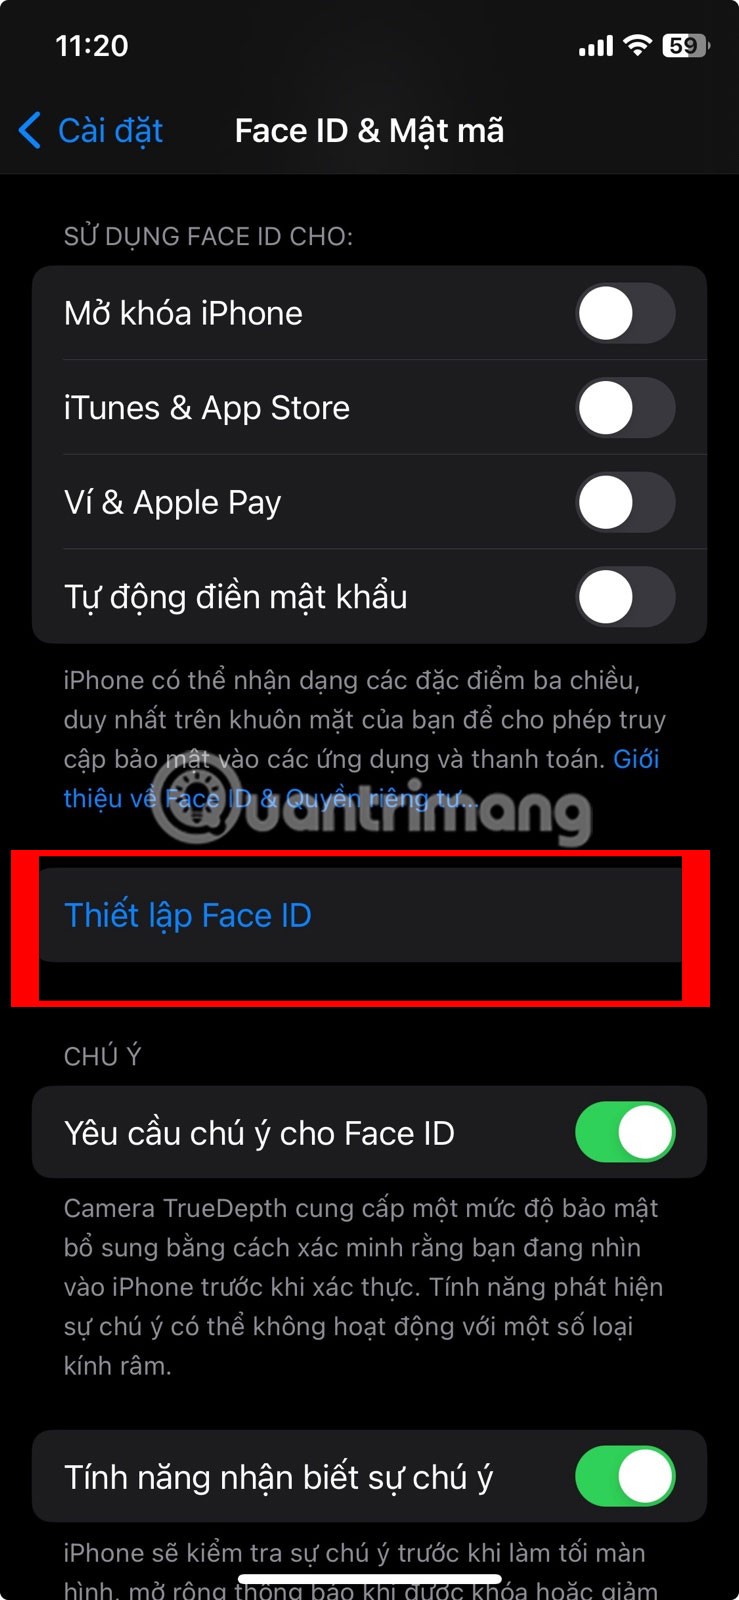
Face ID & Passcode Settings Options
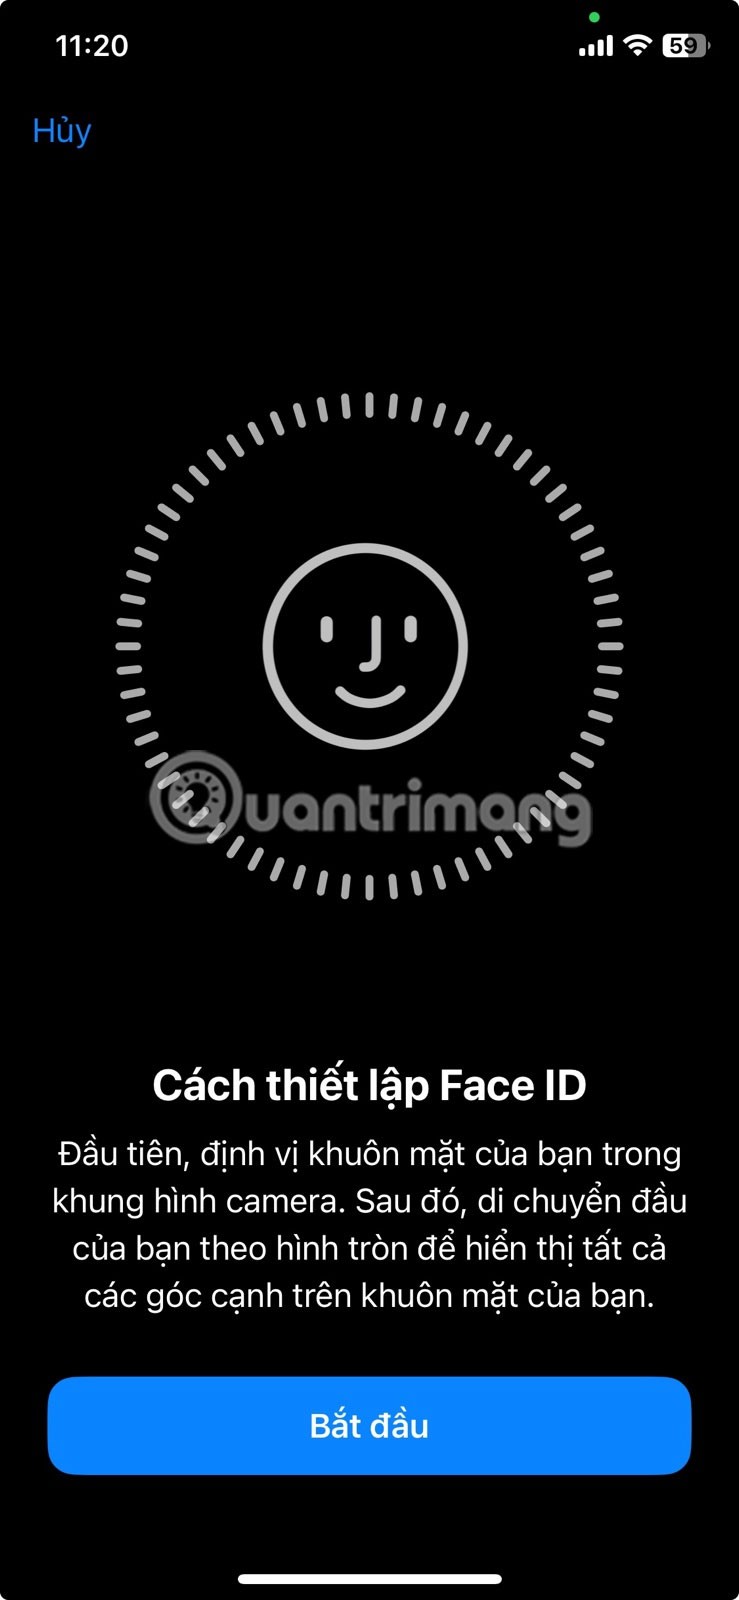
Select Set Up Face ID . You'll be guided through positioning your face in the camera frame. Hold your device in portrait orientation for this. Tap Start when you're ready.
Setup involves following the on-screen instructions to slowly move your head in a circle. This helps your device recognize your facial features from different angles. Pay attention to the animations on the screen that indicate how fast you are moving. If you can't move your head for any reason, tap Accessibility Options for alternative setup methods.

Once the second scan is complete, you'll be taken back to the Face ID & Passcode screen . You can customize what actions Face ID controls, like unlocking your device or making purchases in the App Store. Finally, test Face ID by locking your device and waking it up. Face ID will automatically activate, scanning your face to unlock your iPhone or iPad.
Face ID is designed to adapt to changes in your appearance, so you can expect it to recognize you even with day-to-day changes.
Tips to improve your Face ID experience
Improving your Face ID experience on iPhone is all about knowing the right settings to tweak for a smoother, more efficient user experience. Let’s explore some of the key tweaks you can make to get the most out of Face ID.
Customize the “Require Attention for Face ID” feature
Remember that Face ID requires you to look directly at your phone to authenticate. In everyday use, you’ll find it helpful to avoid looking directly at your phone – especially if you unlock your phone frequently.

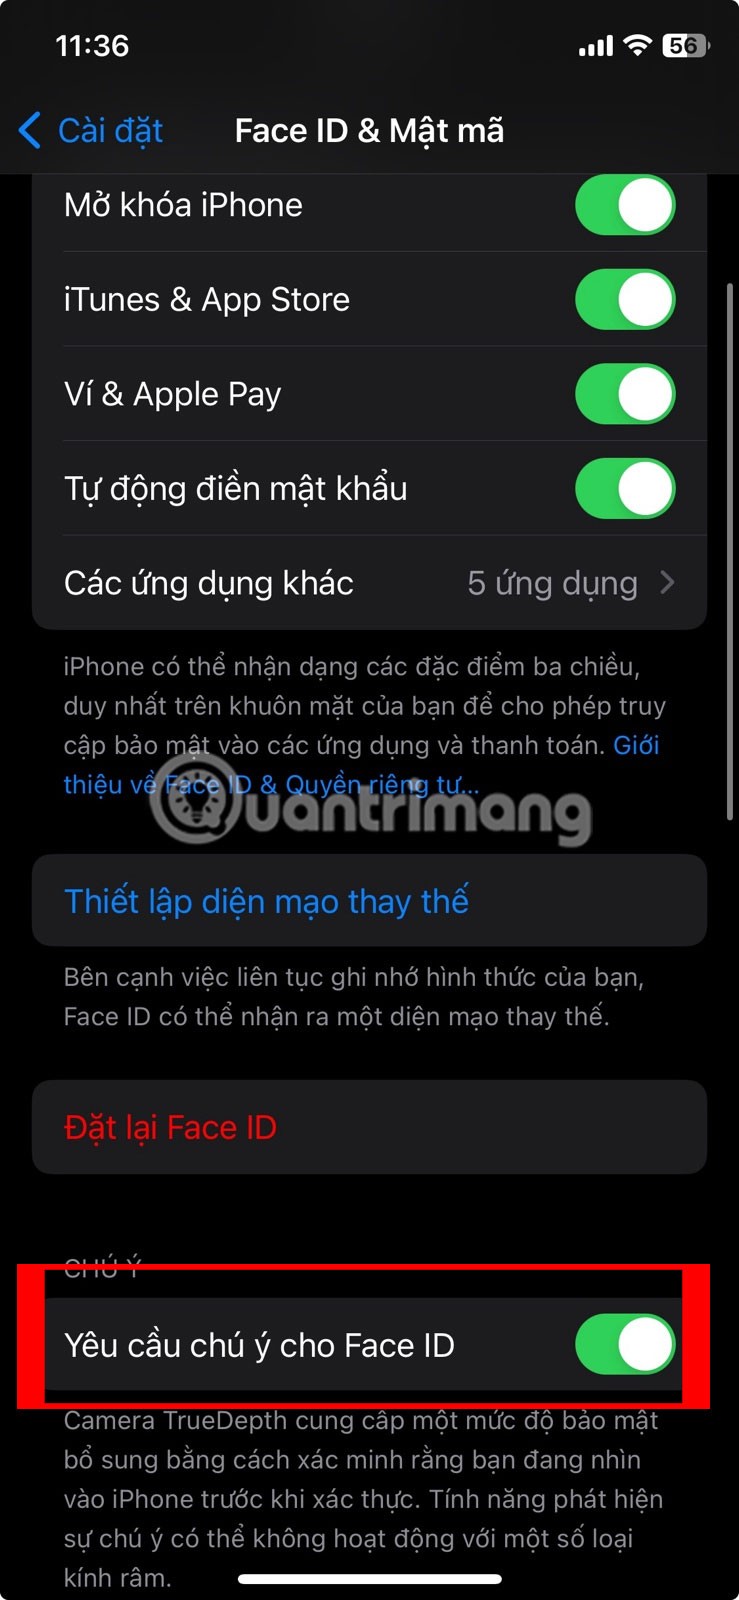
Turn on Require Attention for Face ID
You should navigate to Settings -> Face ID & Passcode , then turn off the switch next to Require Attention for Face ID . Face ID will lower the “criteria” for authentication, unlocking your iPhone, even if it’s not right in front of you.
Control lock screen access
The iPhone lock screen provides quick access to widgets, media playback controls, Control Center, and more. However, you may want to manage what is accessible when your iPhone is locked, especially for privacy reasons.
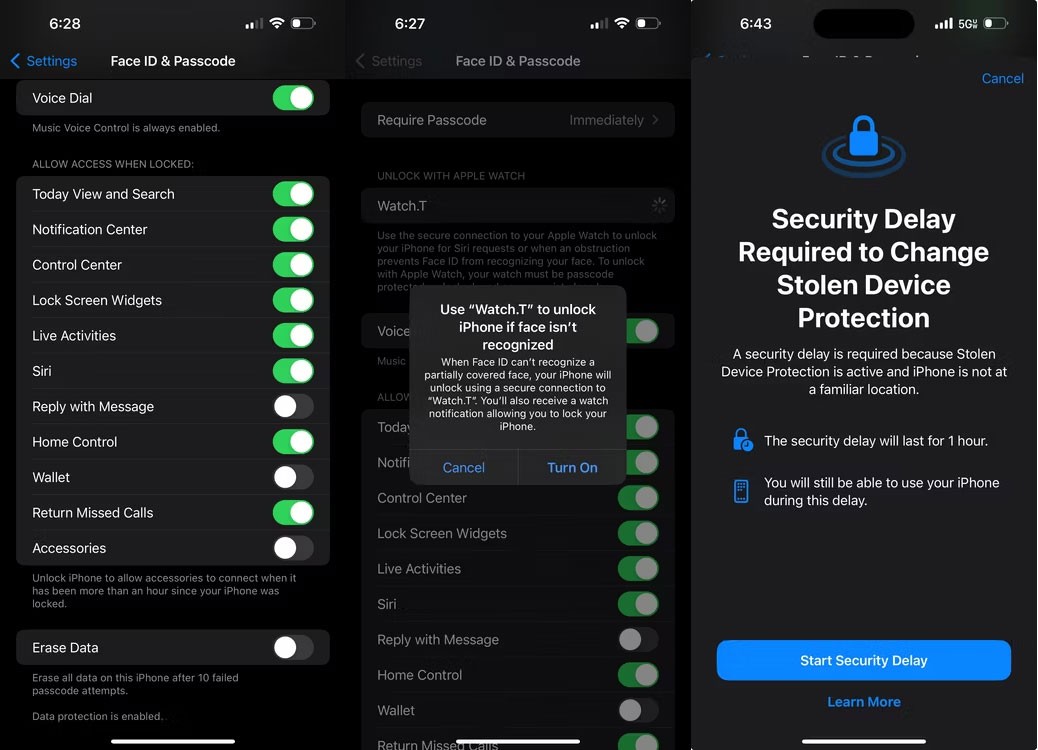
Go to Settings -> Face ID & Passcode and scroll down to Allow Access When Locked . You can enable or disable access to various features, like Widgets, Notification Center, Control Center, Siri, and more.
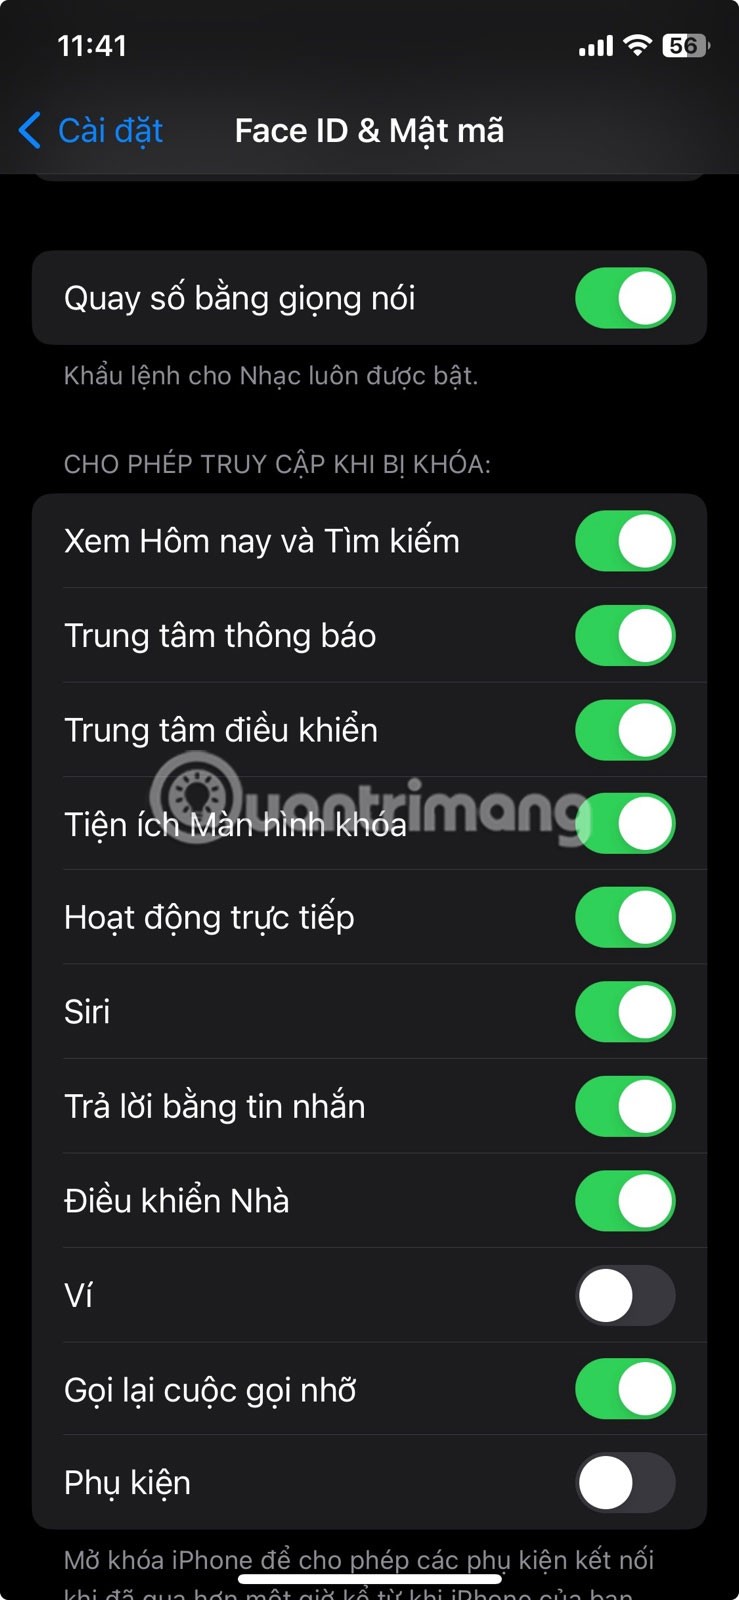
Turning off access to certain features will prevent anyone with your iPhone from seeing your personal information. However, keep in mind that restricting access also means you lose quick access to these features. Find the right balance between convenience and security.
Use your passcode when Face ID authentication fails
What if you don't have an Apple Watch but don't want to take off your mask? What if you have an Apple Watch but are still having trouble logging in? Just use your passcode.
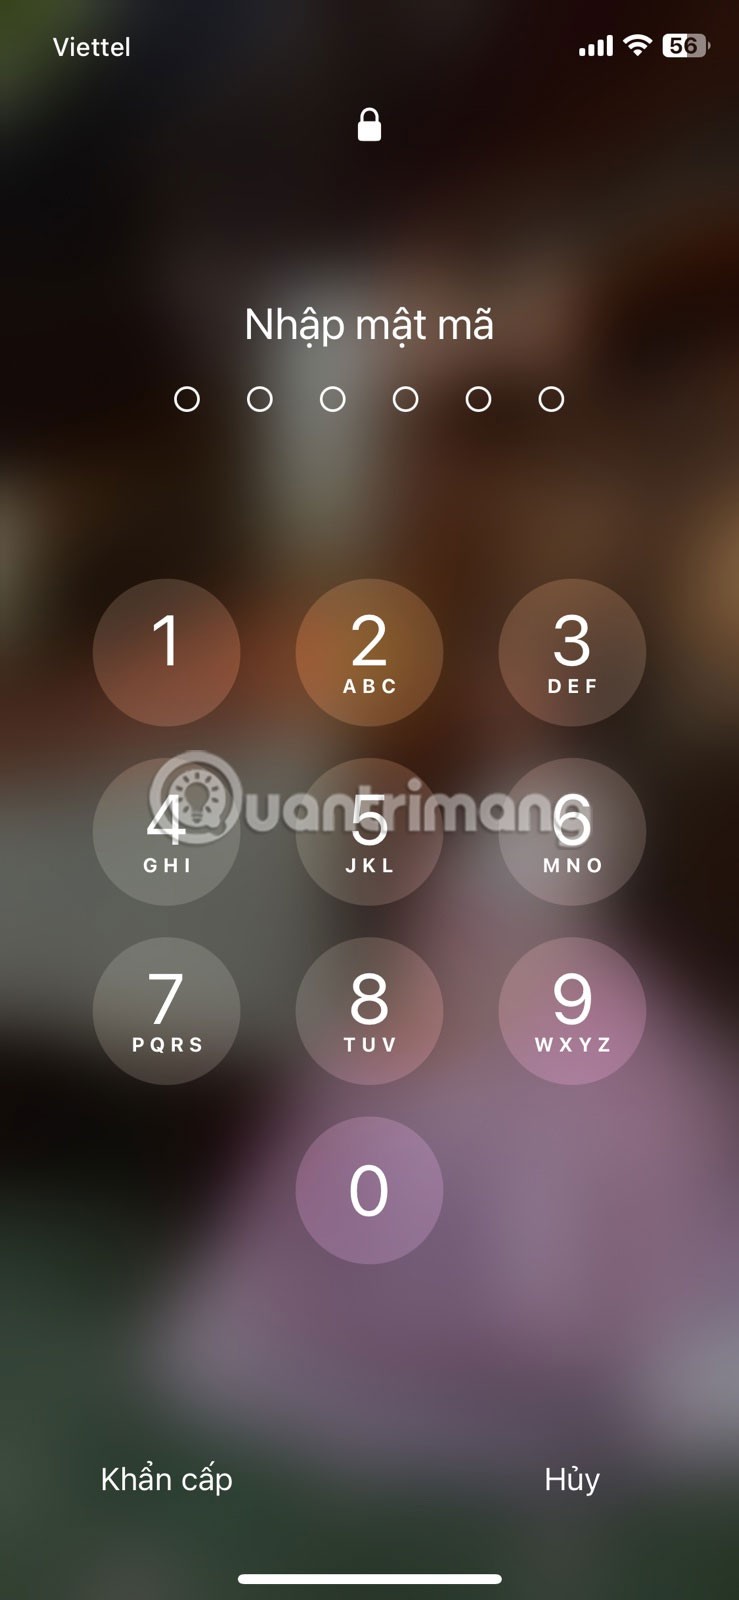
Sure, the reason you use Face ID is so you don't have to type in your passcode, but there will be times when you need to. Face ID isn't ideal for every situation, and it can sometimes be buggy.
Which Face ID feature should I turn on (or off)?
While Face ID makes unlocking your iPhone convenient, there are a few additional features associated with Face ID that will make your experience as seamless as possible.
How to use Face ID while wearing a mask
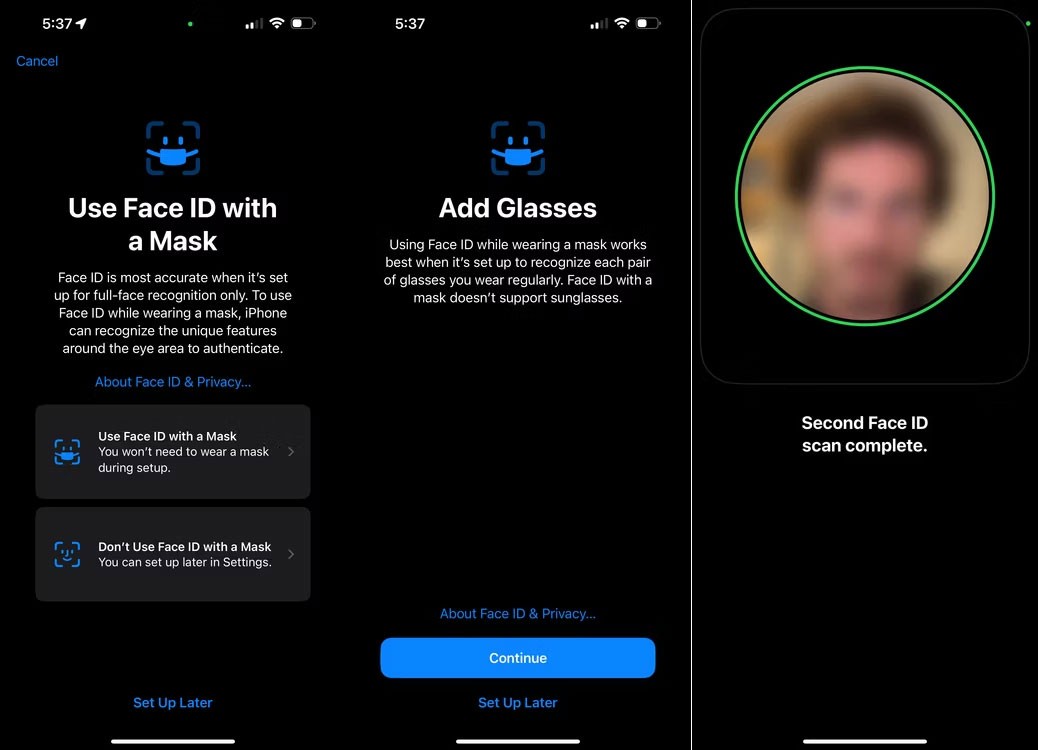
If you regularly wear a mask or any other type of face covering, you may have difficulty using Face ID unless you enable the Face ID while wearing a mask feature in Settings > Face ID & Passcode .
This setting adjusts what Face ID looks for, focusing on your eyes and forehead. Using Face ID while wearing a mask requires iOS 15.4 or later.
Note : To use Face ID with a mask, do not cover your eyes with anything.
How to add Face ID while wearing glasses
After you set up Face ID with a mask, you can perform additional scans while wearing glasses. Tap Add Glasses under Face ID with a Mask . You can also add multiple pairs of glasses by repeating the scan.
Other notable Face ID features
Good luck!
Through your purchase history on the App Store, you will know when you downloaded that app or game, and how much you paid for the paid app.
iPhone mutes iPhone from unknown callers and on iOS 26, iPhone automatically receives incoming calls from an unknown number and asks for the reason for the call. If you want to receive unknown calls on iPhone, follow the instructions below.
Apple makes it easy to find out if a WiFi network is safe before you connect. You don't need any software or other tools to help, just use the built-in settings on your iPhone.
iPhone has a speaker volume limit setting to control the sound. However, in some situations you need to increase the volume on your iPhone to be able to hear the content.
ADB is a powerful set of tools that give you more control over your Android device. Although ADB is intended for Android developers, you don't need any programming knowledge to uninstall Android apps with it.
You might think you know how to get the most out of your phone time, but chances are you don't know how big a difference this common setting makes.
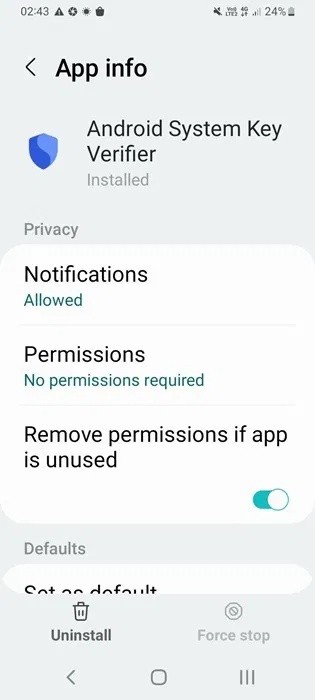
The Android System Key Verifier app comes pre-installed as a system app on Android devices running version 8.0 or later.
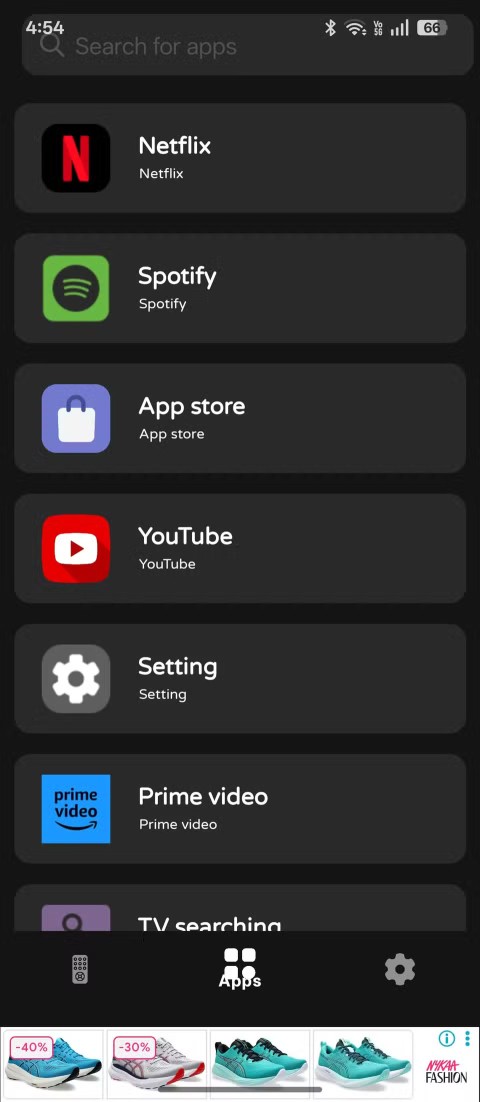
Despite Apple's tight ecosystem, some people have turned their Android phones into reliable remote controls for their Apple TV.
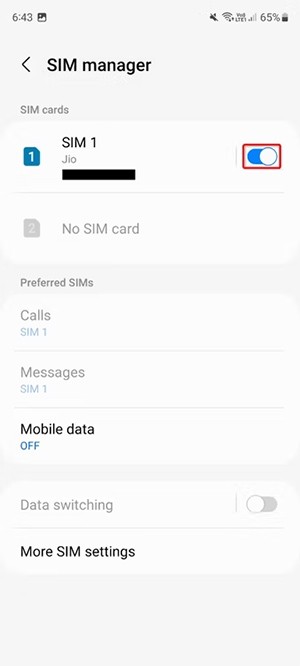
There are many reasons why your Android phone cannot connect to mobile data, such as incorrect configuration errors causing the problem. Here is a guide to fix mobile data connection errors on Android.
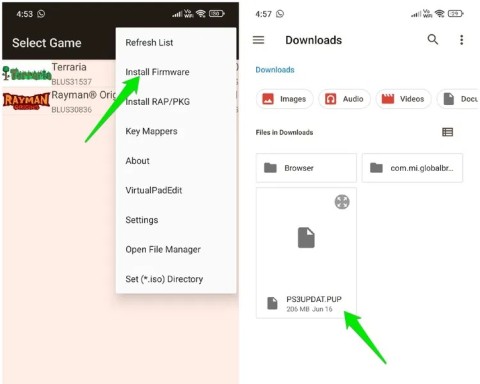
For years, Android gamers have dreamed of running PS3 titles on their phones – now it's a reality. aPS3e, the first PS3 emulator for Android, is now available on the Google Play Store.
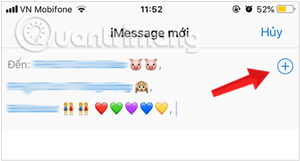
The iPhone iMessage group chat feature helps us text and chat more easily with many people, instead of sending individual messages.
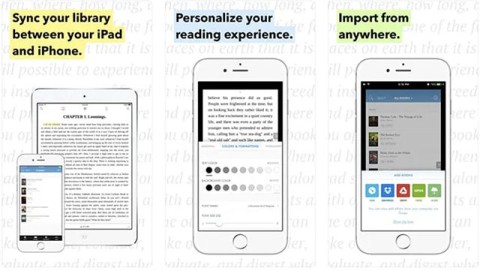
For ebook lovers, having a library of books at your fingertips is a great thing. And if you store your ebooks on your phone, you can enjoy them anytime, anywhere. Check out the best ebook reading apps for iPhone below.
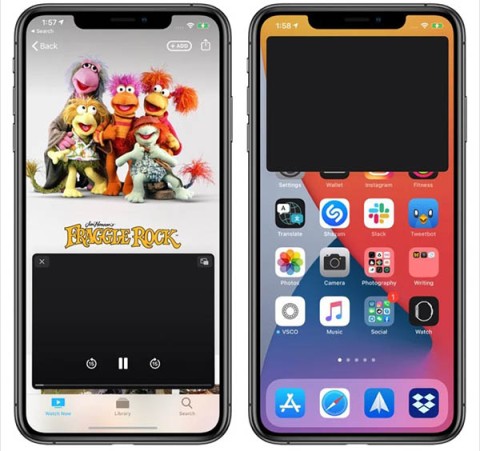
You can use Picture in Picture (PiP) to watch YouTube videos off-screen on iOS 14, but YouTube has locked this feature on the app so you cannot use PiP directly, you have to add a few more small steps that we will guide in detail below.
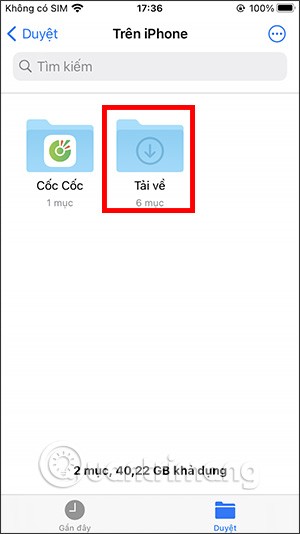
On iPhone/iPad, there is a Files application to manage all files on the device, including files that users download. The article below will guide readers on how to find downloaded files on iPhone/iPad.
If you really want to protect your phone, it's time you started locking your phone to prevent theft as well as protect it from hacks and scams.
