Change ONLYOFFICE Workspace’s Default Storage Location
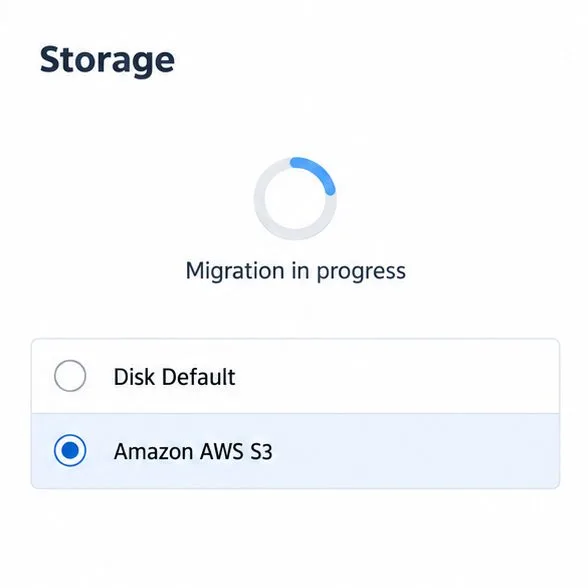
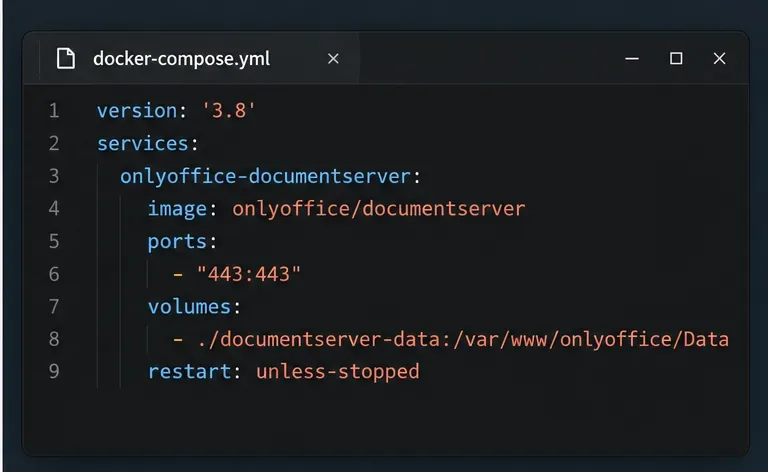
Move portal data from Disk Default to a supported cloud storage provider, or relocate Docker data safely by changing its host volume mapping.
BlueStacks 5 allows you to manage all your macros in one place using Macro Manager. Here's how to manage macros in BlueStacks 5 .
Macro records a sequence of mouse clicks at many different locations on the screen. This sequence will repeat all recorded clicks, saving you time and effort. You can create and record your own macros, then use them to play games. Using the macro manager on the BlueStacks 5 emulator , you can record, trigger, import and export those macros.
Note: Currently, you cannot merge different macros to run them continuously.
How to use Macro Manager on BlueStacks 5
Click on the macro manager icon on the toolbar next to the screen as shown below to open the Macro Manager window .
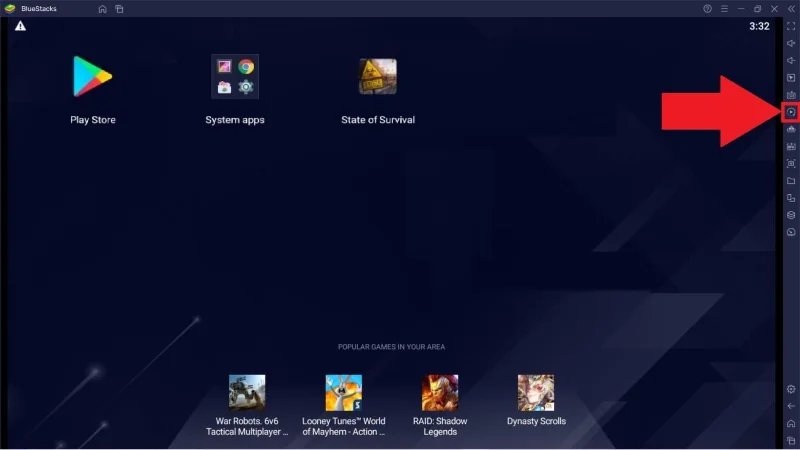
The macro manager on BlueStacks allows you to perform many useful functions. Here's how to use them.
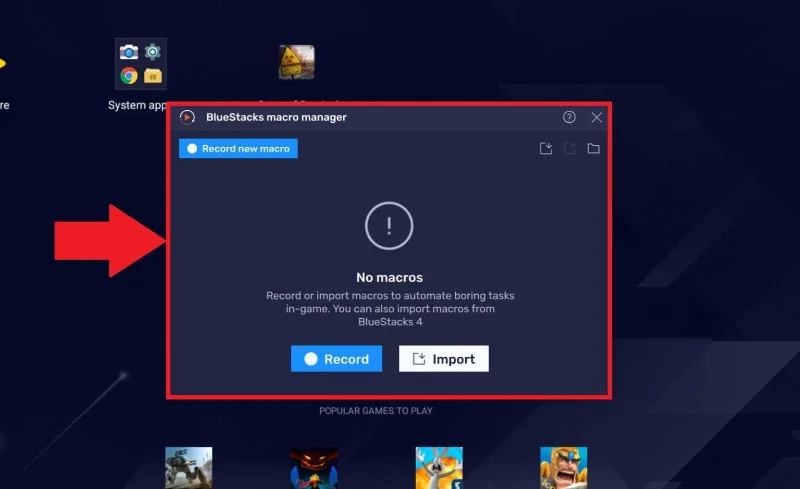
1. Click the Record new macro button .
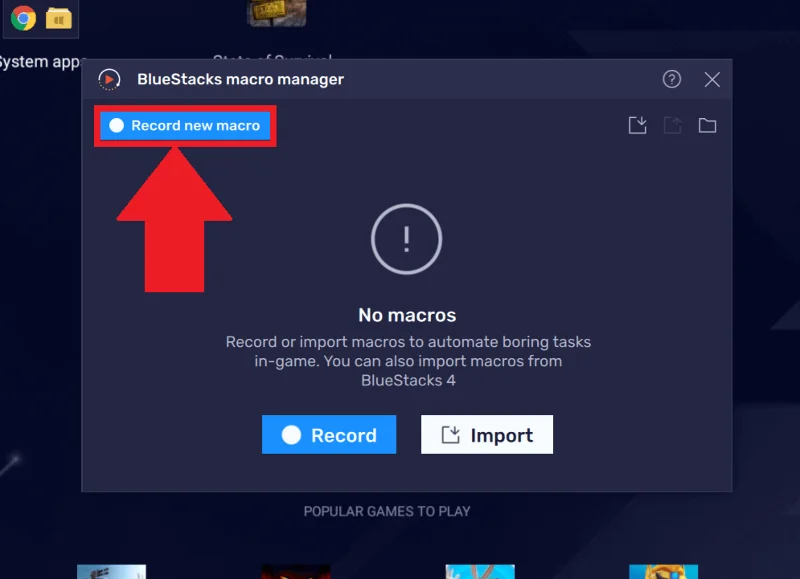
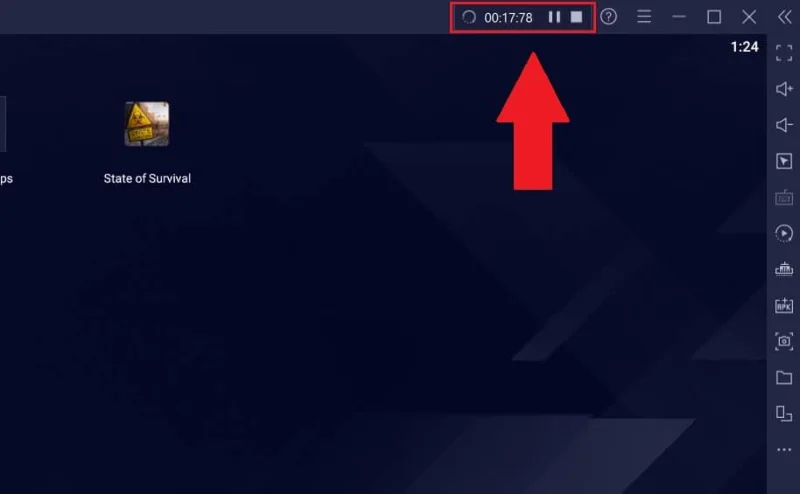
2. You will see the recording tool indicator running on the taskbar at the top of the BlueStacks 5 window. You can Pause or Stop the recording using the corresponding buttons.
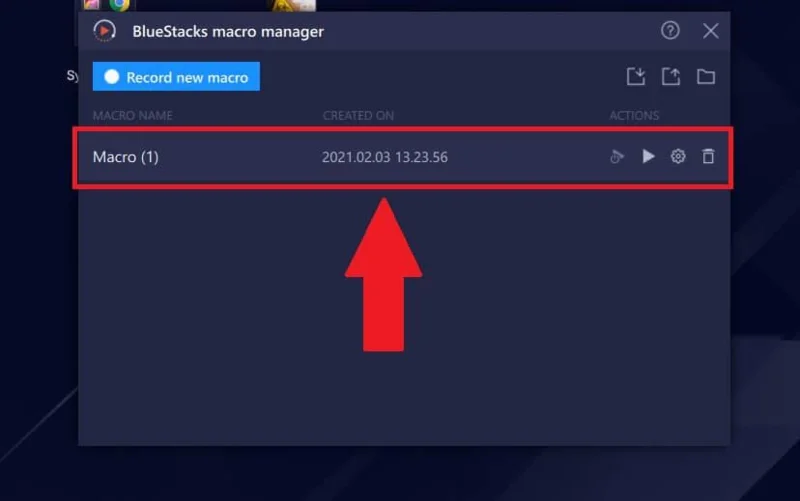
3. Clicking Stop will stop macro recording and a popup will appear. This window displays a list of all macros you have recorded on BlueStack 5.
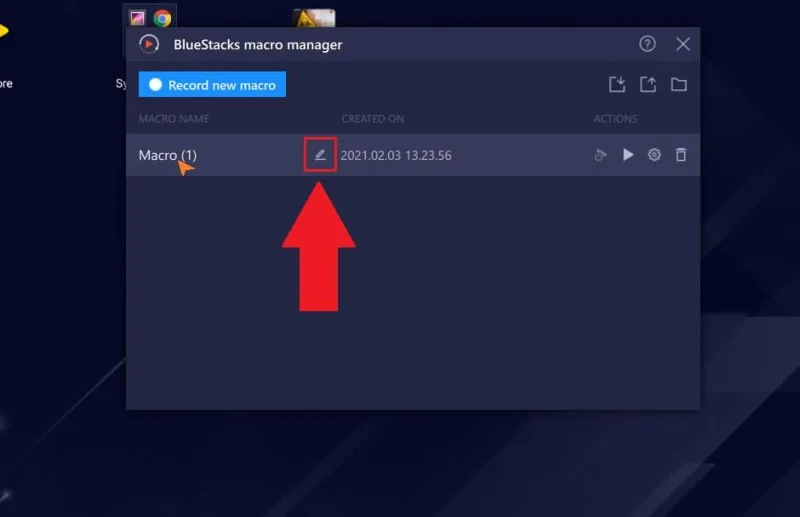
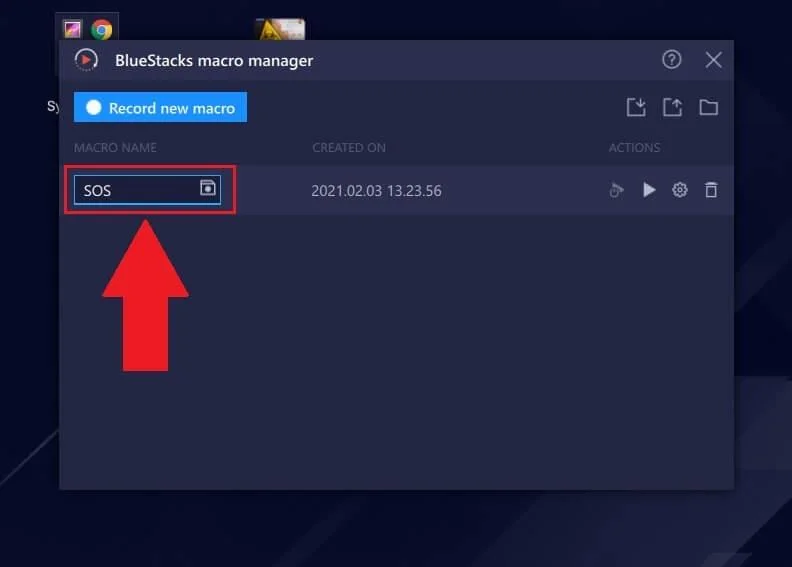
To rename a macro, point your mouse over its name. Click on the pencil icon as shown below and enter a new name, then press Enter . It's done.
To run a macro, click the Play icon in its Action. Tasks recorded in a macro will immediately run again in order.
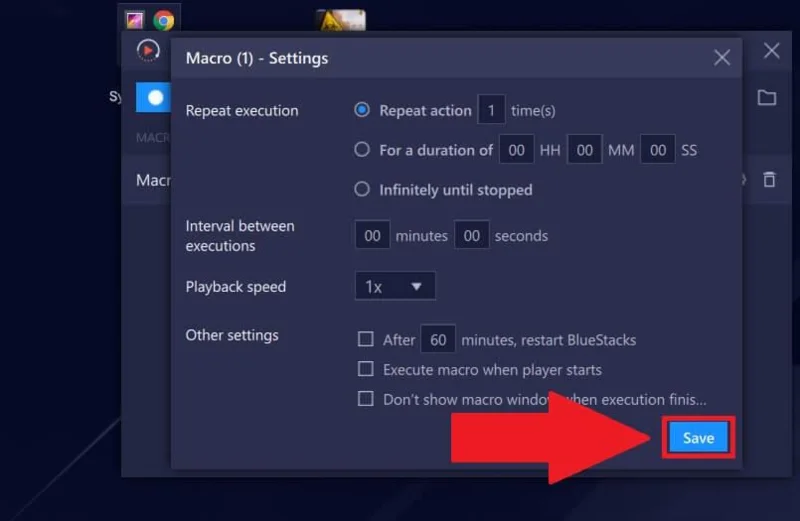
1. To access this setting, click the gear icon in front of a macro. The Settings menu will appear.
2. The Settings menu has the following options:
Repeat execution: This option allows you to repeat macro actions according to the following criteria:
Interval between executions : This macro will only stop for the provided amount of time (in minutes/seconds) before restarting the sequence.
Playback speed : Provides speed options from 0.5x to 5x so macros can perform actions as fast as the user wants.
Other Settings - Other settings :
3. Click Save to save the settings for that macro.
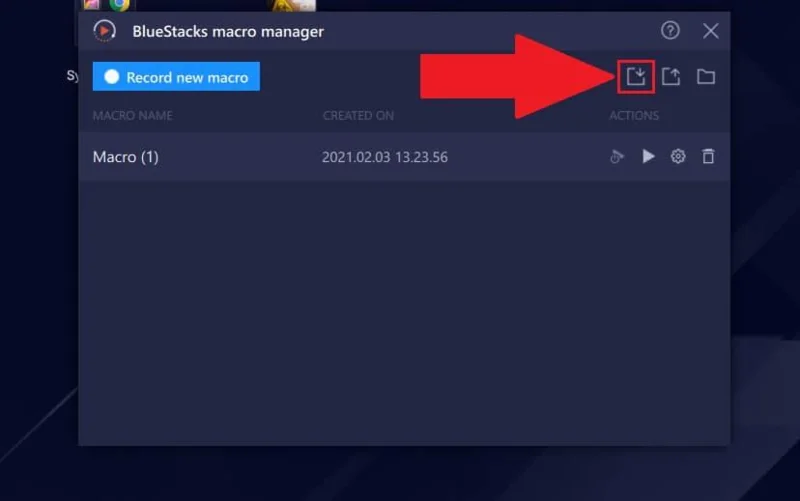
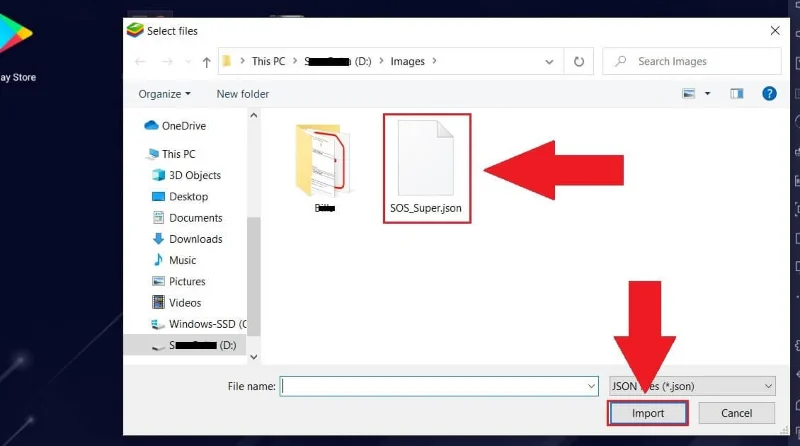
1. Click the Import icon .
2. A file selection window appears. Go to the saved macro location on your computer, select the macro file with the .json extension , then click Import .
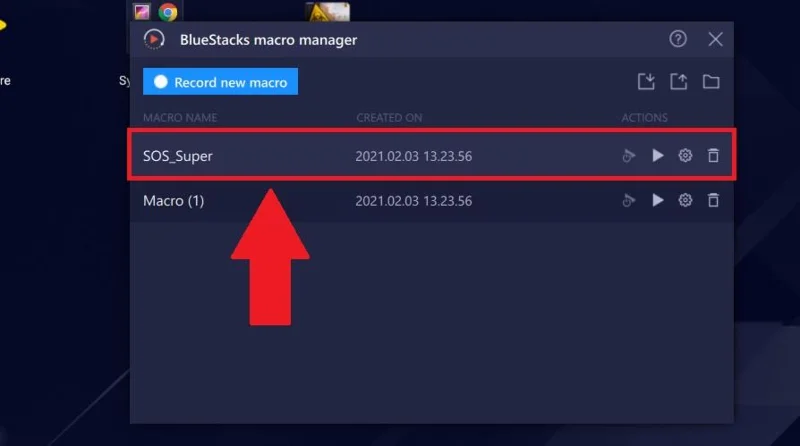
3. The imported macro will now be ready for you to use in the Macro Manager as shown below.
1. To export a macro saved on your computer to BlueStacks 5, click the Export icon .
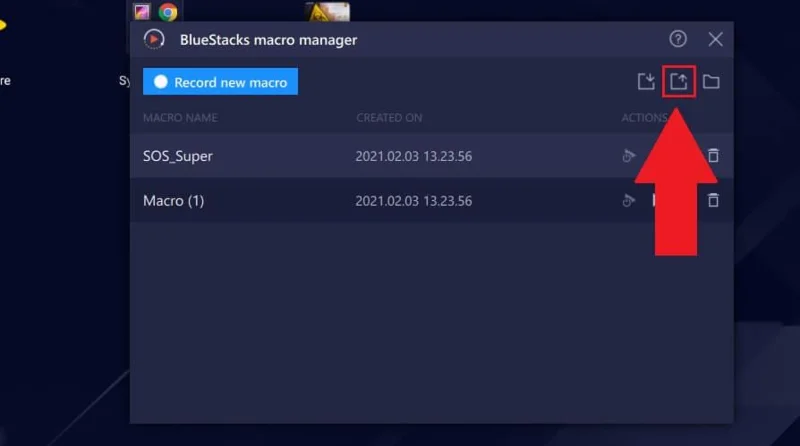
2. Select the macro and click Export .
3. You will then be asked to choose a folder to save the macro. Click on the desired folder, then press Select Folder . It's done. Now you just need to click the icon next to the export button or go to the location where the macro was saved on your PC to open it.
Above is how to use the macro manager on Bluestacks 5 . Hope the article is useful to you.
Move portal data from Disk Default to a supported cloud storage provider, or relocate Docker data safely by changing its host volume mapping.
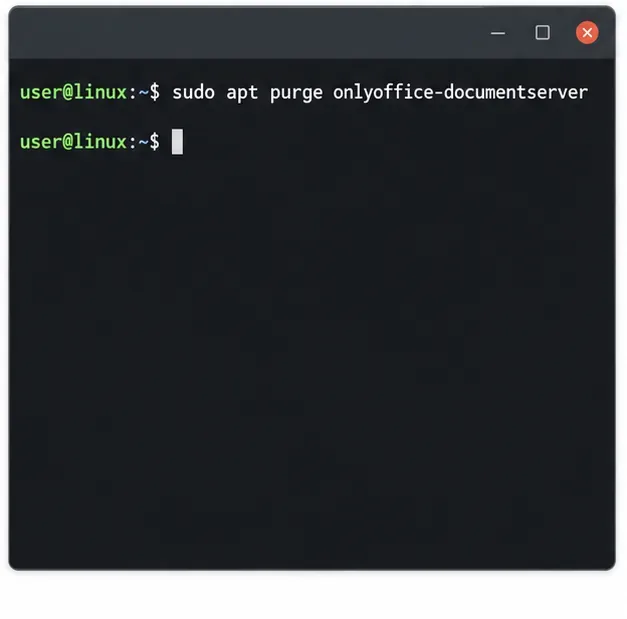
Identify whether Document Server uses a Linux package or Docker, remove only its components, and check remaining data without deleting shared services by mistake.
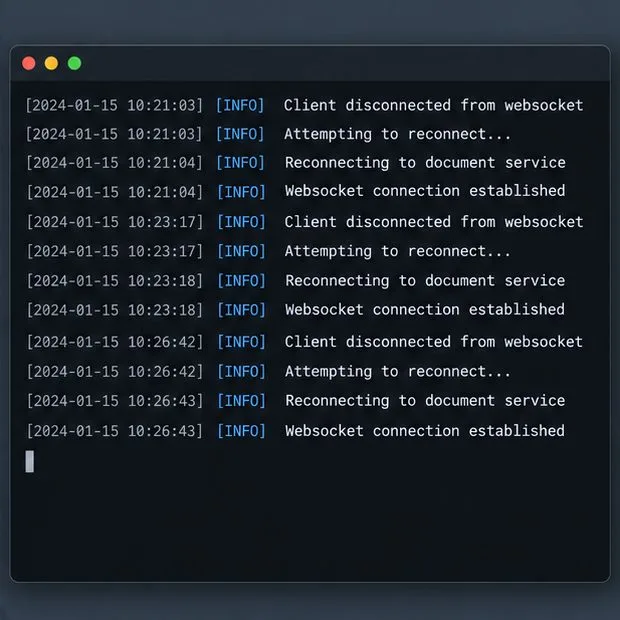
Trace slow collaborative editing to Docker resource pressure, proxy connections, or document load, then choose the fix that matches your measurements.
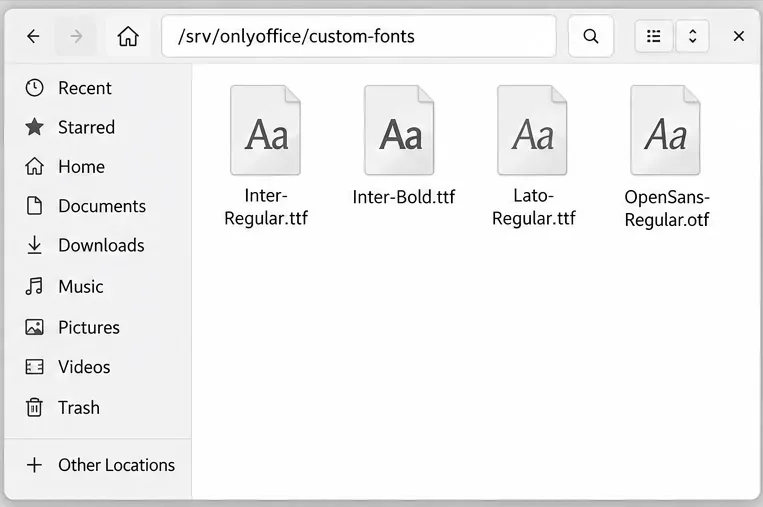
Install custom fonts in ONLYOFFICE Document Server, compare persistent Docker mounts with direct copies, rebuild the font list, and verify the result.
Choose where TLS should terminate, mount a trusted certificate and private key safely, and verify HTTPS access to a Dockerized ONLYOFFICE Docs server.
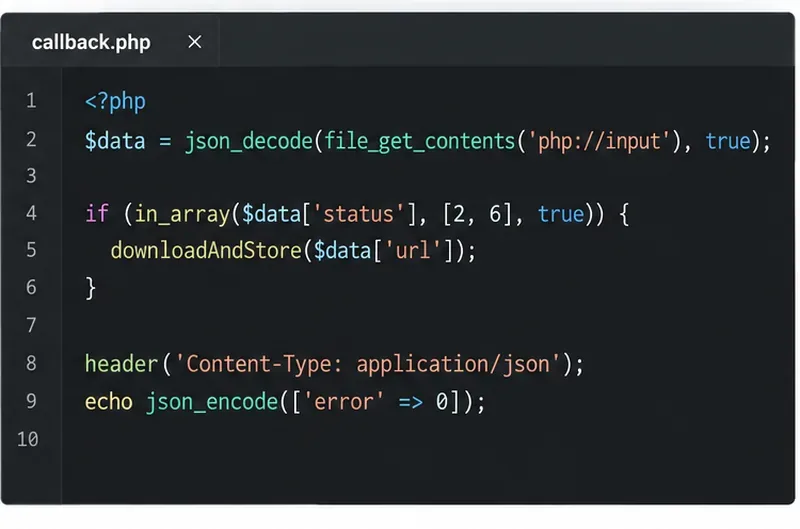
Embed the ONLYOFFICE editor in your PHP app, sign its configuration with JWT, and save edited files through a secure callback.
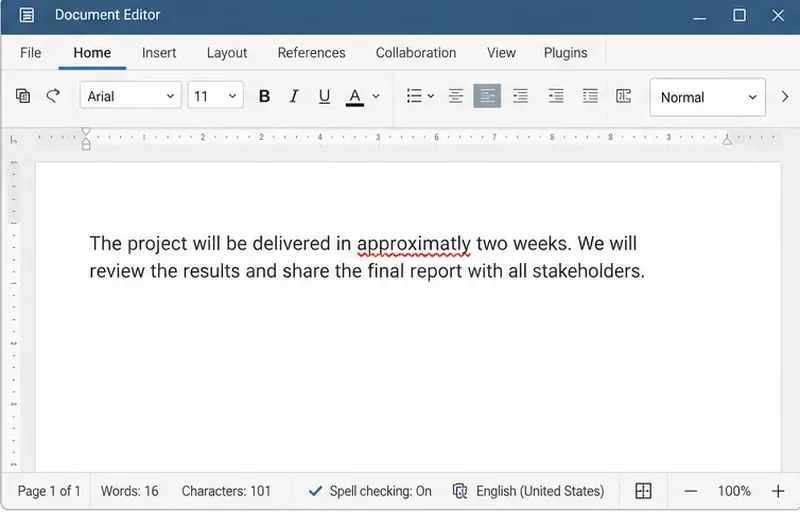
Set the proofing language for the whole document or selected text, confirm spell checking is active, and identify when a server dictionary is missing.
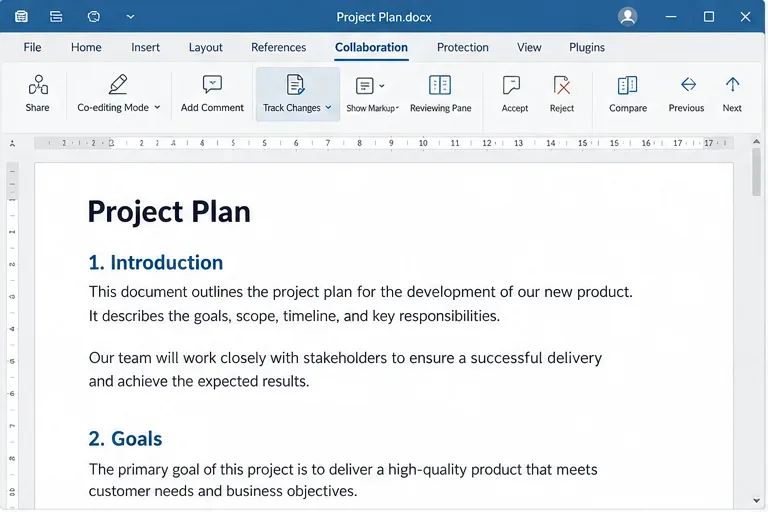
Enable persistent Track Changes for everyone in one ONLYOFFICE document, verify edits are recorded, and understand the limits of this setting.
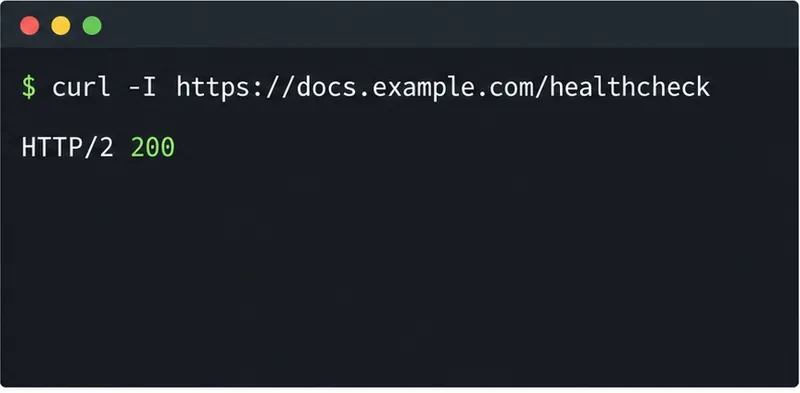
Find whether Nginx, Docker networking, or an internal ONLYOFFICE service is returning 502, then verify the corrected upstream and health check.
Diagnose failed ONLYOFFICE saves by checking the Nextcloud callback route, proxy redirects, and storage logs, then verify the edited file persists.