When SLES Btrfs Goes Read-Only: Diagnose Before Remounting
Identify whether Btrfs is intentionally read-only, short on space, or protecting data after errors, then choose a recovery path that fits the cause.
Transform your daily browsing with personalized shortcuts, stunning backgrounds, and smart content curation.
Every time you open a new tab in Microsoft Edge, you're greeted by the new tab page—a gateway to your most-used sites, quick info, and inspiration. But why settle for the default? Customizing it saves time, reduces clutter, and makes browsing feel personal. Whether you're a productivity pro or just want a cleaner interface, these tweaks will elevate your experience. Ready to dive in? 👆
Getting started is a breeze. Open Microsoft Edge, click the new tab button (or press Ctrl + T), then look for the gear icon ⚙️ in the bottom-left corner. This opens the customization panel instantly.
Pro tip: Pin this page as your homepage via Settings > On startup for one-click access.
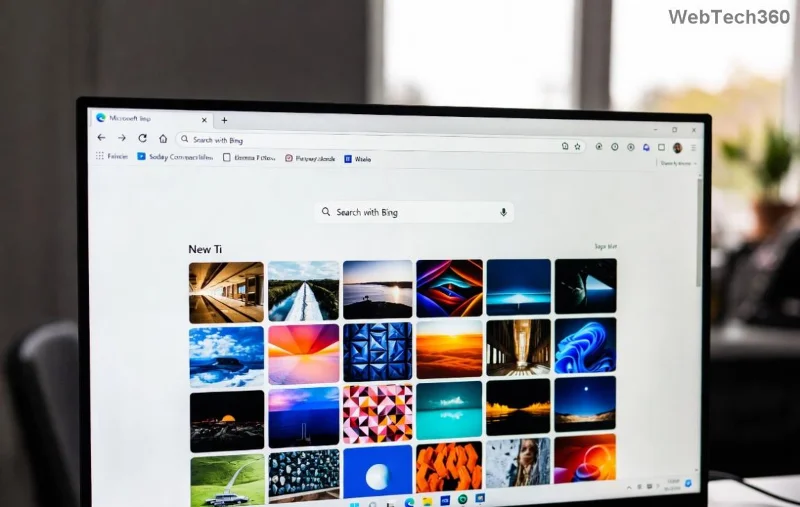
The heart of the new tab page is its top sites and shortcuts grid. Tailor it to your workflow!
Imagine instant access to Gmail, YouTube, or your project tools—no more digging through bookmarks! This alone boosts efficiency by 30% for heavy users.
Elevate your vibe with daily images, solid colors, or custom uploads. Edge offers curated collections or lets you shine with your own photos.
| Option | How to Apply |
|---|---|
| Daily images | Gear > Background > Select category (Abstract, Nature) |
| Solid colors | Choose from color palette for minimalism |
| Custom image | Upload your photo (JPG/PNG up to 5MB) |
Want Windows Spotlight integration? Enable it in settings for rotating, high-quality wallpapers that sync across devices. 😎
Control what's feeding your focus. Toggle off distractions or keep essentials like weather at a glance.
Avoid overload: Hide all for a focused new tab page perfect for work mode. Or enable motivational quotes for daily boosts! ✨
Take it further with the Edge Add-ons store. Search for "new tab" extensions like New Tab Redirect or Momentum to overhaul the page entirely.
For official details, check Microsoft Edge Support.
These changes stick even after updates, ensuring lasting personalization.
Your Microsoft Edge new tab page is now a productivity powerhouse. Experiment with these steps, and share your favorite custom look in the comments. What's your go-to shortcut? Stay tuned for more Edge hacks!
Identify whether Btrfs is intentionally read-only, short on space, or protecting data after errors, then choose a recovery path that fits the cause.
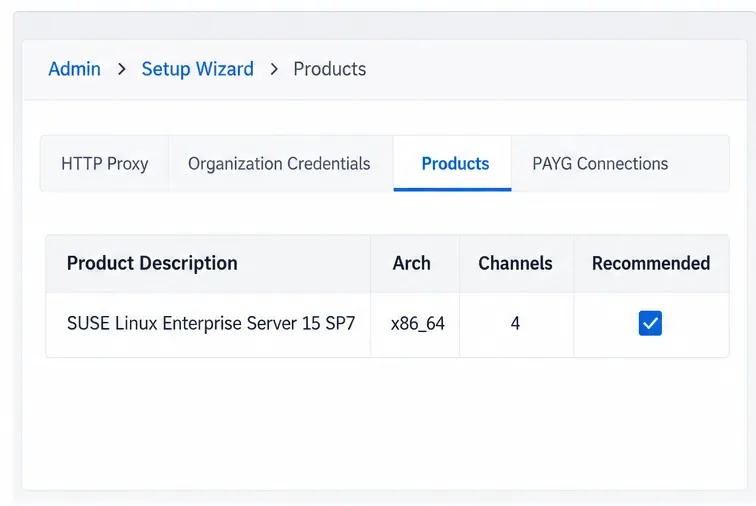
Prepare mirrored channels, create an activation key, and bootstrap an SLES 15 client without direct internet access while preserving the connection needed for Manager check-ins.
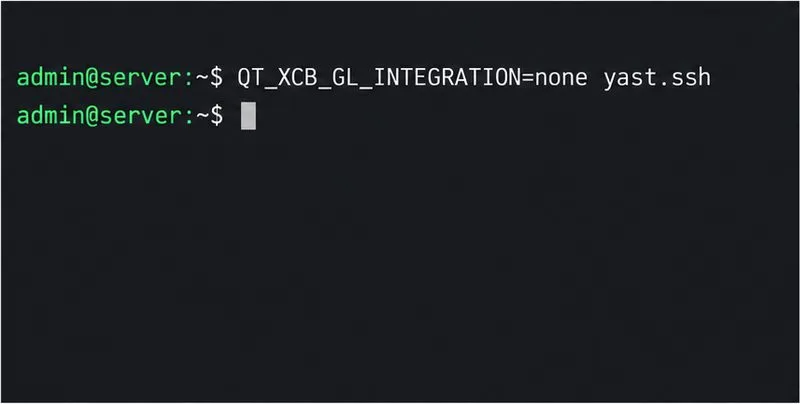
Fix YaST’s XIO launch error over SSH, verify X11 forwarding and xauth, and switch to the ncurses interface when a remote window is unnecessary.
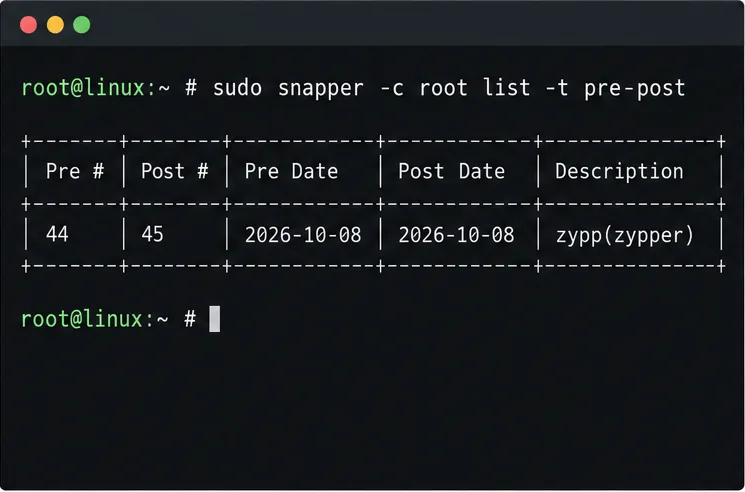
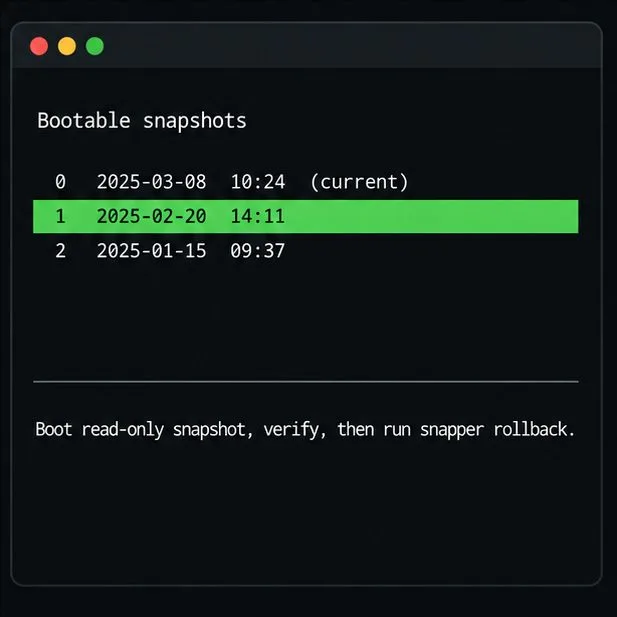
Find the pre-update Btrfs snapshot, test it read-only, and make recovery permanent with Snapper while understanding which data stays outside the root rollback.
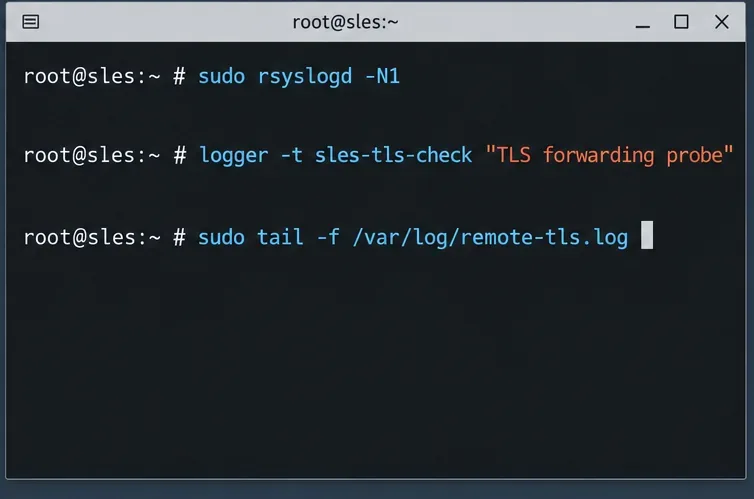
Send SLES system logs to a remote rsyslog collector over authenticated TLS, with certificate checks, outage buffering, and delivery tests.
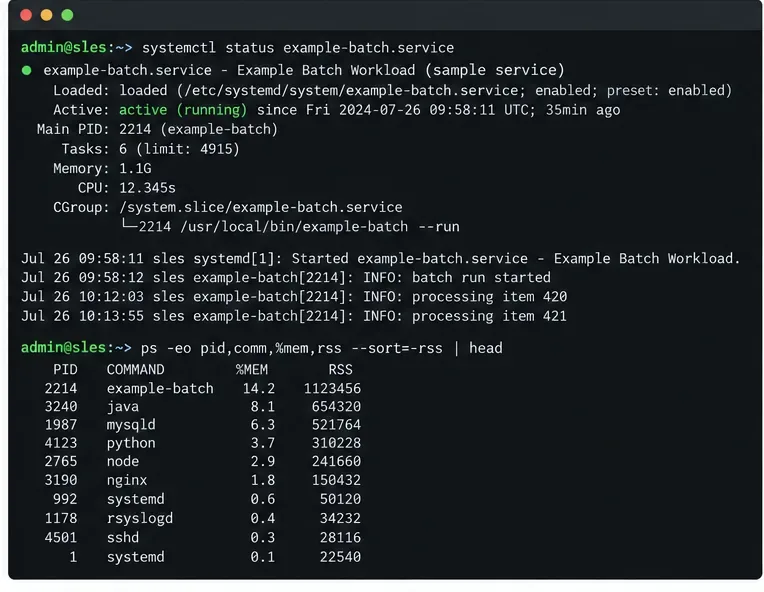
Use RAM, swap, kernel, and Zypper logs to identify real memory pressure, protect package state, and choose a safer SLES upgrade retry.
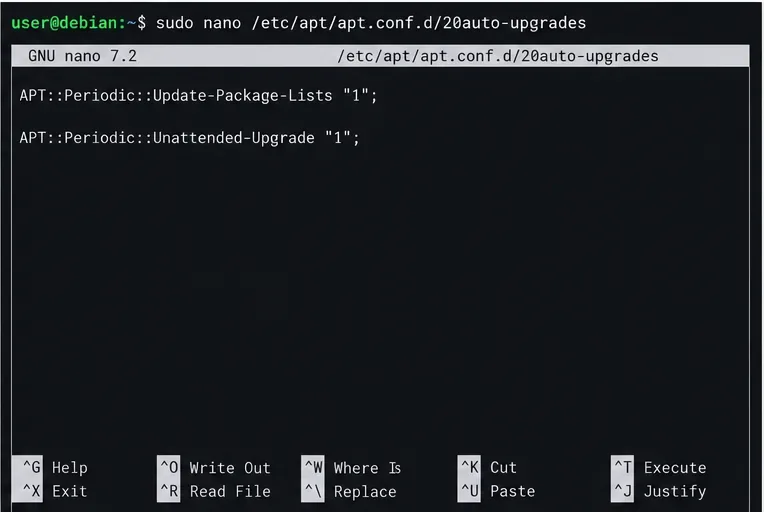
Enable Debian’s unattended security updates over SSH, keep the default package sources, and verify scheduled runs through systemd and APT logs.
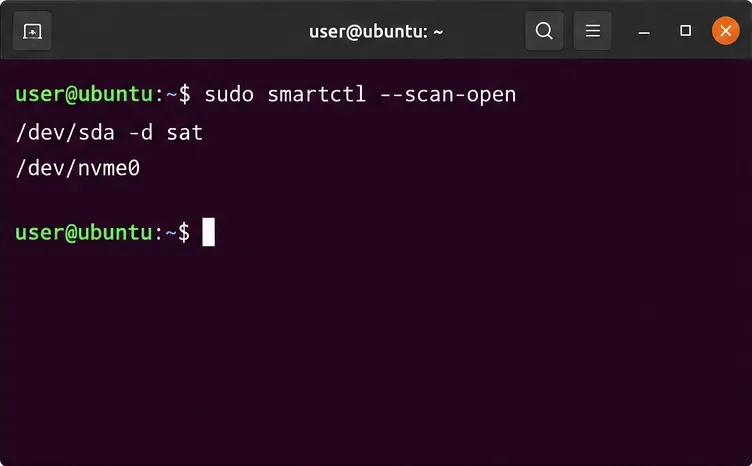
Compare mail delivery options, configure smartd on Ubuntu, and verify that disk-health warnings reach your inbox.
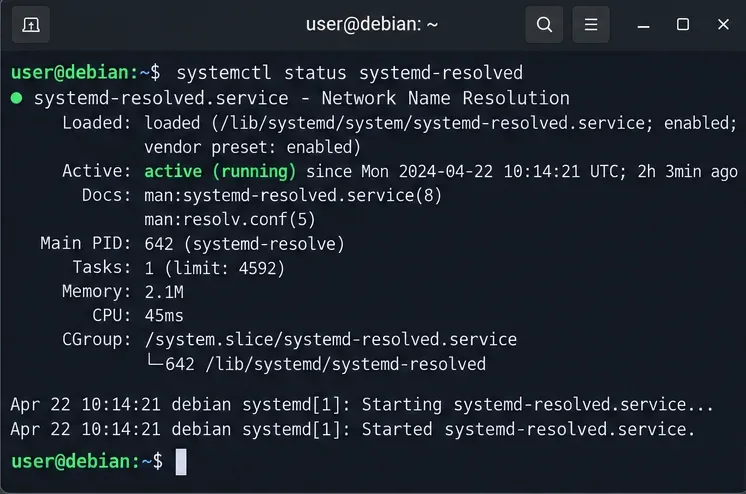
Restore DNS lookups on Debian 12 by checking systemd-resolved, repairing resolv.conf when needed, and verifying upstream DNS and application resolution.
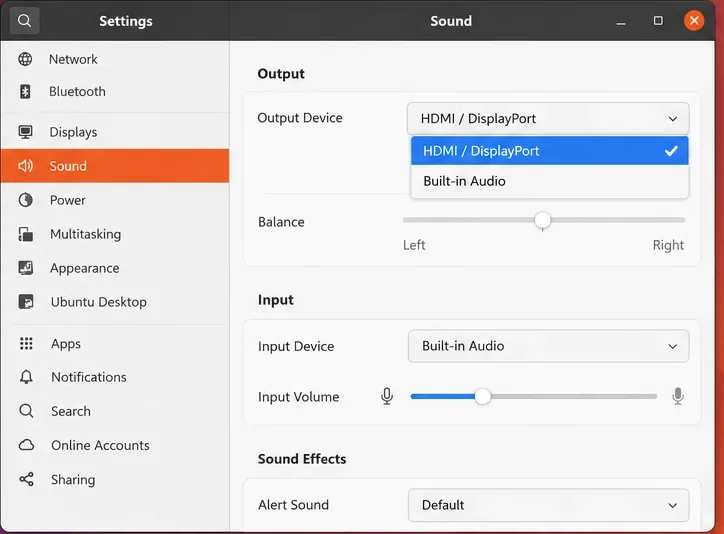
Get Ubuntu to detect your monitor or TV as an audio output, select it in Sound settings, and check the connection or PipeWire device list if HDMI is missing.