Get YaST’s X11 Forwarding Working Over SSH
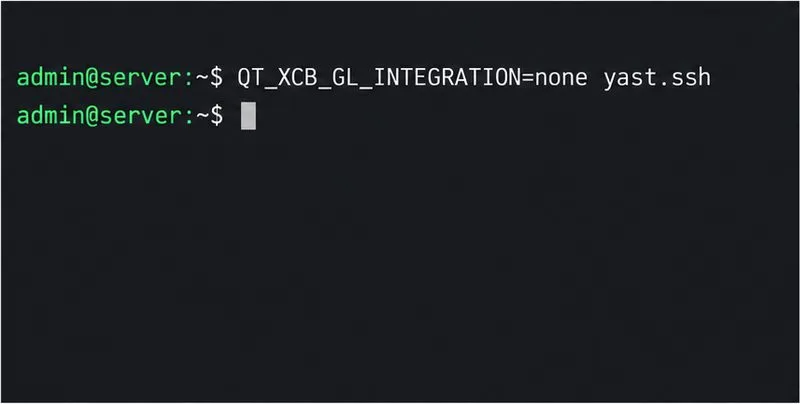
Fix YaST’s XIO launch error over SSH, verify X11 forwarding and xauth, and switch to the ncurses interface when a remote window is unnecessary.
On a standard SUSE Linux Enterprise Server (SLES) installation with a Btrfs root and Snapper enabled, the safest recovery is to boot a snapshot made before the failed update, test it while it is read-only, and then run sudo snapper rollback. This creates a new writable root from the tested state; it does not rewind every disk, subvolume, or application database.
The current SLES 15 SP7 administration guidance still uses this boot-and-test workflow. Before following it, confirm the machine meets SUSE’s supported rollback layout and identify the pre snapshot for the failed Zypper or YaST transaction.
No. Bootable system rollback applies to snapshots in the default Snapper root configuration. SUSE documents support for the default root subvolume arrangement, with Btrfs on a single root device and a working installed boot loader. The rollback changes the contents of subvolume /; other subvolumes are not included. On typical SLES layouts, paths such as /var, /srv, /opt, /usr/local, and often /home are outside the snapshot. A database or service may therefore retain data written after the snapshot even while its system packages go back.
Take or verify a separate backup of important application data before committing a rollback. Also avoid this procedure if you changed the default Btrfs subvolume layout or use a multi-device root: SLES 15 SP7’s documented bootable rollback requirements do not cover those setups. Read SUSE’s Snapper recovery requirements before proceeding.
Use the Snapper configuration for the root file system and compare the transaction’s pre/post pair. On a typical SLES system with Btrfs root snapshots enabled, Zypper and YaST create snapshots around package operations. The pre snapshot represents the root state before that operation; the post snapshot represents the state after it ran, including a partially failed transaction.
sudo snapper list-configs. Look for a configuration named root.findmnt -no FSTYPE /. For this bootable rollback procedure it should report btrfs. Then run sudo btrfs filesystem show / and confirm the root file system reports Total devices 1.sudo snapper -c root list -t pre-post. Match the date and description to the failed update. Record the number in the Pre # column, not the paired Post #.PRE and POST with the numbers shown on your machine:sudo snapper -c root status PRE..POST
sudo snapper -c root diff PRE..POSTThese commands list changed paths and file differences. Snapshot numbers, dates, package descriptions, and output vary by host; do not copy an example number from a screenshot. If no relevant pair appears, check whether Snapper is enabled and whether a cleanup policy has already removed the snapshot. A missing snapshot cannot be recreated by Snapper after the fact.
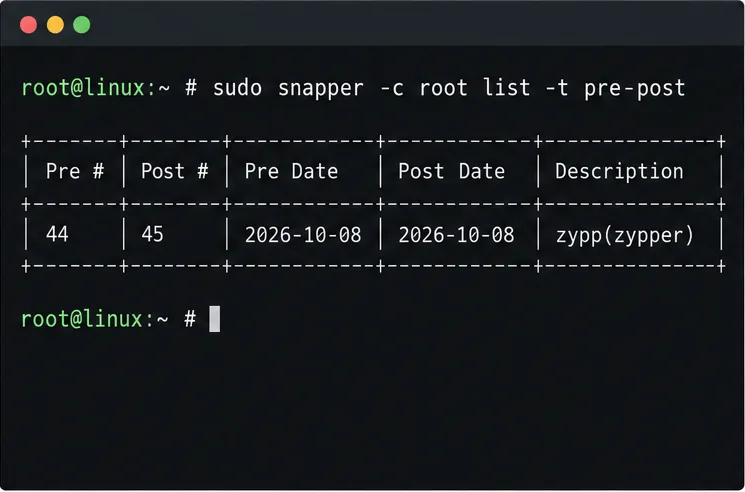
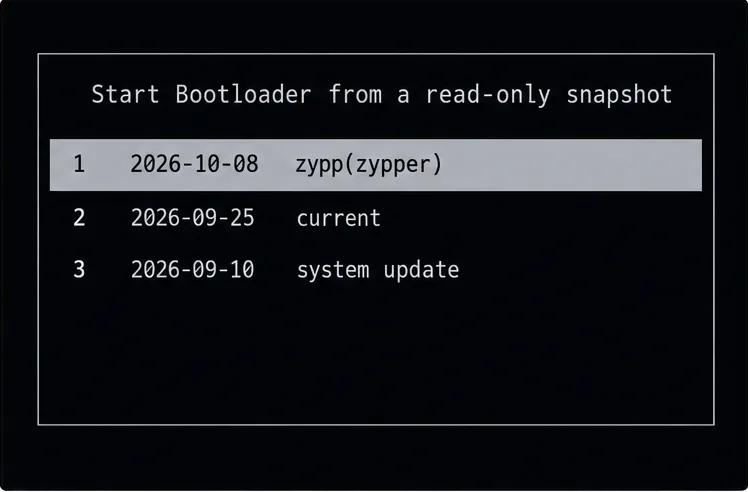
Reboot and use the boot loader’s snapshot entry. On SLES, choose Start Bootloader from a read-only snapshot, then select the snapshot dated immediately before the failed transaction. The boot menu labels entries with their date and description, which can include zypp(zypper) or a YaST operation. Choose the pre-update snapshot you recorded; do not select the post snapshot just because its description is easier to recognize.
Log in and test the services or applications that failed. The snapshot’s root files are read-only during this trial, so this boot alone does not change the default root. If it is the wrong snapshot or the system still fails, reboot and try another snapshot or use the rescue system. Do not force a rollback merely to make the menu choice permanent.
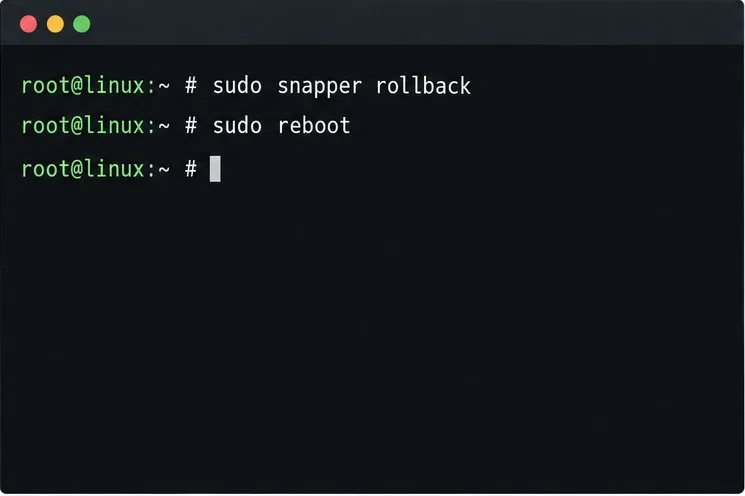
Run the rollback only after the older snapshot boots and passes your checks. From that read-only snapshot, execute:
sudo snapper rollbackThen reboot and choose the normal default boot entry:
sudo rebootSnapper preserves a snapshot of the system state from before the rollback and creates a fresh read-write root based on the tested snapshot. You do not pass the old snapshot number to this command in the documented boot-from-snapshot workflow. The result is a new default root, not a writable conversion of the read-only snapshot itself. Snapshots can later be removed by cleanup rules, so copy out any needed files before relying on an older rollback snapshot as a long-term archive.
Boot the default entry and check the actual recovery, not just the command’s completion. Confirm the expected kernel and package state, review the failed service’s status and logs, and run a small application-level check. Then inspect Snapper’s new state:
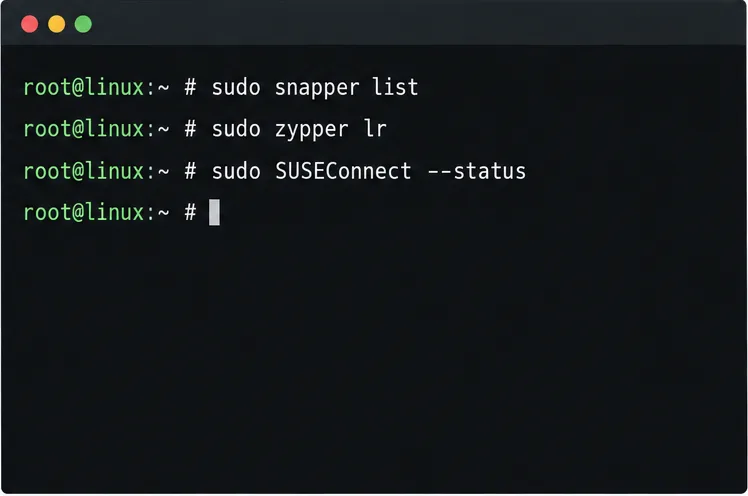
sudo snapper -c root listFor an ordinary package update, this is usually enough to confirm that the machine boots from the new root. If the failed operation was a service-pack migration, also follow SUSE’s post-rollback checks: refresh and inspect repositories, then check registration:
sudo zypper ref -fs
sudo zypper lr
sudo SUSEConnect --status
Repositories should match the service pack you returned to, and installed products should be registered. If registration is not restored, SUSE’s SLES 15 SP7 service-pack rollback procedure documents sudo SUSEConnect --rollback as the repair step. That registration command is specific to migration recovery; do not run it for a routine package update.
If this host uses transactional-update (for example, a transactional SLE Micro system), follow that product’s procedure instead of applying the classic SLES command sequence. Its documentation uses sudo transactional-update rollback SNAPSHOT_NUMBER for selecting a snapshot from the running system, and a separate boot-read-only-snapshot workflow when the current root is broken. See SUSE’s transactional-update rollback instructions.
Fix YaST’s XIO launch error over SSH, verify X11 forwarding and xauth, and switch to the ncurses interface when a remote window is unnecessary.
Find the pre-update Btrfs snapshot, test it read-only, and make recovery permanent with Snapper while understanding which data stays outside the root rollback.
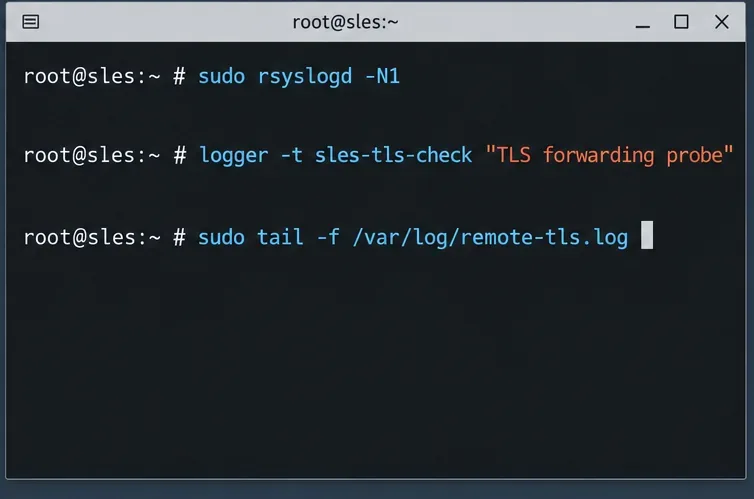
Send SLES system logs to a remote rsyslog collector over authenticated TLS, with certificate checks, outage buffering, and delivery tests.
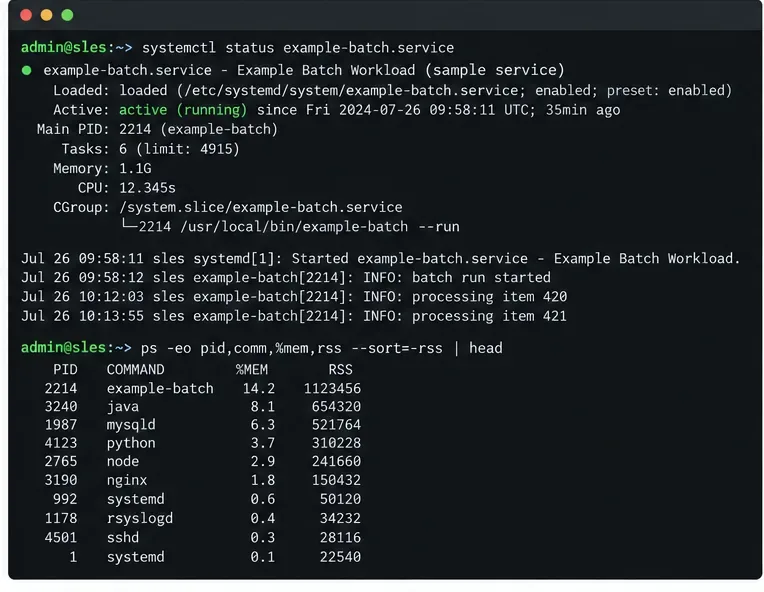
Use RAM, swap, kernel, and Zypper logs to identify real memory pressure, protect package state, and choose a safer SLES upgrade retry.
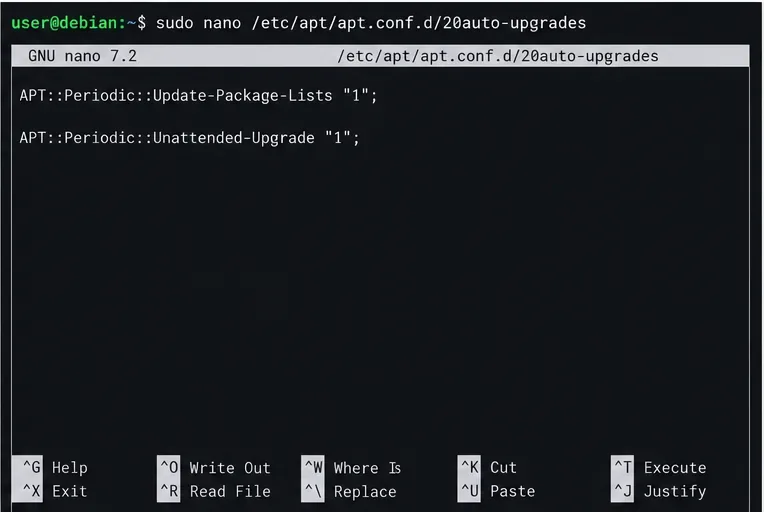
Enable Debian’s unattended security updates over SSH, keep the default package sources, and verify scheduled runs through systemd and APT logs.
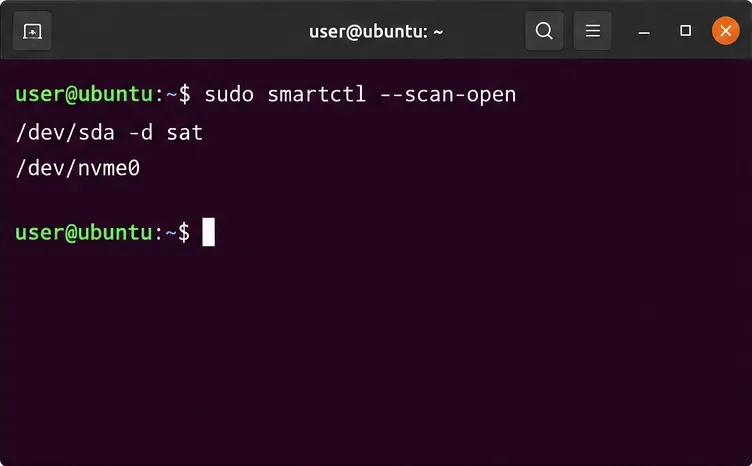
Compare mail delivery options, configure smartd on Ubuntu, and verify that disk-health warnings reach your inbox.
Restore DNS lookups on Debian 12 by checking systemd-resolved, repairing resolv.conf when needed, and verifying upstream DNS and application resolution.
Get Ubuntu to detect your monitor or TV as an audio output, select it in Sound settings, and check the connection or PipeWire device list if HDMI is missing.
Resolve Ubuntu APT signature warnings safely by identifying the failing source, refreshing its verified key, and checking the result without disabling security.
Learn the balanced three-phase formulas and convert line voltage, current, kW, kVA, and power factor step by step, with a worked example and limits to check.