Debian 12 DNS Lookup Failures: Repair systemd-resolved
Restore DNS lookups on Debian 12 by checking systemd-resolved, repairing resolv.conf when needed, and verifying upstream DNS and application resolution.
If Ubuntu 24.04 shows video on your monitor or TV but does not list it as an audio output, connect and power on the display first, then choose its HDMI or DisplayPort output in Settings > Sound > Output. If it still does not appear, check the display and cable, inspect the playback devices with wpctl status, and only then move on to system-level troubleshooting.
Illustrative example: Riley connects an Ubuntu 24.04 desktop to a TV over HDMI. The picture works, but the Sound panel only shows the computer’s built-in speakers. This example follows the checks below; it is not a report of a real test or a guaranteed cause.
HDMI and DisplayPort can carry digital audio as well as video, but the display must advertise an audio playback capability and provide a way to hear it. Some monitors have no speakers; others send audio to a headphone jack or require their speakers to be enabled in the monitor’s own menu. A TV or monitor with no usable audio output cannot play sound just because its picture works.
Ubuntu’s audio path also has layers. The hardware driver detects audio-capable devices, ALSA (the Linux kernel’s audio interface) exposes the hardware, and PipeWire routes audio between applications and outputs. Ubuntu Desktop uses PipeWire by default, while different Ubuntu flavors or customized installations may use a different desktop or audio setup. A playback output is often called a sink; in wpctl, it means a destination for sound, not a physical connector.
Before changing settings, make sure the monitor or TV is powered on and set to the HDMI input connected to the computer. Reseat the cable at both ends. If you use a dock, adapter, or receiver, check that it supports audio over that connection. If available, try another HDMI port or cable. Riley should confirm the TV has speakers or a headphone output before treating Ubuntu as the cause.
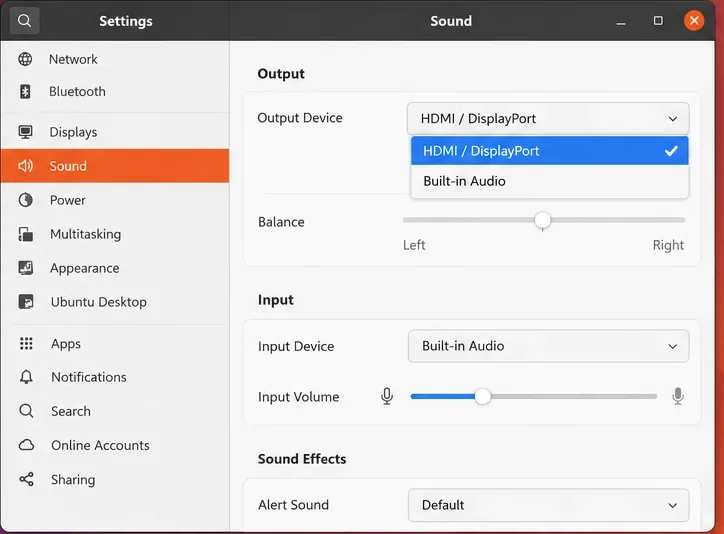
For Riley, selecting the TV output is the first meaningful software change. If the display does not appear in the list, do not keep selecting the built-in speakers and expect audio to cross HDMI; continue with the checks below.
After selecting HDMI, confirm the Output Volume slider is above zero and the system is not muted. Also check the display’s own volume and mute controls. When a monitor exposes a headphone jack, connect headphones there only if its manual says that jack carries audio from HDMI.
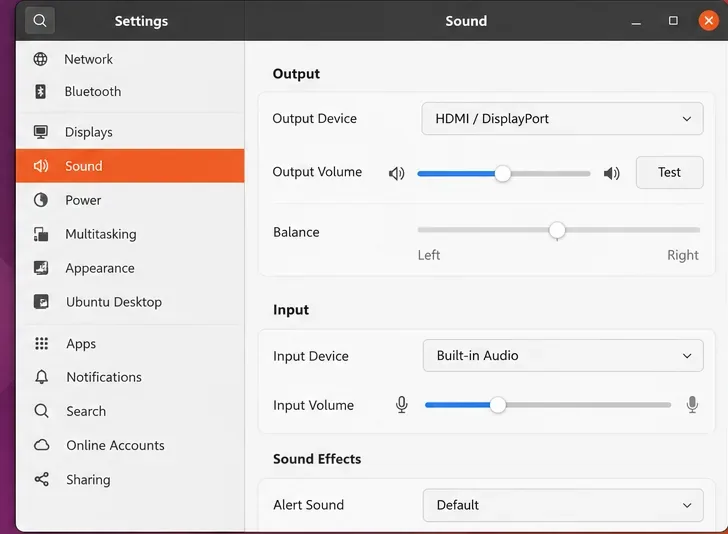
If the desktop test sound works but one app remains silent, check that app’s own mute and output controls. Some apps keep an existing audio stream on the previous device; fully quit and reopen the app after changing the system output, then test playback again. Do not change input or microphone settings: those control recording, not HDMI playback.
wpctlIf the GUI selector is confusing, the terminal can show what PipeWire currently sees. Open Terminal and run:
wpctl statusIn the output, look under Sinks for an HDMI or DisplayPort playback device. The command’s numbered entries are temporary object IDs, so use the ID shown on your own system rather than copying a number from an example or screenshot. WirePlumber’s wpctl reference documents status and set-default.
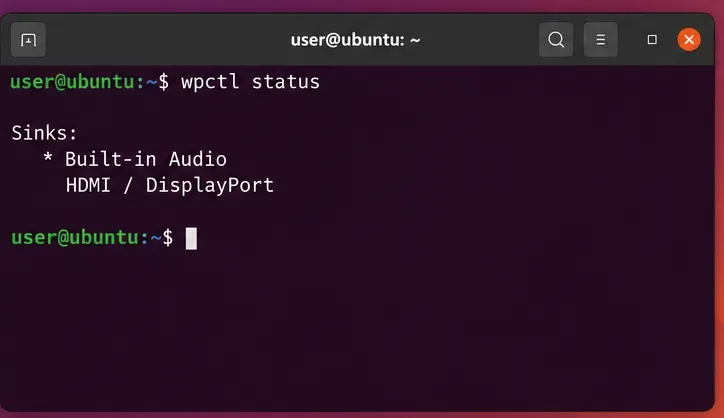
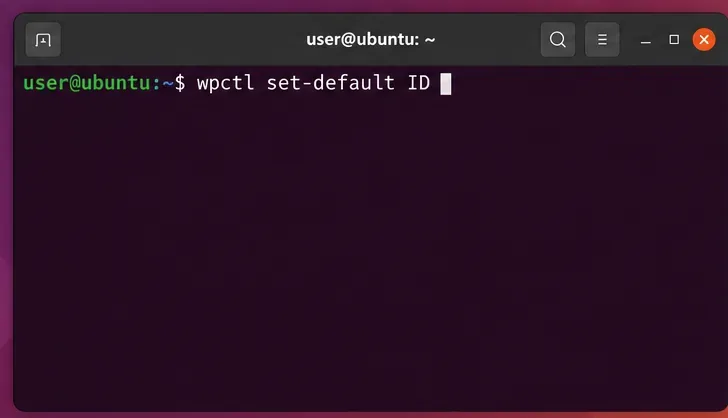
If the HDMI sink is listed but the wrong output is active, set the default with the ID shown beside that HDMI sink:
wpctl set-default IDReplace ID with the current HDMI sink number. The command sets the default destination for new audio streams; it cannot create a device that is missing from the list. If the default sink is muted, unmute it with:
wpctl set-mute @DEFAULT_AUDIO_SINK@ 0Run wpctl status again to check the current list and default marker, then repeat the Sound settings test. Do not use a sink ID copied from another computer: IDs can change after reconnects or restarts.
Disconnect the HDMI cable, make sure the display is on and set to the correct input, then reconnect it firmly. Wait briefly and reopen Settings > Sound. If the device still does not appear, restart Ubuntu with the display already connected. A restart is a safer next check than installing random audio packages or switching to a different sound server.
Ubuntu’s audio documentation explains that the kernel audio modules detect devices such as HDMI/DisplayPort outputs, and that Ubuntu Desktop routes audio through PipeWire. If wpctl status still has no HDMI sink after reconnecting and restarting, the problem is earlier than choosing a default output: it may involve the GPU/audio driver, dock or adapter, cable, or display’s reported capabilities. Ubuntu’s Audio on Ubuntu documentation describes those audio layers. Check the computer or GPU manufacturer’s support information for your model, and compare with another cable, port, or display if possible. Avoid copying kernel-module commands from advice for a different GPU; a wrong driver change can create new problems.
Leave HDMI selected in Settings > Sound > Output, use the Test control, and play a short clip in the app that originally had no sound. Confirm that audio comes from the TV or monitor’s speakers or headphone jack, check its own volume, and verify wpctl status lists HDMI as the selected default. If the system test is silent but HDMI remains selected, check the display’s audio capability and mute settings before changing Ubuntu drivers.
Restore DNS lookups on Debian 12 by checking systemd-resolved, repairing resolv.conf when needed, and verifying upstream DNS and application resolution.
Get Ubuntu to detect your monitor or TV as an audio output, select it in Sound settings, and check the connection or PipeWire device list if HDMI is missing.
Resolve Ubuntu APT signature warnings safely by identifying the failing source, refreshing its verified key, and checking the result without disabling security.
Learn the balanced three-phase formulas and convert line voltage, current, kW, kVA, and power factor step by step, with a worked example and limits to check.
Run a workload inside a systemd scope with CPUQuota and MemoryMax, then verify the limits through cgroup v2.
Set up dnscrypt-proxy as Pi-hole’s local DoH bridge on Ubuntu 24.04, with a localhost-only listener, resolver selection, and checks before switching DNS.
Check Ubuntu’s touchpad settings, confirm Wayland, and test GNOME’s built-in swipes before troubleshooting apps or hardware.
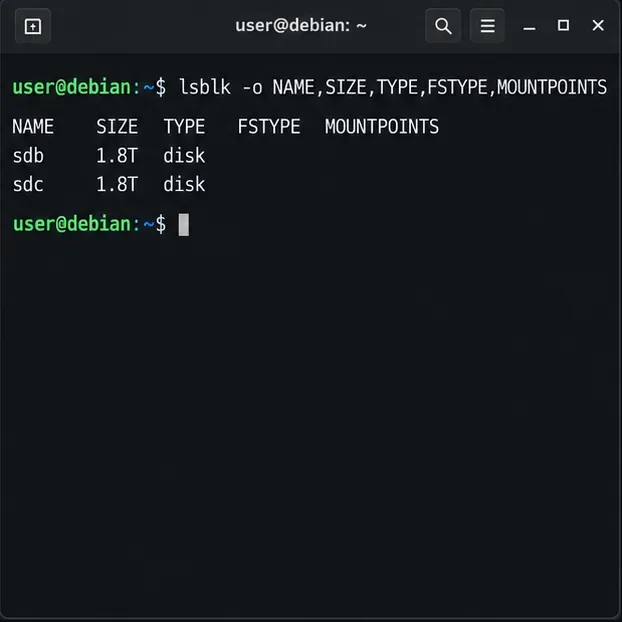
Create and verify a two-disk Debian 12 RAID 1 data array, format it safely, and configure it to assemble and mount after reboot.
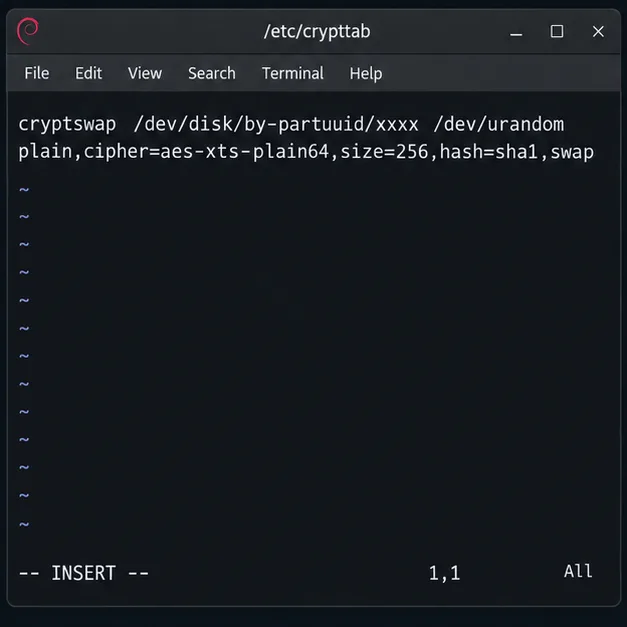
Set up random-key encryption for an existing Debian 12 swap partition, verify the active dm-crypt mapping, and understand the hibernation trade-off.
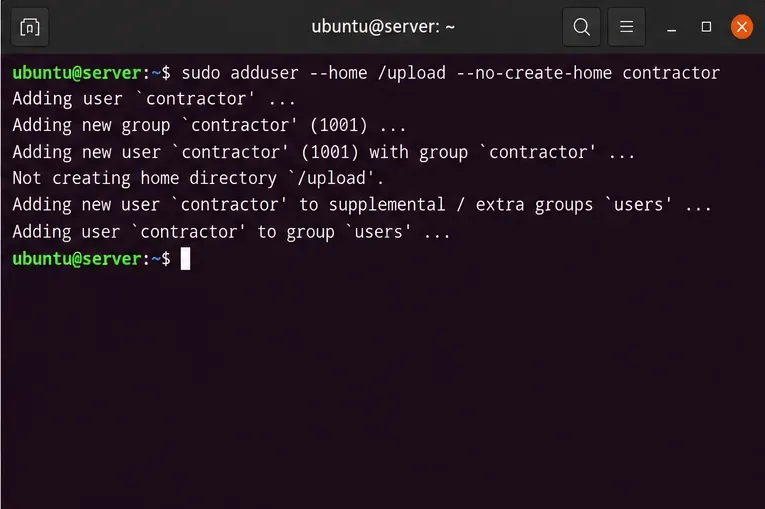
Restrict Ubuntu 24.04 SSH accounts to designated SFTP folders with chroot, proper permissions, Match rules, and safe tests—without granting shell access.