Home
» How to
»
How to Restrict SSH Users to Specific Directories on Ubuntu 24.04 (SFTP Chroot Guide)
How to Restrict SSH Users to Specific Directories on Ubuntu 24.04 (SFTP Chroot Guide)
Giving a contractor access to upload a few files should not automatically give that person a terminal session with a view of the entire server. On Ubuntu 24.04 LTS, OpenSSH can confine a file-transfer account to a chosen directory using a ChrootDirectory rule and the built-in internal-sftp server. The important distinction is that this is an SFTP-only restriction, not a simple way to provide a fully functional but jailed Bash shell.
This guide explains what the settings really protect, then walks through a reversible, eight-stage setup for multiple accounts, each with its own directory. Commands use a sample account called contractor and a sample host called server.example.com; replace them with your own values. These are configuration examples, not claimed results from a live server test.
Which type of restriction do you actually need?
Three controls are often confused. Linux permissions decide which files an account can read or modify; changing the account's home directory sets an initial location; a chroot changes the filesystem root presented to a process. They are not interchangeable.
Goal
Appropriate starting point
Important limitation
Upload and download only inside a designated folder
ChrootDirectory with ForceCommand internal-sftp
Does not provide an interactive Linux shell
Allow a shell but control reading and writing
Unix ownership, groups, ACLs, and least privilege
An ordinary shell user may still traverse other readable paths
Provide an isolated command-line environment
A carefully built chroot or a container/VM with separate security controls
Requires considerably more setup and isolation review
Misconception: setting /home/contractor as the home directory confines the user there. It does not. A normal shell user can move to any accessible directory elsewhere on the filesystem. If file exchange is the actual requirement, choose the SFTP-only route below rather than trying to hide directories with the shell prompt.
Set up an SFTP-only directory jail in eight stages
Before modifying SSH remotely, keep your existing administrator session open and ensure you have console or recovery access. Use a separate unprivileged account for transfers; do not put your administrator account into the restricted group.
1. Verify OpenSSH and keep a recovery session
On the server, install OpenSSH if necessary, check the service, and save the main configuration. Ubuntu's official server documentation supports these service and configuration paths.
sudo apt update
sudo apt install openssh-server
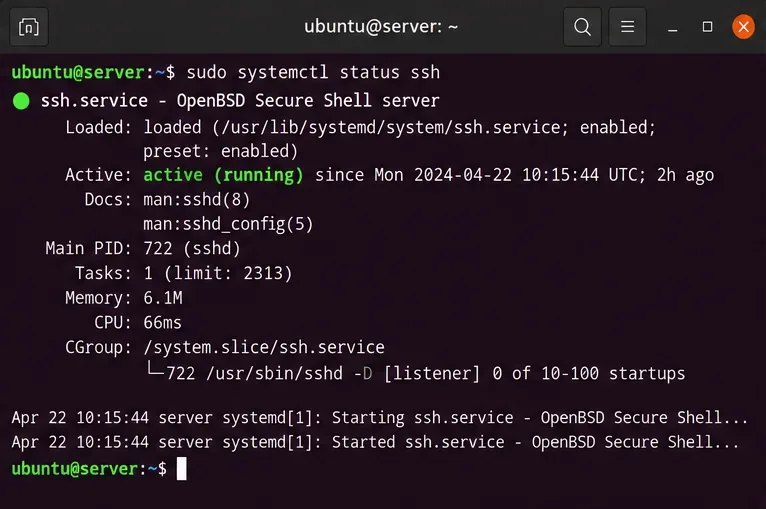
sudo systemctl status ssh
sudo cp -a /etc/ssh/sshd_config /etc/ssh/sshd_config.pre-sftp
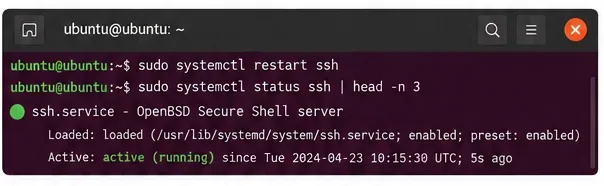
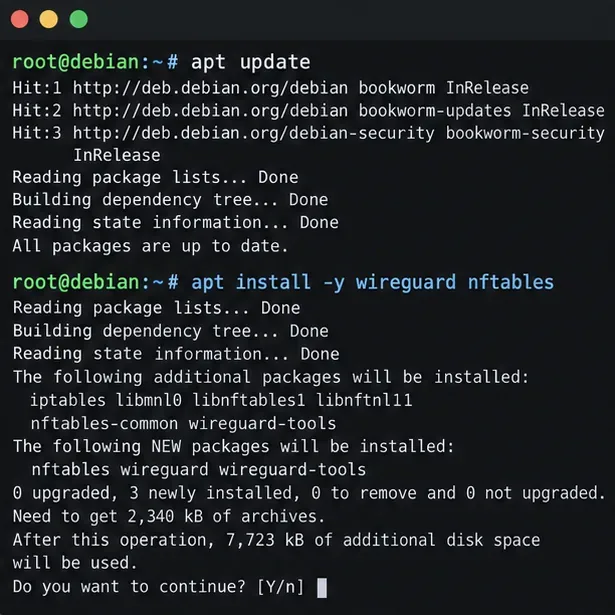
A terminal view of the SSH service status, useful for checking that OpenSSH is available before changing access rules.
If you can only administer the machine through SSH, do not close the current session while editing or testing. Review the Ubuntu OpenSSH server configuration guide before changing the daemon.
2. Create a dedicated user and SFTP access group
A group is useful when you expect more than one restricted account. This example gives each member a separate jail using the %u token, which OpenSSH expands to the connecting username. The /upload home path is intended to exist inside the future chroot, so do not create a host-level /upload directory.
The adduser flow can ask you to assign a password. On installations that disable SSH password authentication, create and authorize a public key instead; do not turn on password logins globally just to follow an example. The nologin shell is another safeguard, but the enforced internal-sftp command is what makes this configuration transfer-only. Test the combination on your own authentication stack.
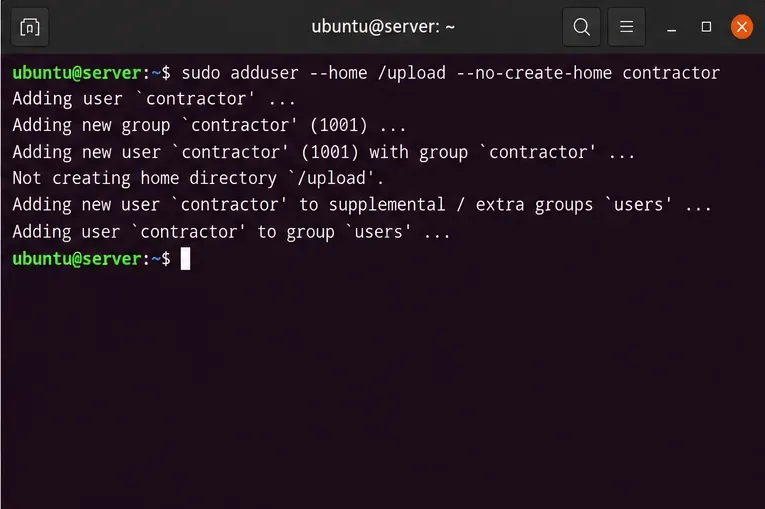
The account-creation command specifies the restricted account and a home path that will be available after the chroot is applied.
3. Build a root-owned chroot directory
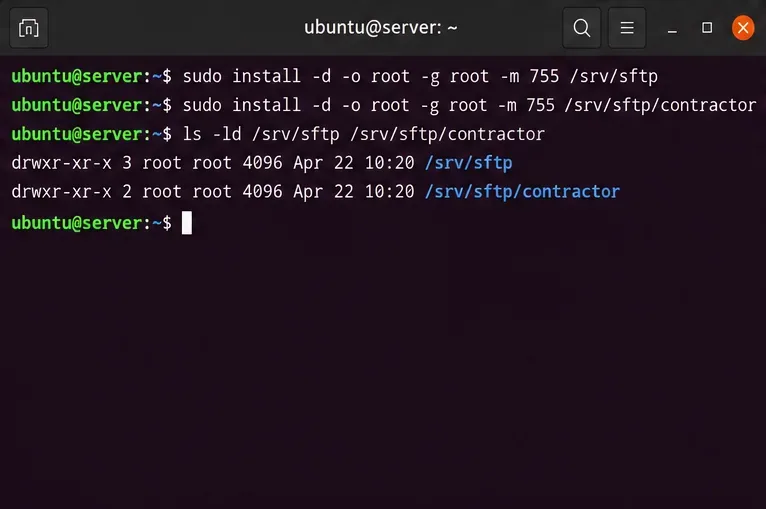
This is where many guides go wrong. OpenSSH requires every component of the chroot path to be owned by root and not writable by other users or groups. Never make the jail root itself writable by the SFTP account.
Check the existing / and /srv components too; the commands above do not automatically repair unsafe parent permissions. If any component is group-writable or user-owned, correct its ownership and mode only after checking whether other applications rely on it.
The jail directory and its parent are displayed with root ownership, the condition checked by OpenSSH at session startup.
4. Add a writable subdirectory inside the jail
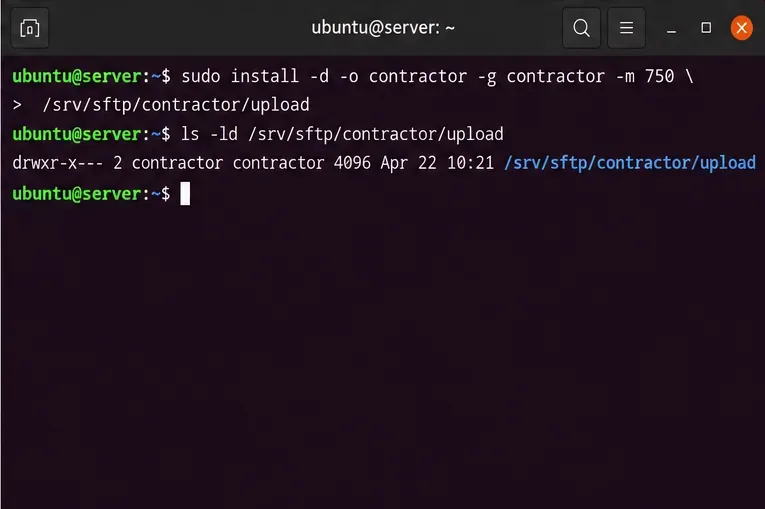
The account can write to a child directory without being allowed to alter the chroot root. Create /srv/sftp/contractor/upload for the account's actual files; from inside SFTP, this will appear as /upload.
The expected ownership differs deliberately: root:root for the jail root, and contractor:contractor for the writable upload folder. Avoid chmod 777, which would introduce unnecessary exposure and would be rejected if applied to the jail root.
The upload subdirectory is writable by the restricted account while the enclosing jail remains owned by root.
5. Add a Match rule to sshd_config
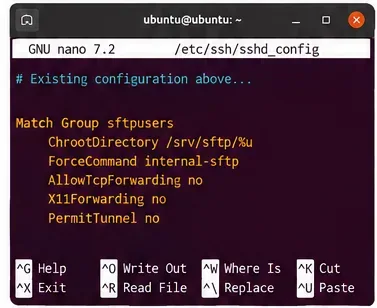
Open /etc/ssh/sshd_config and append the following block at the end, after any existing directives and Match blocks. Use a text editor such as sudoedit or sudo nano. Review existing Match rules first: if several matching blocks assign the same keyword, OpenSSH uses the first applicable instance. Ubuntu also processes files under /etc/ssh/sshd_config.d/ from an early Include; rules there may affect precedence.
Match Group sftpclients
    ChrootDirectory /srv/sftp/%u
    ForceCommand internal-sftp -d /upload
    PermitTTY no
    DisableForwarding yes
Match Group targets members of sftpclients. ChrootDirectory places each user under /srv/sftp/USERNAME. ForceCommand internal-sftp -d /upload runs an in-process SFTP service and starts inside the writable directory. PermitTTY no prevents terminal allocation, while DisableForwarding yes disables SSH forwarding features for matching connections.
Keep the global Subsystem sftp directive already provided by Ubuntu unless you have a separate reason to change it; the forced internal SFTP command does not require replacing that global line. Do not add an extra global Match All just to end a block without understanding what it would affect.
A conditional OpenSSH configuration block groups the directory restriction and SFTP-only command together.
6. Check syntax and the effective settings before reload
Parsing success does not prove the jail permissions are correct, nor does it prove that the intended account matches the policy. Perform both checks explicitly.
The effective configuration should identify the intended chroot path, the forced SFTP command, disabled TTY allocation, and forwarding restrictions. The example address 192.0.2.10 is documentation-only; if you have address-dependent Match rules, substitute the real client source address. The -T -C form is documented in the Ubuntu 24.04 sshd manual.
If validation fails, fix the configuration before reloading SSH. If the effective values are unexpected, inspect included snippets and the order of existing conditional blocks, not just the last lines you edited.
7. Reload SSH and preserve your admin access
After successful checks, reload the SSH service so new connections use the edited policy. Keep the current administrator connection alive while opening a second terminal to confirm that normal administrator access still works.
sudo systemctl reload ssh
sudo systemctl status ssh --no-pager
The SSH service management window illustrates checking service health after a configuration change.
A full restart may also apply changes, but a reload is preferable when supported and you want to avoid unnecessary interruption. Service command output and log messages vary by host, so inspect the actual result rather than assuming a successful return to the prompt guarantees access.
8. Test allowed transfers and blocked shell access
From another computer, connect as the restricted user. Use the server's actual hostname and a suitable test file. The first SFTP directory should be /upload, and the chroot root should appear as / rather than the host path /srv/sftp/contractor.
sftp contractor@server.example.com
sftp> pwd
sftp> cd /
sftp> ls
sftp> cd /upload
sftp> put sample.txt
sftp> cd /etc
sftp> exit
Uploading a harmless test file should be allowed in /upload. Reaching the host's actual /etc should not be possible: the chroot defines a different root, and /etc would be accessible only if you deliberately created or exposed such a directory inside the jail. The exact client error text is not important.
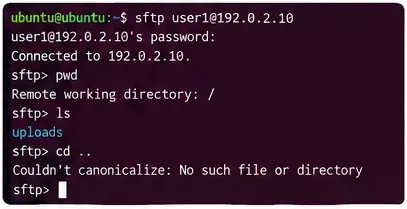
The SFTP command prompt illustrates browsing a confined filesystem rather than the host filesystem.
ssh contractor@server.example.com
A regular interactive SSH shell must not open for this account. Instead, the connection may close or display a protocol-related message; do not rely on an exact phrase. If a shell opens, treat the configuration as unsafe and revisit the group membership, Match precedence, and effective sshd -T -C output before using the account.
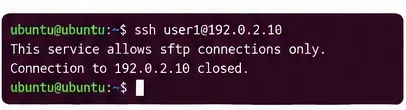
A terminal connection attempt illustrates the shell-access check performed after enabling SFTP-only restrictions.
What if you use SSH public keys?
Public-key authentication works with an SFTP jail, but placing a user's host-level home at /upload means the default ~/.ssh/authorized_keys path may not exist outside the jail. A practical alternative is to let SSH read a root-controlled key file before it starts the chroot. Add this inside the same Match Group sftpclients block if you choose centralized key storage:
AuthorizedKeysFile /etc/ssh/authorized_keys/%u
Then create /etc/ssh/authorized_keys/contractor containing the contractor's authorized public key, with root ownership and without group or world write permissions. For example, after securely copying a checked public-key file named contractor.pub to an administrative staging directory:
Do not copy a private key onto the server. The key-path setting, authentication defaults, and account checks depend on your existing SSH policy; verify public-key access before disabling an already working authentication method.
Common failures and what they mean
Symptom
Most likely cause
Next check
SFTP disconnects immediately after authentication
A component of the chroot path is writable or not root-owned; alternatively, the required start directory is absent
Run namei -l /srv/sftp/contractor, check /upload, and review service logs
User connects but cannot upload
Writable child directory has wrong owner or mode
Inspect stat output for the upload subdirectory; do not change the jail root to user ownership
SSH shell still opens
Group mismatch or an earlier applicable SSH rule
Run id contractor and sshd -T -C
Public-key login is rejected
Authorized keys file is not at the configured path or its permissions fail validation
Inspect AuthorizedKeysFile, key placement, file ownership, and the SSH log
An older SCP client fails
It expects the legacy SCP protocol, which needs a remote shell
Use SFTP or an SCP client that uses SFTP, not scp -O
Check logs with sudo journalctl -u ssh -n 80 --no-pager. The exact error depends on PAM settings, SSH configuration, filesystem access, and authentication method. OpenSSH 9.0 and newer use SFTP for standard scp transfers by default, whereas the legacy mode requires a shell, as explained in the Ubuntu 24.04 scp manual.
Can you restrict an interactive SSH shell to one folder?
Not with a home-directory change or the SFTP-only example above. OpenSSH's ChrootDirectory can also be used for shell sessions, but the jail must include a usable shell, its shared libraries and required device nodes, and any command dependencies. Building that environment safely takes more than setting one line in sshd_config. It is easy to create a fragile or misleading setup, especially when arbitrary shell commands or mounts are involved.
If a user truly needs interactive commands, first specify exactly which commands and files they require. For a small command set, use narrowly scoped remote commands or a dedicated application endpoint. For broader independent environments, consider a container or virtual machine with explicit filesystem mounts, privilege controls, and network restrictions. A chroot alone is not a substitute for full system isolation, and neither chroot nor Unix file permissions protect against a privileged user who can change the underlying system.
Security checklist before granting access
The transfer account is not an administrator and belongs only to necessary groups.
Each component leading to the jail is root-owned and not group- or world-writable.
The writable upload location is inside the jail, not the jail root itself.
The intended user matches ChrootDirectory, ForceCommand internal-sftp, and disabled forwarding in effective configuration.
A real SFTP upload succeeds, an attempt to reach host-only files fails, and normal SSH shell access is blocked.
Backup, retention, quotas, monitoring, and account revocation are managed separately; a directory jail does not implement these policies automatically.
For more technical detail, consult the Ubuntu 24.04 OpenSSH configuration reference and the Ubuntu SFTP server manual. These instructions target Ubuntu 24.04 LTS; package builds and existing SSH snippets may change the effective behavior, so the final authority is the configuration and actual connection tests on your own host.