Encrypt Pi-hole Upstream DNS on Ubuntu Server 24.04
Set up dnscrypt-proxy as Pi-hole’s local DoH bridge on Ubuntu 24.04, with a localhost-only listener, resolver selection, and checks before switching DNS.
In this illustrative example, Linh runs Pi-hole on Ubuntu Server 24.04 and wants to encrypt the DNS requests Pi-hole sends upstream. Install dnscrypt-proxy, bind it to 127.0.0.1:5053, choose a DNS-over-HTTPS (DoH) resolver, test that local proxy, and then point Pi-hole to it. This walkthrough assumes Pi-hole is already installed and working; Linh is a hypothetical example, not a real installation or test report.
Pi-hole does not itself speak DoH to its upstream resolver; it normally forwards DNS to an IP address and port. A local proxy bridges the two protocols: Pi-hole sends standard DNS to a private local listener, and the proxy sends encrypted requests to the selected resolver. In this example, Linh uses dnscrypt-proxy on the same server and keeps its listener on loopback, so other devices cannot connect to that proxy directly.
Avoid starting a new installation with the older cloudflared proxy-dns recipe. Pi-hole’s current cloudflared page says that feature was deprecated by Cloudflare in November 2025 and that new installations using it are not recommended. Pi-hole’s dnscrypt-proxy instructions offer a maintained alternative. The Ubuntu Noble package listing currently includes dnscrypt-proxy; package versions vary by architecture and can change as updates are published.
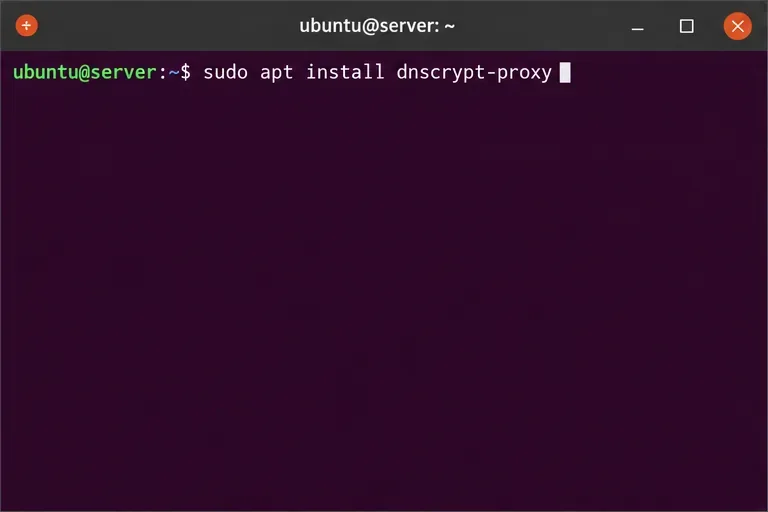
Update APT’s package lists and install the Noble repository package:
sudo apt update
sudo apt install dnscrypt-proxy
The package is in Ubuntu’s Universe component. If APT cannot locate it, check that Universe is enabled and rerun sudo apt update. Do not download a random third-party build to work around a repository configuration issue.
Before continuing, confirm that Ubuntu installed the systemd socket unit used by the Pi-hole procedure:
systemctl list-unit-files dnscrypt-proxy.socketThe Ubuntu Noble package file list includes dnscrypt-proxy.socket, and the Pi-hole instructions use that socket to provide a local DNS listener without competing with Pi-hole’s own port 53 service.
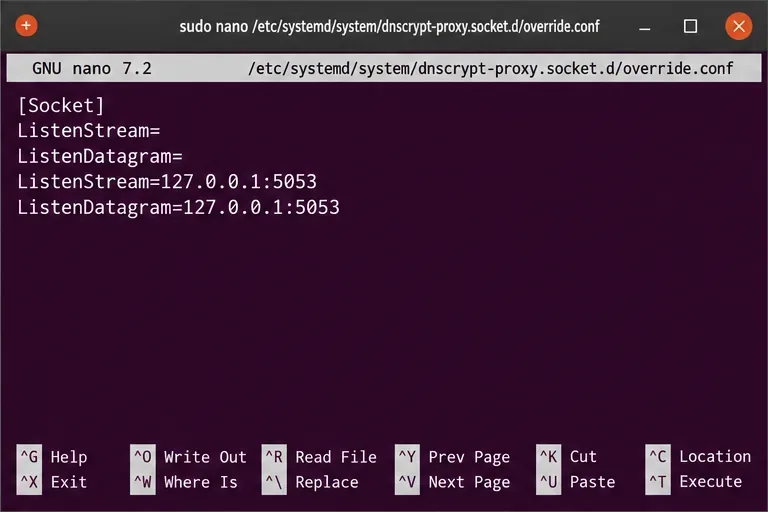
Pi-hole’s FTL DNS service normally owns port 53. Give dnscrypt-proxy a different port and bind only to the server itself. Create a systemd override:
sudo systemctl edit dnscrypt-proxy.socketAdd these lines to the empty override file, save, and exit:
[Socket]
ListenStream=
ListenDatagram=
ListenStream=127.0.0.1:5053
ListenDatagram=127.0.0.1:5053
The blank assignments clear the socket unit’s original port 53 listeners before the new addresses are added. Keeping the listener at 127.0.0.1 is important: do not change it to 0.0.0.0 for this same-host setup, because that would expose the proxy on every network interface.
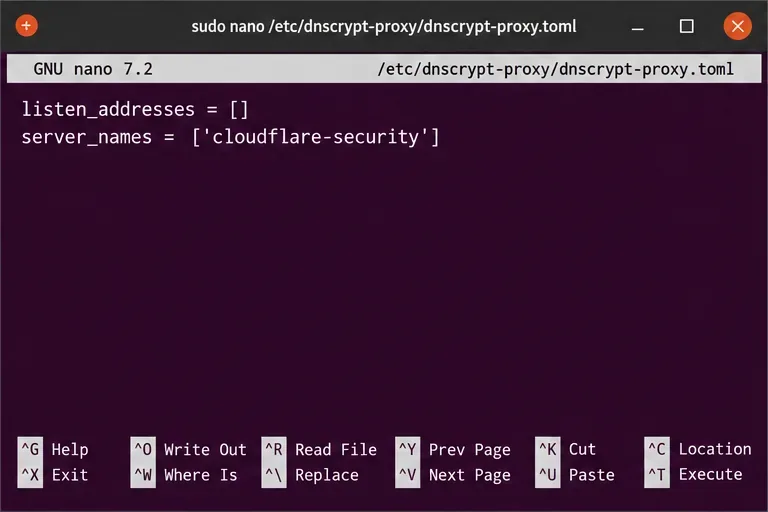
Open the package configuration file:
sudo nano /etc/dnscrypt-proxy/dnscrypt-proxy.tomlSet the following values, keeping the rest of the packaged configuration intact:
listen_addresses = []
server_names = ['cloudflare-security']
An empty listen_addresses list tells dnscrypt-proxy to use systemd socket activation. The named Cloudflare Security resolver is the example used in Pi-hole’s dnscrypt-proxy guide; it applies the resolver’s malware filtering in addition to Pi-hole’s own blocklists. If you prefer another provider or no extra security filtering, choose a current DoH resolver from the maintained public resolver list and use its exact server name. The available names and resolver policies can change, so verify the current entry rather than copying a stale name from an old post.
Restart the socket and service so the override and TOML settings take effect:
sudo systemctl restart dnscrypt-proxy.socket
sudo systemctl restart dnscrypt-proxy.service
Then test the local listener before changing Pi-hole’s upstream:
dig @127.0.0.1 -p 5053 example.comA DNS answer and an exit status of zero indicate that the local proxy answered the query. To confirm the selected upstream uses DoH, inspect recent service messages and look for the resolver marked OK (DoH):
sudo journalctl -u dnscrypt-proxy.service -n 50 --no-pagerdig is not installed, install Ubuntu’s dnsutils package. If the query times out or the log does not show a DoH resolver, inspect sudo systemctl status dnscrypt-proxy.socket dnscrypt-proxy.service and the service journal before proceeding.
Only after the local test works, replace Pi-hole’s upstream list with the local listener:
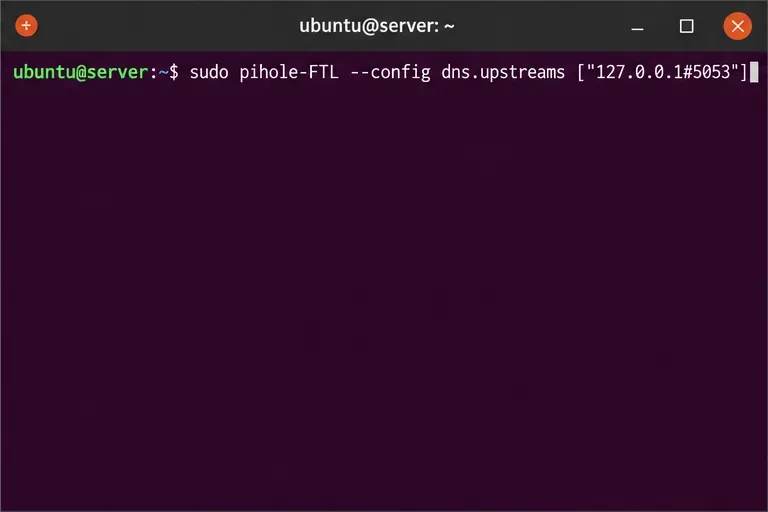
sudo pihole-FTL --config dns.upstreams '["127.0.0.1#5053"]'
sudo systemctl restart pihole-FTL.service
The value uses Pi-hole’s custom upstream format: 127.0.0.1 is the local host and #5053 specifies the nonstandard DNS port. You can also enter 127.0.0.1#5053 under Settings > DNS > Custom upstream DNS servers in the Pi-hole admin interface. Uncheck the preset public upstreams and save, or Pi-hole may continue sending some requests directly to them without using DoH.
Query Pi-hole itself, using its LAN address in place of PIHOLE_IP:
dig @PIHOLE_IP example.comConfirm the lookup succeeds, Pi-hole’s query log shows the client request, and dnscrypt-proxy’s service status or logs show that its selected upstream is reachable. The resulting path should be client to Pi-hole over your LAN, then Pi-hole to the localhost proxy, then proxy to the DoH resolver. This encrypts the server-to-resolver leg; it does not encrypt ordinary DNS traffic between a client and Pi-hole on the LAN, hide queries from the chosen resolver, or turn Pi-hole into a VPN.
For command and version details, consult the Pi-hole dnscrypt-proxy guide (dated February 16, 2026), its cloudflared deprecation notice (dated February 12, 2026), Ubuntu’s Noble dnscrypt-proxy package record, and the current public DoH and DNSCrypt resolver list. If any service is inactive, do not switch Pi-hole to the proxy until its local query test succeeds.
Set up dnscrypt-proxy as Pi-hole’s local DoH bridge on Ubuntu 24.04, with a localhost-only listener, resolver selection, and checks before switching DNS.
Check Ubuntu’s touchpad settings, confirm Wayland, and test GNOME’s built-in swipes before troubleshooting apps or hardware.
Create and verify a two-disk Debian 12 RAID 1 data array, format it safely, and configure it to assemble and mount after reboot.
Set up random-key encryption for an existing Debian 12 swap partition, verify the active dm-crypt mapping, and understand the hibernation trade-off.
Restrict Ubuntu 24.04 SSH accounts to designated SFTP folders with chroot, proper permissions, Match rules, and safe tests—without granting shell access.
Find which process owns Ubuntu’s dpkg frontend lock, let package work finish, and repair interrupted installations without deleting lock files.
Set up scheduled Btrfs system snapshots on Ubuntu Desktop with Timeshift, verify the Ubuntu subvolume layout, choose retention, and understand what snapshots cannot protect.
Plan a safer Debian 12 to Testing migration: upgrade through Stable, back up, clean APT sources, simulate dependency changes, and verify what changed.
Diagnose Ubuntu Server emergency mode safely. Read boot logs, check root and fstab mounts, repair a failed unit, handle filesystem errors, and verify a clean reboot.
Set up a Debian 12 WireGuard VPN server for one remote client. Configure keys, IPv4 forwarding, nftables NAT, firewall access, and connection checks.