Get Ubuntu SMART Disk Warnings by Email with smartd
Compare mail delivery options, configure smartd on Ubuntu, and verify that disk-health warnings reach your inbox.
Use Ubuntu’s smartmontools package to monitor supported drives with smartd, then route its warnings through a working local mail service or SMTP relay. For one Ubuntu server, keep the alert path simple: confirm that smartctl can read each disk, add a recipient to /etc/smartd.conf, and send a test message before relying on alerts. SMART warnings can reveal some developing problems, but they cannot predict every sudden drive failure.
smartd does not authenticate to an internet mail provider by itself. Its default mail path invokes the system mail command, so email delivery also depends on a configured Mail Transfer Agent (MTA) or relay. Pick the route that matches what is already available:
| Route | Best fit | Practical trade-off |
|---|---|---|
| Existing local MTA | A server that already sends system mail | Fewest new settings; confirm that mail is installed and external delivery works. |
| Postfix with an authenticated SMTP relay | A VPS or home server that needs outbound email through a provider | Uses the normal system mail path and can queue mail for delivery; needs one-time relay, TLS, and credential configuration. |
| Lightweight SMTP client | A small host with low email volume and an administrator comfortable managing a client profile | Smaller mail stack, but smartd may need a custom -M exec mailer if the client does not provide the mail command. |
For a single-drive machine that already has working system mail, use the existing MTA. If this is a new Ubuntu server and you have SMTP relay credentials, Postfix is a practical fit because Ubuntu documents its smarthost setup. A lightweight client such as msmtp is available in Ubuntu’s package archive, but check how it integrates with the mail command expected by your smartd configuration before choosing it. In every case, test delivery to the same external address you plan to monitor.
Install smartmontools and scan for devices that the current system can open:
sudo apt update
sudo apt install smartmontools
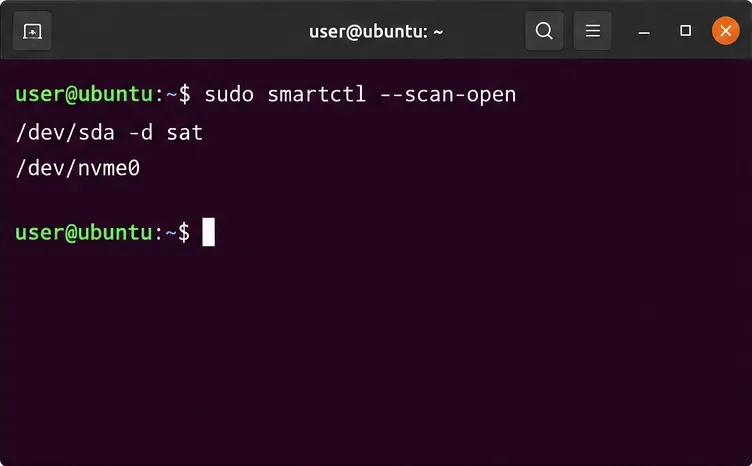
sudo smartctl --scan-open
The scan may return entries such as /dev/sda -d sat or an NVMe device path. Use the path and any -d device-type option shown on your machine. Then inspect one drive:
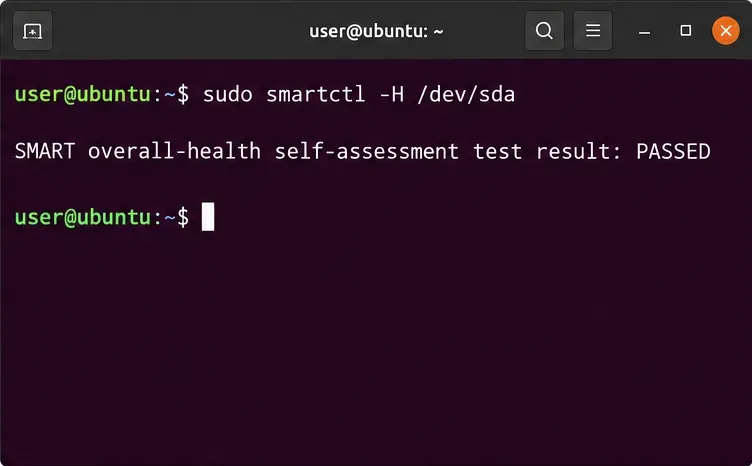
sudo smartctl -a /dev/sdaChange /dev/sda to the discovered device. A USB enclosure, hardware RAID controller, or storage adapter can block SMART passthrough; if the scan does not show a disk, check its controller documentation and the smartmontools device-type options. A successful scan only confirms that data is readable, not that the drive is healthy.
Open the daemon configuration:
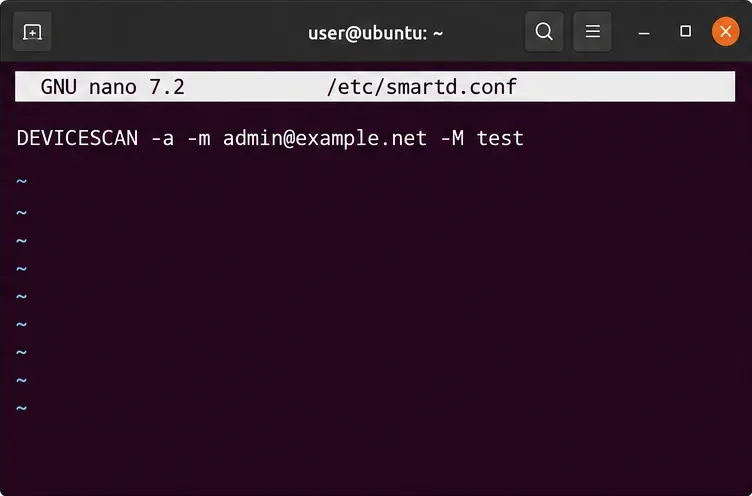
sudoedit /etc/smartd.confFor automatic discovery, use one active scan line, replacing the example address with your destination:
DEVICESCAN -a -m admin@example.net -M test-a enables the standard set of SMART checks, -m sets the email recipient, and -M test asks smartd to send one test warning when it starts. DEVICESCAN applies these directives to detected drives and ignores later device entries in the file. If you want only selected drives, use a device line for each disk instead, for example /dev/sda -a -m admin@example.net -M test. For RAID or USB-attached disks, include the device-type option shown by your scan or required by the controller.
Save the file, then enable and restart Ubuntu’s smartmontools service:
sudo systemctl enable --now smartmontools.service
sudo systemctl restart smartmontools.service
Check the service and recent log messages if it does not start cleanly:
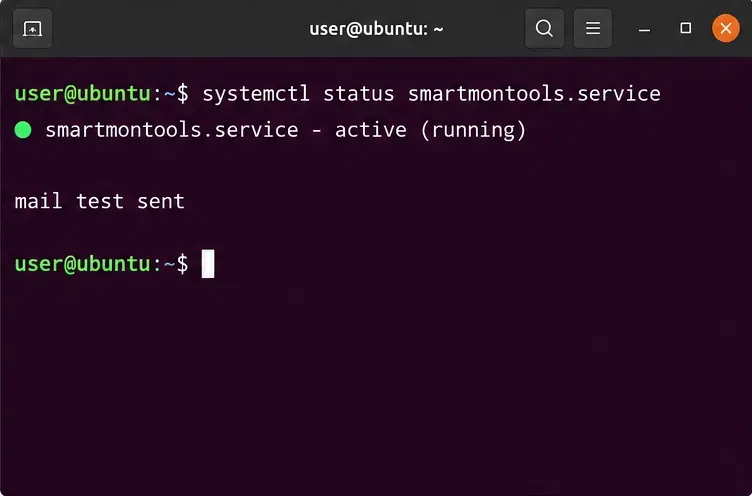
systemctl status smartmontools.service
sudo journalctl -u smartmontools.service -n 50 --no-pager
Unit names can vary on older or customized installations; use systemctl list-unit-files '*smart*' to find the unit installed on your system.
Because -M test sends its message on startup, restart the service and confirm that the email arrives. This verifies the path from smartd through the local mail command and MTA or relay. If the test does not arrive, first send a message through the same mail command or inspect the MTA’s queue and logs; a running smartmontools service cannot correct SMTP credentials, DNS, TLS, or provider-side relay restrictions.
After the test arrives, remove -M test from /etc/smartd.conf and restart the service again so ordinary restarts do not generate another test message. Keep -m in place. By default, smartd limits repeat alerts; depending on saved monitoring state, it sends an initial warning and may send daily reminders for an ongoing problem. That reduces inbox noise, while an operator who wants a different reminder cadence should review the installed smartd.conf(5) manual before changing -M.
smartd checks devices periodically, with a default polling interval of 30 minutes, so an alert is not instantaneous. It can report supported health failures, new log errors, and other configured conditions. SMART attributes are vendor-dependent, and a healthy summary does not rule out a sudden electronic, mechanical, controller, or connection failure. Keep backups and investigate a warning with sudo smartctl -a /dev/sda and the drive manufacturer’s guidance rather than treating one status line as a complete diagnosis.
For exact directive behavior and supported device types, consult the Ubuntu smartd.conf manual and Ubuntu smartd manual. Ubuntu documents SMTP smarthost configuration in its Postfix setup guide; Ubuntu’s package index lists the msmtp-mta package for systems choosing a lightweight SMTP client.
Compare mail delivery options, configure smartd on Ubuntu, and verify that disk-health warnings reach your inbox.
Restore DNS lookups on Debian 12 by checking systemd-resolved, repairing resolv.conf when needed, and verifying upstream DNS and application resolution.
Get Ubuntu to detect your monitor or TV as an audio output, select it in Sound settings, and check the connection or PipeWire device list if HDMI is missing.
Resolve Ubuntu APT signature warnings safely by identifying the failing source, refreshing its verified key, and checking the result without disabling security.
Learn the balanced three-phase formulas and convert line voltage, current, kW, kVA, and power factor step by step, with a worked example and limits to check.
Run a workload inside a systemd scope with CPUQuota and MemoryMax, then verify the limits through cgroup v2.
Set up dnscrypt-proxy as Pi-hole’s local DoH bridge on Ubuntu 24.04, with a localhost-only listener, resolver selection, and checks before switching DNS.
Check Ubuntu’s touchpad settings, confirm Wayland, and test GNOME’s built-in swipes before troubleshooting apps or hardware.
Create and verify a two-disk Debian 12 RAID 1 data array, format it safely, and configure it to assemble and mount after reboot.
Set up random-key encryption for an existing Debian 12 swap partition, verify the active dm-crypt mapping, and understand the hibernation trade-off.