When SLES Btrfs Goes Read-Only: Diagnose Before Remounting
Identify whether Btrfs is intentionally read-only, short on space, or protecting data after errors, then choose a recovery path that fits the cause.
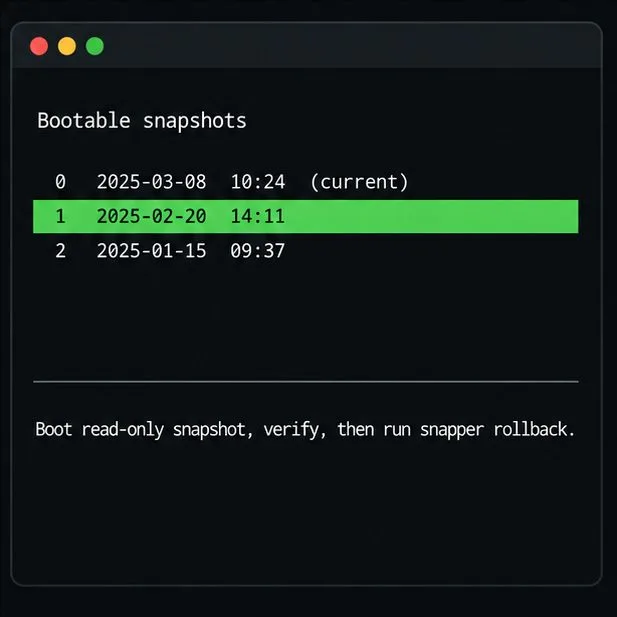
If a SUSE Linux Enterprise Btrfs filesystem reports “Read-only file system,” first find out whether it was mounted read-only intentionally or switched to read-only after an error. Check the mount options, free space, and kernel log before attempting a remount. Use Snapper rollback for a verified bootable system snapshot; if Btrfs logged I/O or metadata errors, protect the data and diagnose the storage path before writing to the filesystem again.
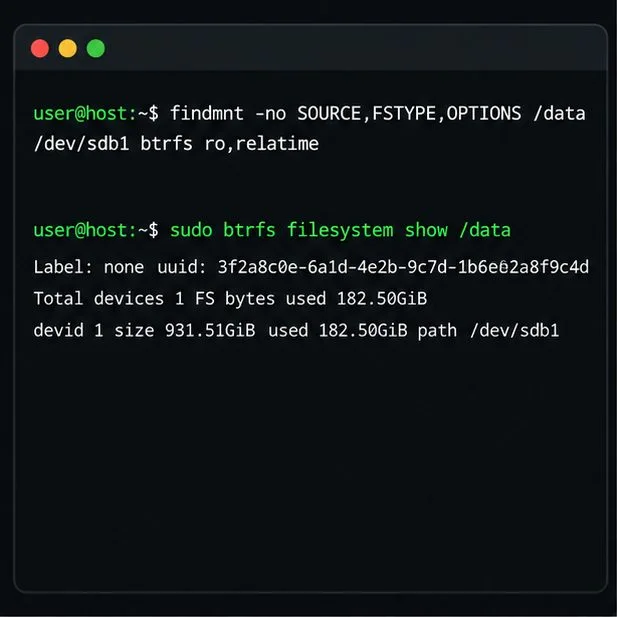
Replace /data with the affected mount point, or / for root.
findmnt -T /data -o SOURCE,FSTYPE,OPTIONS
sudo btrfs filesystem show /data
In the first command, look for ro or rw in the options. A read-only Snapper snapshot is expected to reject writes. A mount configured with ro in /etc/fstab may also be intentional. Btrfs can also switch to read-only after serious transaction, metadata, or device errors. In that case, repeatedly running mount -o remount,rw does not repair the cause and may fail immediately.
If the filesystem was deliberately mounted read-only, its device is healthy, and the kernel log has no Btrfs or I/O errors, a normal data mount can be remounted read-write:
sudo mount -o remount,rw /data
findmnt -T /data -o TARGET,OPTIONS
Do not use that as a recovery command for a booted read-only snapshot or an error-forced read-only filesystem. A successful remount confirms writability, not filesystem integrity.
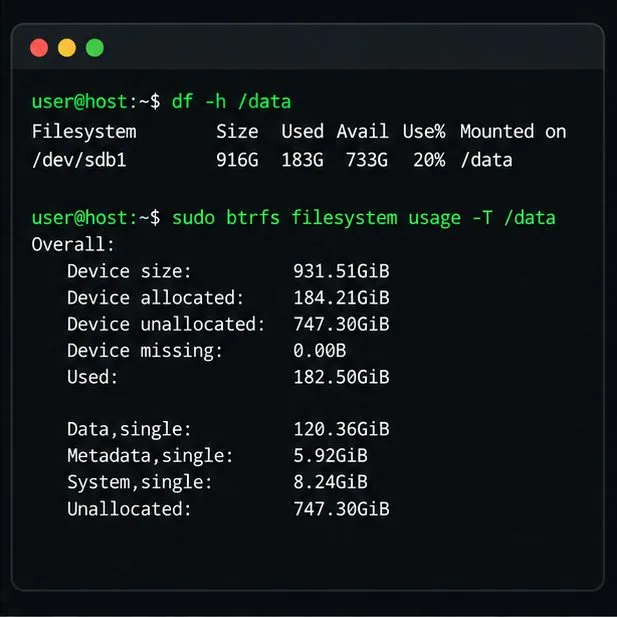
Btrfs can run short of allocatable space even when a basic disk view looks surprising, because data and metadata allocation are tracked separately. Check both ordinary free space and Btrfs usage:
df -hT /data
sudo btrfs filesystem usage -T /data
If the system reports No space left on device and the kernel log does not show device failures or structural errors, inspect Snapper usage before removing anything:
sudo snapper listDelete only snapshots that your retention policy allows you to lose, using sudo snapper delete SNAPSHOT_ID for each selected ID. Keep a known-good pre-update snapshot if you need a rollback option; deleting snapshots recovers space but removes recovery points. Cleanup may not return space immediately, and snapshots will not fix I/O errors. Do not run a balance to force a read-only filesystem writable; it moves data and is intended for a diagnosed allocation problem on a healthy, writable filesystem.
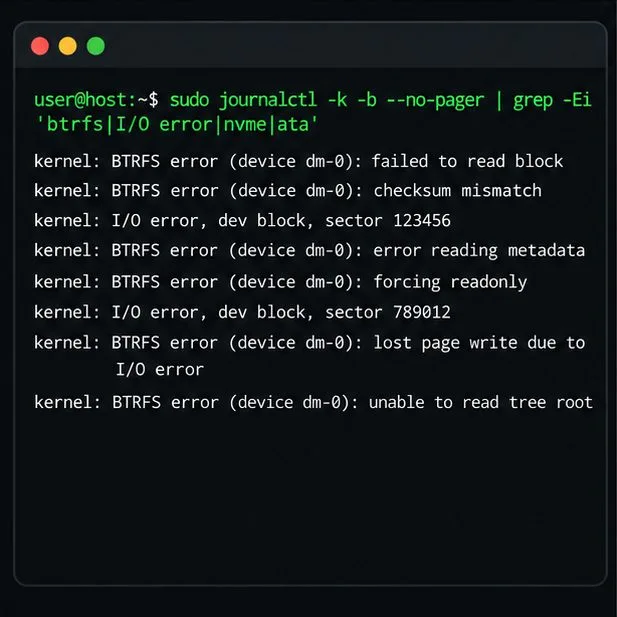
Look for the first Btrfs, block-device, controller, or transport error, not just the final message that the filesystem became read-only:
sudo journalctl -k -b --no-pager | grep -Ei 'btrfs|I/O error|nvme|ata|scsi'Messages about failed reads, checksum mismatches, missing devices, or I/O errors point to a different path than a simple ro mount option. Check the reported disk, controller, RAID/HBA, SAN or virtual-disk layer, and vendor health information. Correct unstable hardware or connectivity first. If data matters, minimize writes and arrange a backup or block-level image with an administrator before attempting filesystem repair.
| What you found | Next action | Trade-off |
|---|---|---|
ro is configured or the mount was intentionally read-only; no relevant kernel errors | Correct the mount configuration if it is unintended, or remount a normal writable subvolume after confirming the device is healthy. | Fast, but remounting cannot clear an error-forced read-only state or make a read-only snapshot writable. |
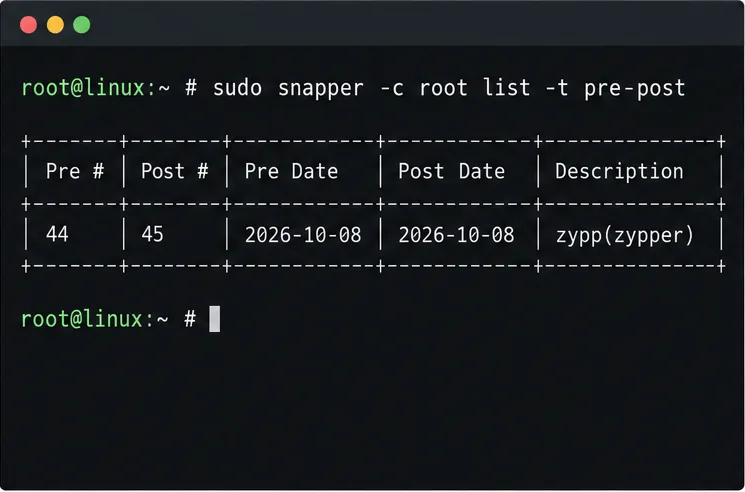
| A bootable root snapshot works and the issue followed a system change | Boot and test the snapshot, then run sudo snapper rollback and reboot to the default entry. | Restores the root subvolume to the snapshot state. Data in excluded or separate subvolumes is not rolled back. SLES 15 SP7 supports this rollback only with its default root-subvolume layout and a single-device root filesystem. |
| Kernel log contains storage I/O errors or Btrfs structural errors | Stabilize storage and preserve data; use a rescue environment and escalate for filesystem-specific recovery. | Slower, but avoids hiding an unresolved hardware problem with a writable remount. |
| Only space exhaustion is reported; storage errors are absent | Review Snapper retention and free permitted snapshots or data, then recheck Btrfs usage. | Frees capacity at the cost of selected recovery points or files. |
On SLES, bootable snapshots use the default Snapper root configuration. The root must be Btrfs on one device, the boot loader must support it, and only the root subvolume is rolled back. Verify a candidate before committing; if unsuitable, reboot to the current system or rescue environment. See the SLES 15 SP7 Snapper rollback procedure.
If the filesystem will not mount or kernel messages suggest structural damage, boot the SLES rescue system or other suitable recovery environment, identify the correct device, and ensure it is unmounted before running the default, read-only check:
sudo btrfs check /dev/DEVICEUse the actual Btrfs block device, not a mount-point placeholder. A check can take time and memory and reports structural findings; it does not guarantee repair. Do not add --repair as a routine next step. The Btrfs documentation warns that repair can make matters worse and should be used only with expert guidance after accepting the data risk. Consult SUSE support or a Btrfs specialist when the check reports errors or the device has I/O faults.
After storage is stable and the filesystem is mounted read-write, sudo btrfs scrub start -B /data can verify checksums. Scrub is not a structural checker. It can repair damage only from a known-good redundant copy; on a single-copy layout, it detects errors but cannot reconstruct lost data. Read the Btrfs scrub documentation. Also see SUSE’s SLES 15 SP7 file-systems guide, the SUSE’s Btrfs recovery article, and the Btrfs check manual.
After the chosen recovery, check that the mount has the intended options and can perform a safe write:
findmnt -T /data -o TARGET,SOURCE,FSTYPE,OPTIONS
sudo touch /data/.rw-check && sudo rm /data/.rw-check
For a root snapshot rollback, reboot first and confirm the default system starts normally. Then review the new kernel log for recurring Btrfs or device errors. A read-write flag alone is not a clean bill of health: if errors recur, stop writes and return to storage diagnosis.
Identify whether Btrfs is intentionally read-only, short on space, or protecting data after errors, then choose a recovery path that fits the cause.
Prepare mirrored channels, create an activation key, and bootstrap an SLES 15 client without direct internet access while preserving the connection needed for Manager check-ins.
Fix YaST’s XIO launch error over SSH, verify X11 forwarding and xauth, and switch to the ncurses interface when a remote window is unnecessary.
Find the pre-update Btrfs snapshot, test it read-only, and make recovery permanent with Snapper while understanding which data stays outside the root rollback.
Send SLES system logs to a remote rsyslog collector over authenticated TLS, with certificate checks, outage buffering, and delivery tests.
Use RAM, swap, kernel, and Zypper logs to identify real memory pressure, protect package state, and choose a safer SLES upgrade retry.
Enable Debian’s unattended security updates over SSH, keep the default package sources, and verify scheduled runs through systemd and APT logs.
Compare mail delivery options, configure smartd on Ubuntu, and verify that disk-health warnings reach your inbox.
Restore DNS lookups on Debian 12 by checking systemd-resolved, repairing resolv.conf when needed, and verifying upstream DNS and application resolution.
Get Ubuntu to detect your monitor or TV as an audio output, select it in Sound settings, and check the connection or PipeWire device list if HDMI is missing.