Deploy LIDER AHENK on Pardus and Enroll Your First Clients

Set up the Lider server, configure its installer safely, register Ahenk endpoints, and verify a pilot before expanding central management.
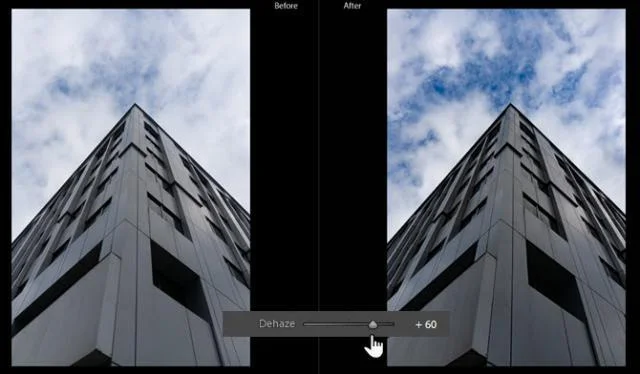
Adobe Lightroom has a slider to help you reduce the haze in the image is Dehaze, making the image clear with just a light touch.

The Dehaze tool is in the Basic panel of Adobe Lightroom CC Classic. It is also a feature in Lightroom CC, the Lightroom and Lightroom Web mobile apps, Camera RAW and Adobe Photoshop CC. In other versions, it is located in Effects .
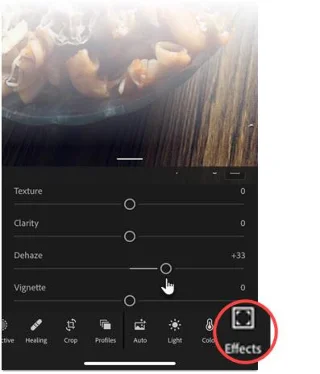
In Lightroom for iOS and Android versions, the Dehaze option is in Effects .
The Dehaze tool uses an intelligent algorithm to estimate the amount of light your photos lose due to natural light scattering or by other factors such as fog and smoke. According to Adobe, "it is based on a physical model of how light is transmitted".
In short, Dehaze analyzes the scene to determine what it would look like without haze.
This tool is completely different from the contrast slider or the Tone Curve.
Contrast increases the difference between bright and dark areas and works over the entire image, while Dehaze is smarter, working only on specific areas where it determines that light is weak or glare.
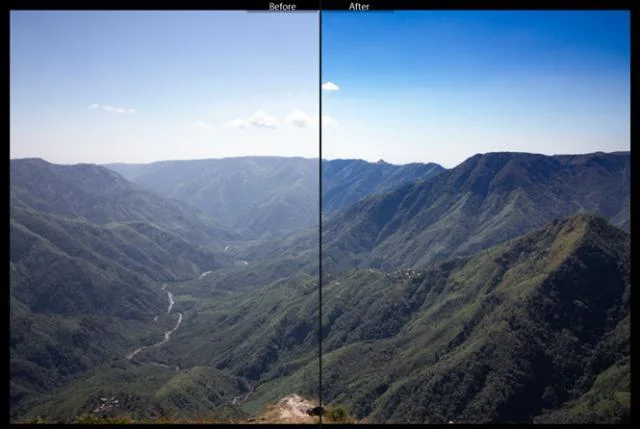
Besides. You should also optimize the white balance for images before using Dehaze. This tool is suitable for use in landscape photos when shooting on a cloudy, gray sky.
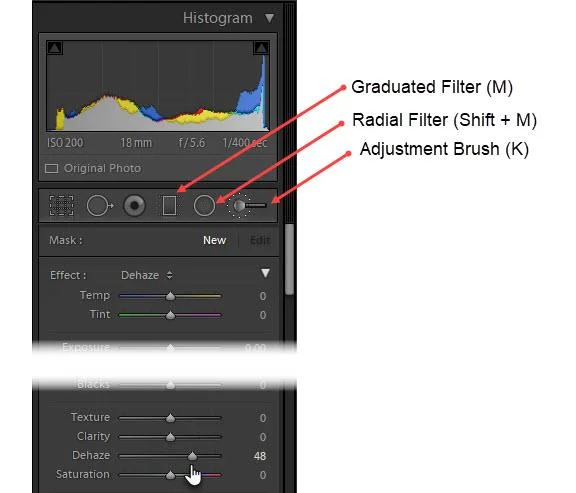
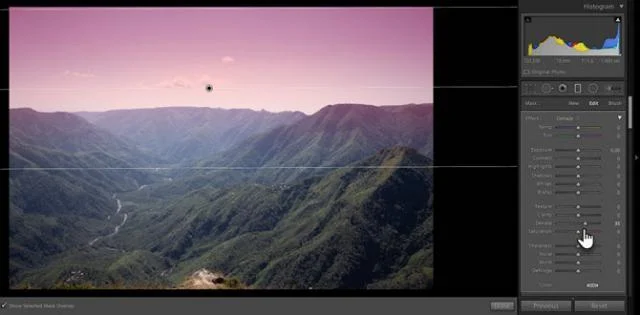
You can find the Dehaze slider in the Graduated Filter 's toolbox , Radial Filter , and Adjustment Brush located just below the Histogram in the Develop module. Users can use Dehaze to increase clarity for a specific area in an image.
Tap on the Graduated Filter tool , Radial Filter or Adjustment Brush in the tool bar of the Develop module .
You should see Dehaze from the Effect menu pop up. Drag the slider to adjust as instructed above. Or make adjustments to other effects.
Before saving the image, compare the edited image in Lightroom and the original image and see if it looks better, clearer and sharper!
Set up the Lider server, configure its installer safely, register Ahenk endpoints, and verify a pilot before expanding central management.
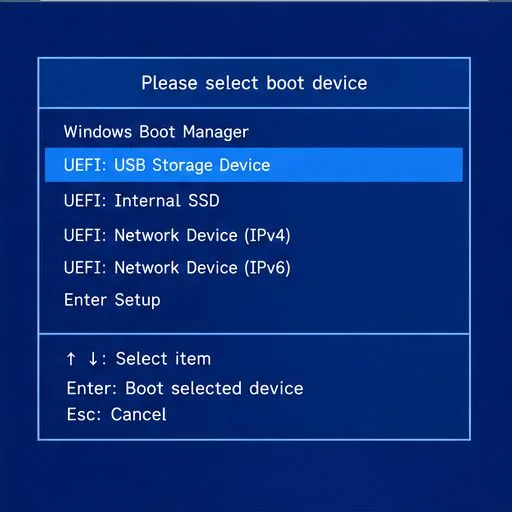
Download the official Pardus 23 desktop ISO, write it safely with Rufus, and boot a Windows PC into a temporary Live session.
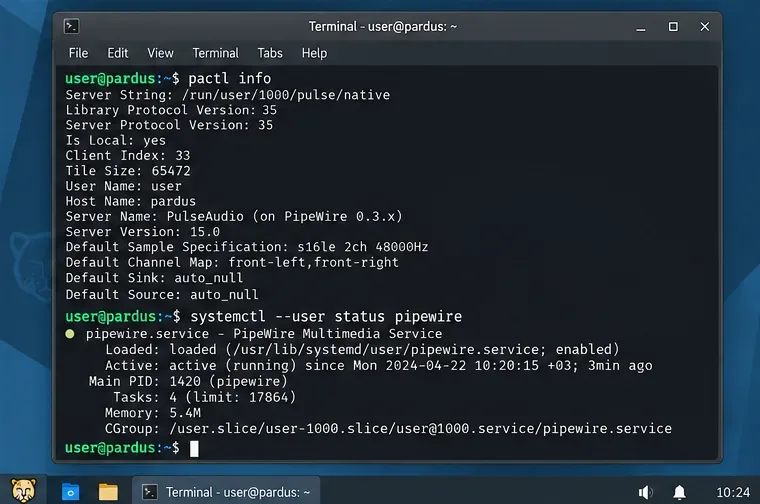
Find out why Pardus 23 cannot detect your sound card, then use targeted ALSA, firmware, and PipeWire or PulseAudio checks to restore playback.
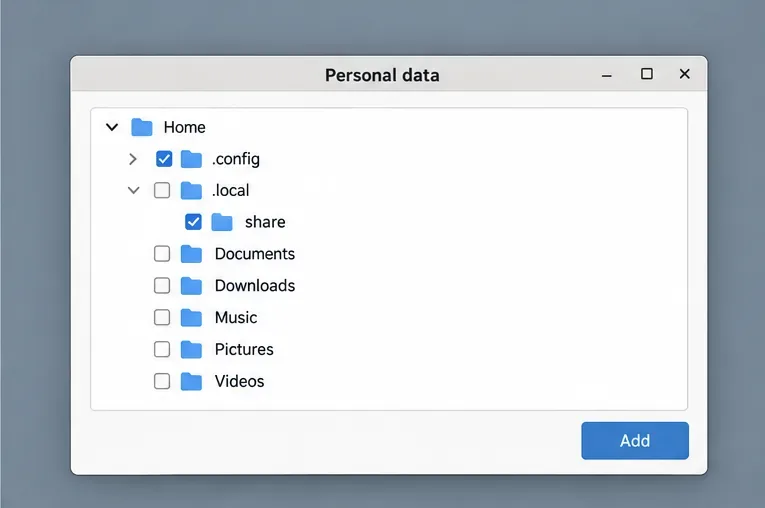
Save HamoniKR preferences to external storage, include hidden home folders, and choose a safe restore mode when moving to a fresh installation.
Install and configure xrdp on Pardus, choose the right Xfce session, restrict network access, and verify that remote login works.
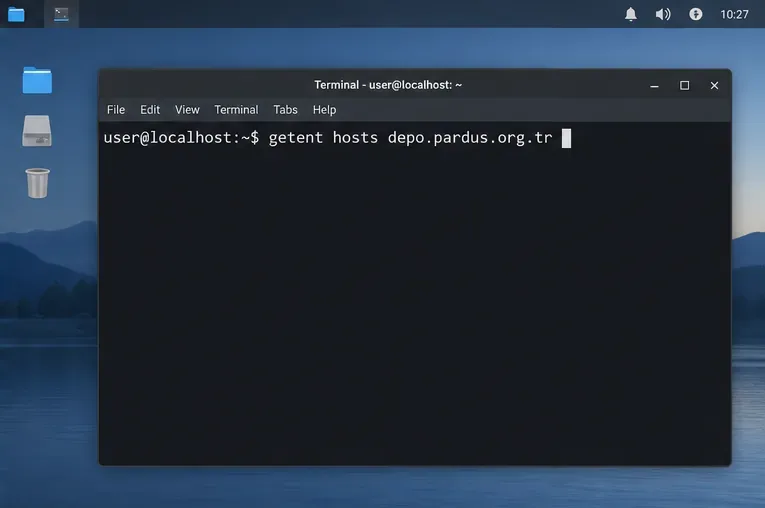
Diagnose Pardus 23 APT connection failures, confirm the official yirmiuc sources, and restore apt update without bypassing package signature checks.
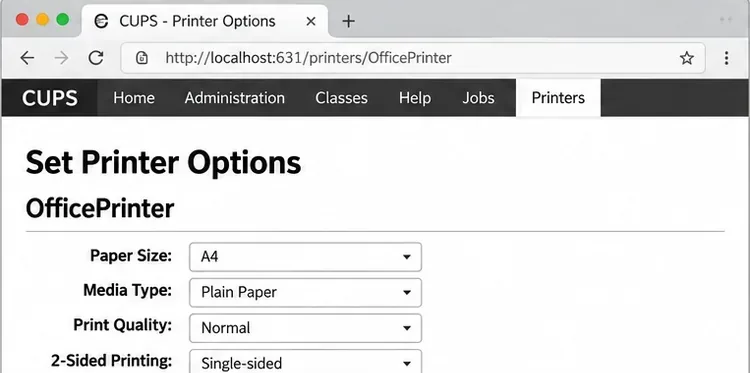
Configure printers on Harmonica OS using CUPS, compare driverless IPP with legacy drivers, and verify USB or network printing with a test page.
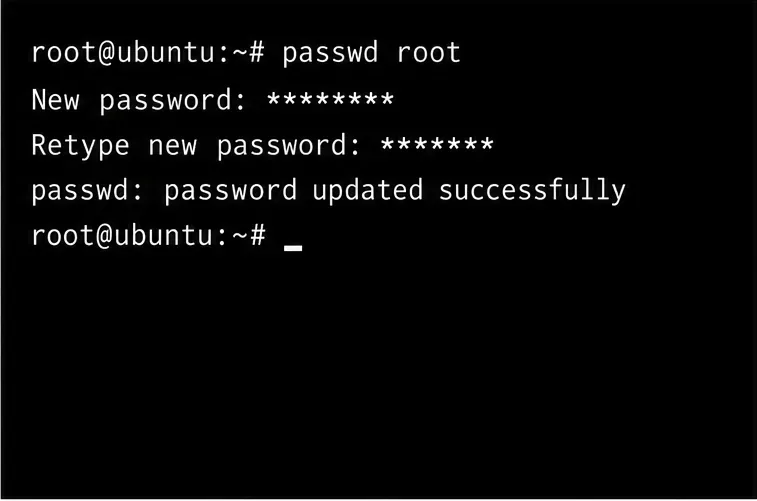
Use a recovery shell to set a new Harmonica OS root password, with checks for encrypted disks, read-only filesystems, and accounts that use sudo.
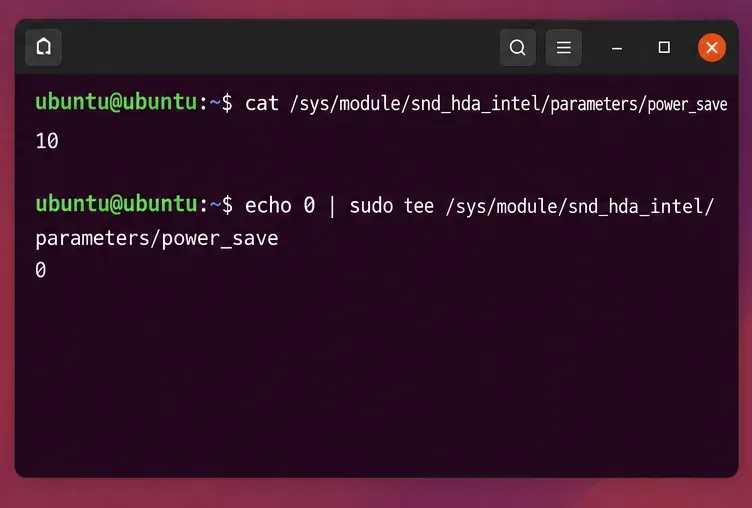
Trace whether clipping, ALSA format conversion, or HDA power saving is causing Ubuntu 24.04 audio distortion, then apply the matching reversible fix.
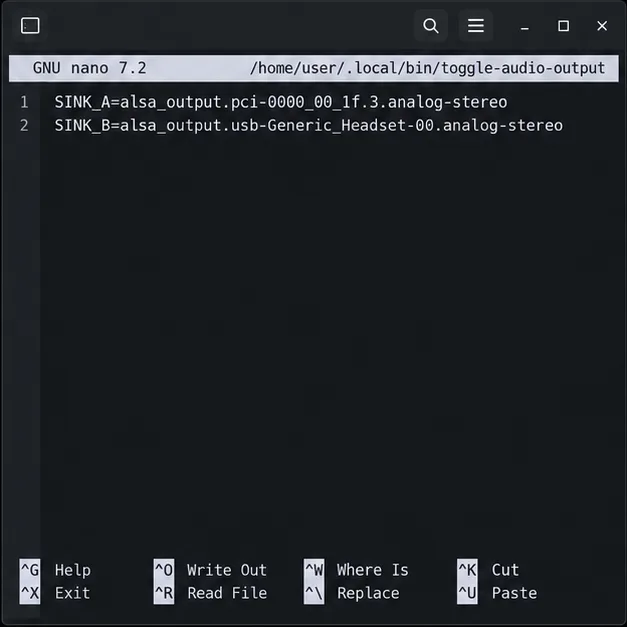
Switch Debian audio between named PipeWire outputs with a pactl script that updates the default sink and reroutes streams already playing.