Record a presentation video with Microsoft PowerPoint
Despite being a paid application, Microsoft PowerPoint is still one of the most popular presentation creation software. If you're using PowerPoint 2010 or later, you'll have screen recording available.
On the Ribbon, choose Slide Show > Record Slide Show. You can also select the starting point for recording the presentation by clicking Record from Current Slide or Record from Beginning from the drop-down menu.

When you press this button, you will be taken to the recording window as follows:
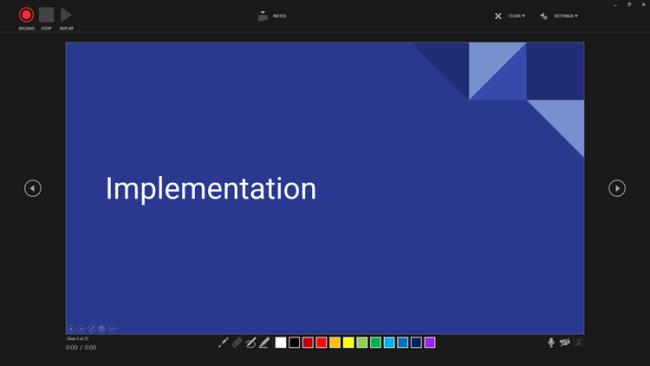
Here, you will see the Record, Stop and Replay buttons in the top row. Selecting Notes will show a slightly translucent overlay of notes for the slide, if any. The Clear menu allows you to delete recordings from the current slide or the entire slide, while in Settings you can select the camera and microphone you want to use.
The row below shows Laser Pointer, Eraser, Pen and Highlighter and color options. You can also find Mute, Camera and Camera Preview on/off buttons.
The camera viewer will appear in the bottom right corner of the screen as soon as you activate it. Just press the Record button to record screen, voice and camera. When this process is finished, go to File > select Save or Export. It's done!
Create and record presentations with Canva
Canva is a great visual design tool, especially for presentations. The only downside of this design application is that you have to be constantly connected to the Internet.
To start the presentation, create an account and log in. Once in the main menu, you can type Presentation in the search bar or select pre-made templates.
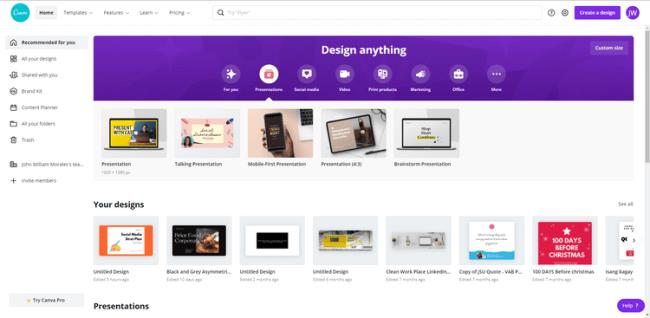
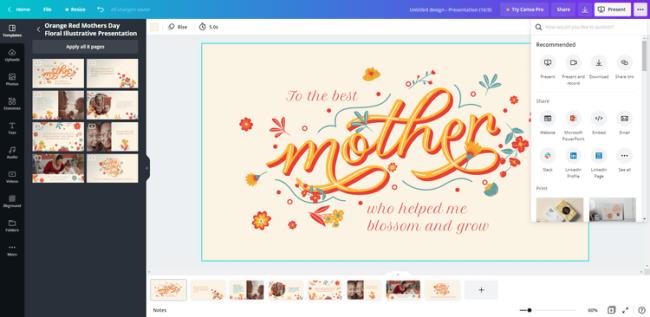
Once you've selected the template, Canva will take you to the editing window. This is where you start creating presentations. Once done and ready to record, click the upper right menu and select Present and record. Select Go to recording studio from the menu that appears.
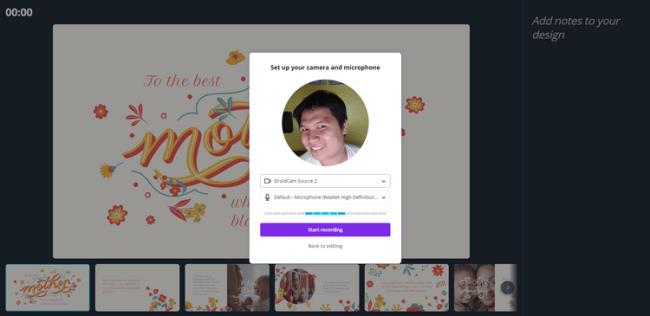
If it's your first time recording your presentation, don't forget to allow Canva to access your webcam & microphone. You will see a small window with a preview image and a green indicator indicating the sound level when Canva is ready. Click Start Recording to start recording.
Canva provides you with a video recording viewer. Here you'll see the elapsed time, Pause, End recording, notes for the slide, and the page sequence with the current slide near the middle.
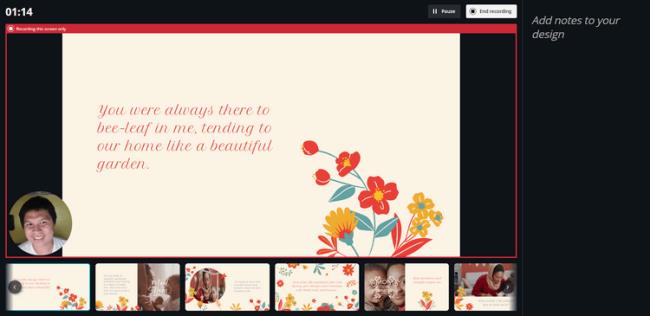
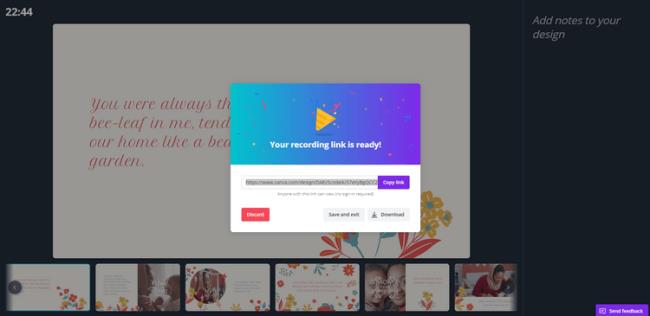
After recording the screen, click End recording and Canva will automatically process and upload the presentation. As soon as it is ready, you will see a window that shares the recording link.
Use Copy link to send it to the recipient. Select Download if you want a copy of the video on your computer. Just press Save and exit if you want to edit the presentation later. Finally, if you are not satisfied with the work, select Discard to delete it.
Use Loom to record a presentation on Google Slides
Currently, Google Slide does not support screen recording. To do this, you need the help of a third app - Loom.
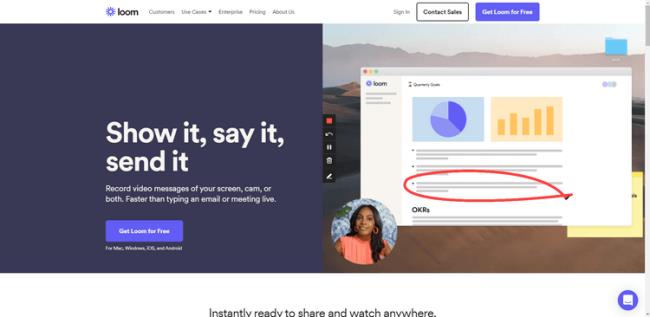
You can use Loom to record your screen, not just presentations. However, the free plan is limited to only 5 minutes of spinning.
First, you need to create a Loom account, download and install the app on your device. Then click on its icon on the taskbar. Log in to your account, then select Screen and camera, Screen only or Cam only, Full screen, a specific Window (Select app), Custom size (Select area) on the screen. Loom also supports video sharing via the Share button.
Above are some ways to record the presentation screen. Hope the article is useful to you.
